If you’re looking to start a blog, this is the best place to begin. Whether you’re brand new or simply want the fastest way to get your blog live. I’ve been making money online for over a decade, and in that time I’ve learned exactly what works when it comes to building websites. In this tutorial, I’ll show you how to launch your blog quickly and easily using tools that are simple and affordable — even if you’ve never built a website before.
You’ll learn how to choose a hosting plan, install WordPress, select a pre-built theme, customize your content, and register a domain — all using one of the most beginner-friendly platforms available. And by the end of this process, you won’t just have a blog — you’ll have the foundation for something much bigger: a site that can grow with you and support future business ideas. Whether you want to write about your interests or turn your expertise into a product someday, this is your starting point.

- Step 1: Choose the Right Hosting Provider
- Step 2: Set Up Your Basic Blog Details
- Step 3: Design Your Blog (Without Coding)
- Step 4: Lock In Your Domain Name
- Step 5: Customize and Launch Your Blog
- From Blog to Business
- Blogging Tools and Tips to Succeed Faster
- Your Blog Is Live — Now What?
- Frequently Asked Questions (FAQs)
Step 1: Choose the Right Hosting Provider
Every blog needs a hosting provider to exist online. Hosting is what connects your website to the internet and makes it accessible to anyone, anytime. While it’s technically possible to host a blog yourself, it’s far more practical to use a dedicated hosting company that handles all the technical setup and keeps your site running reliably. Whether you’re launching a personal site or starting a business blog, choosing the right host makes all the difference in speed, uptime, and user experience.
Why Hosting Matters More Than You Think
Hosting is the foundation of your blog. Without it, your content can’t be viewed or shared. A dependable hosting provider ensures your blog is always live, loads quickly, and remains secure. This foundational choice impacts everything that follows — from how your site performs to how easy it is to manage. If you want to grow traffic, gain trust, or eventually build a business around your blog, having solid hosting is a must.
Why Hostinger is a Great Choice
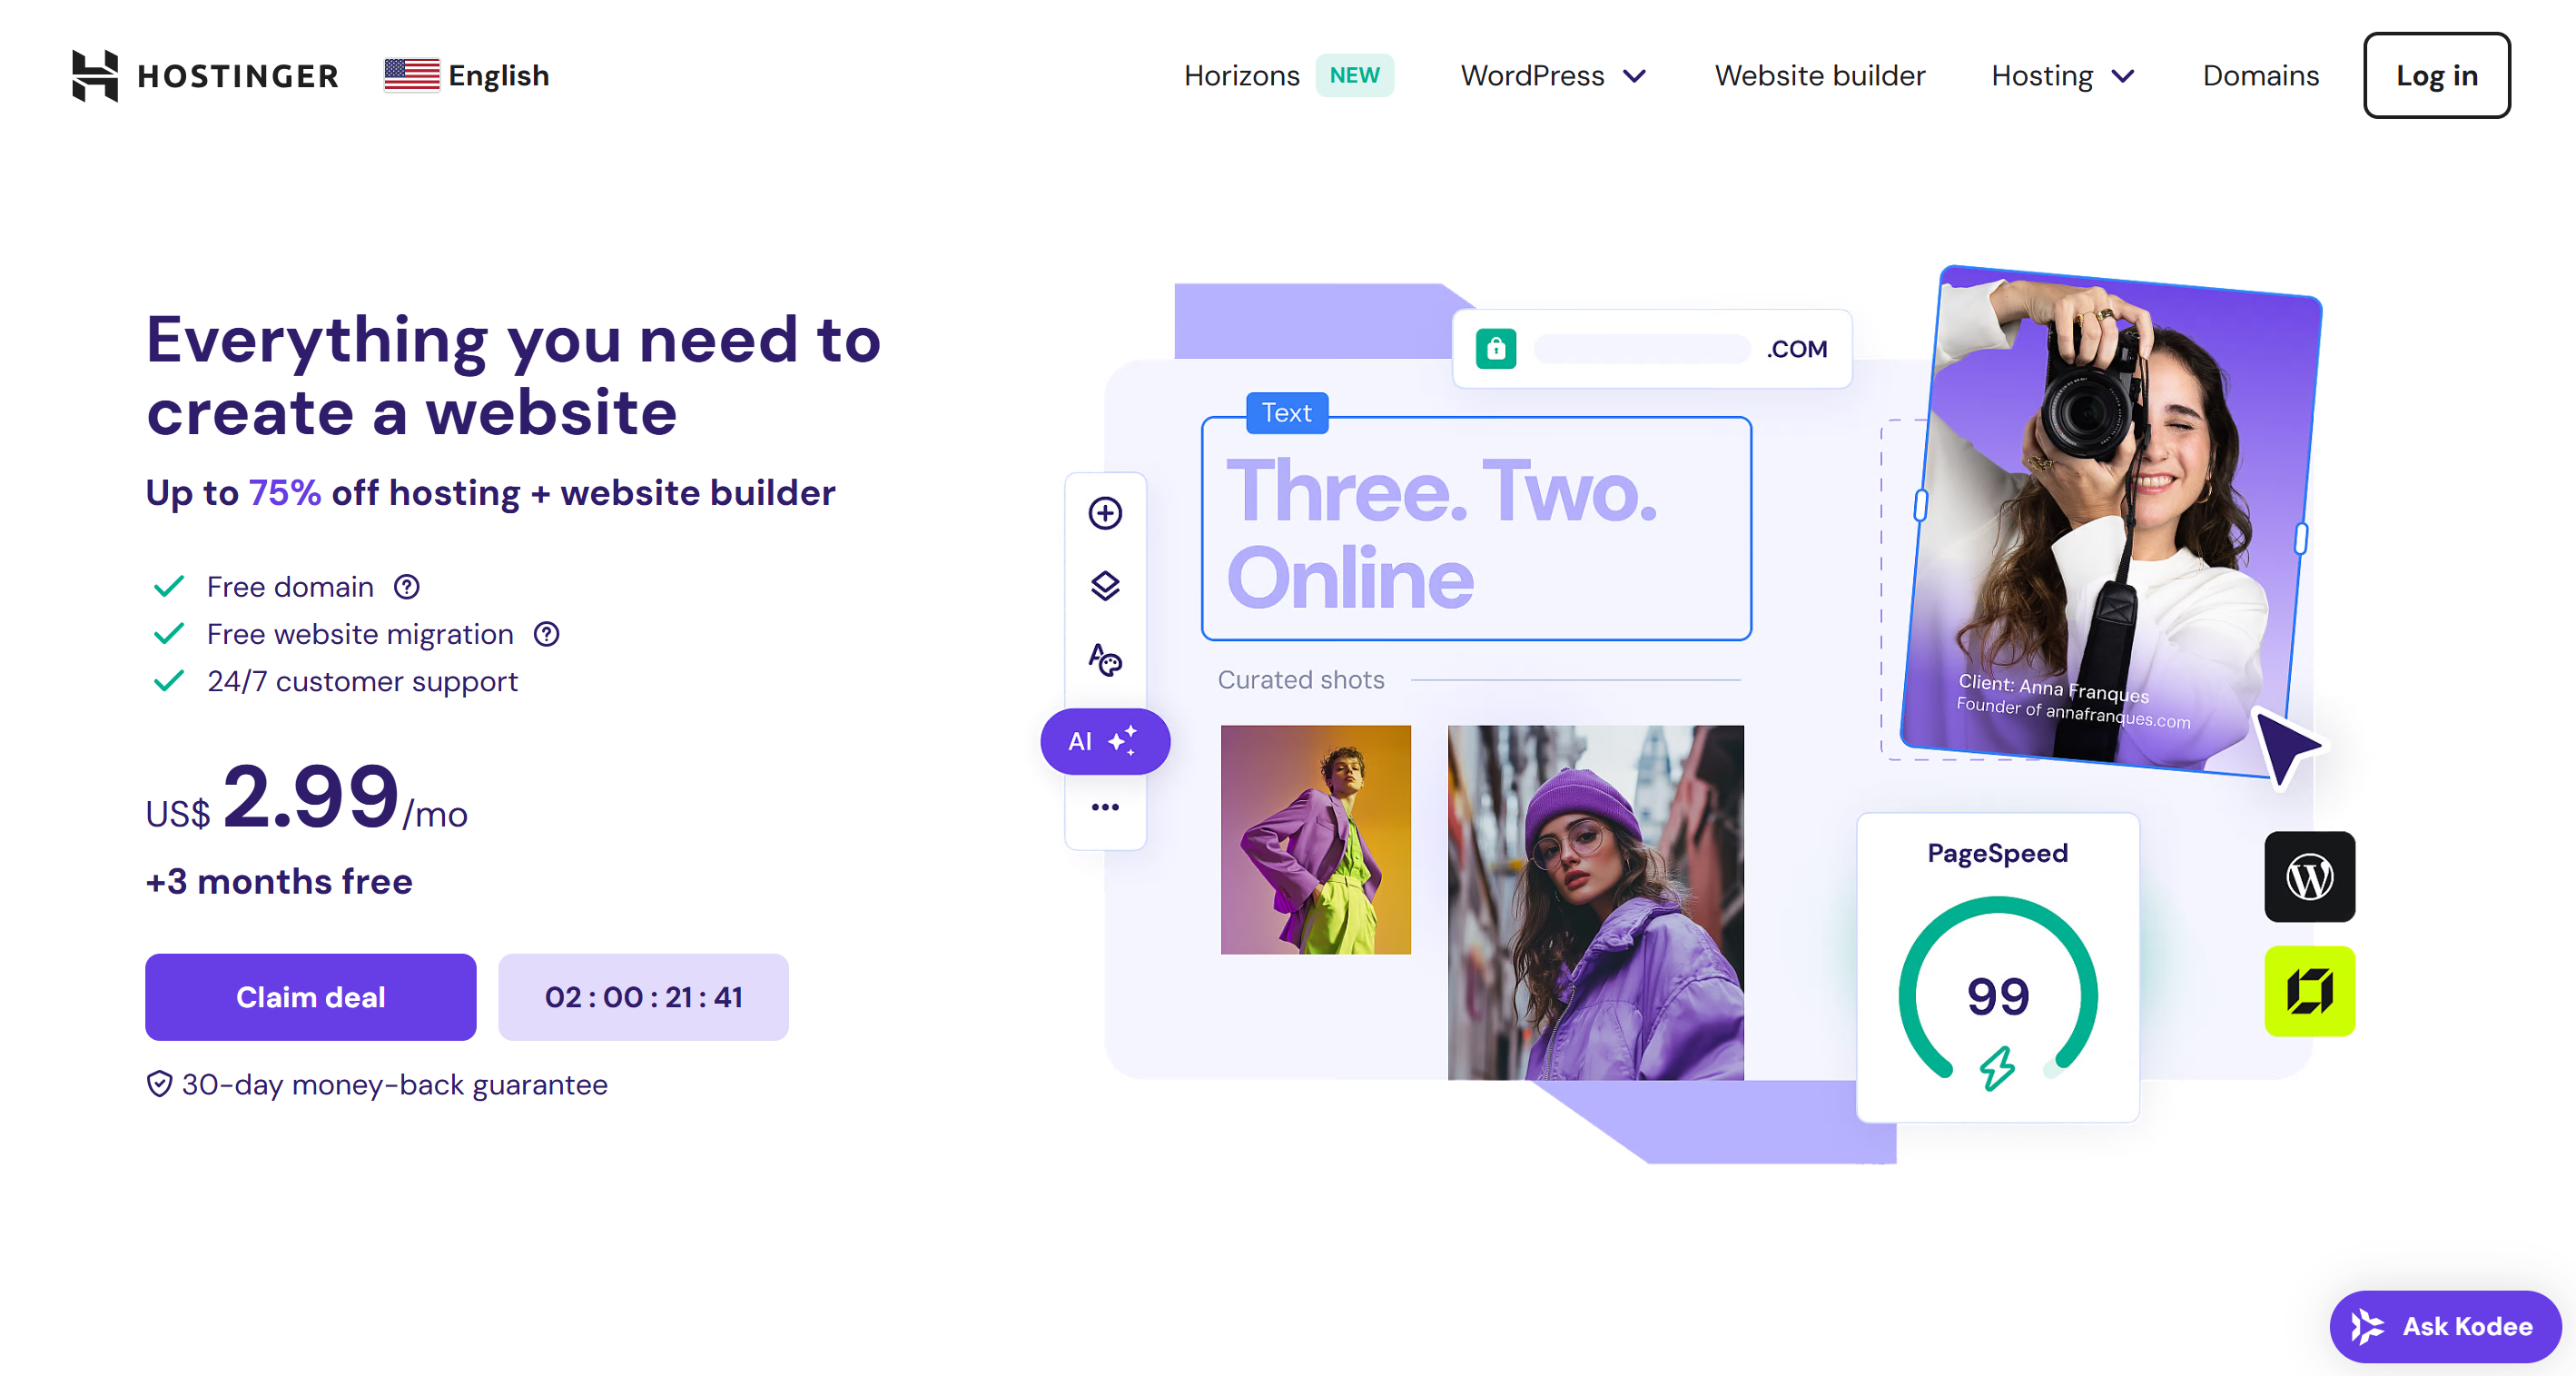
Hostinger makes it easy to get started with a blog by offering reliable hosting at a very low monthly cost. It’s fast, beginner-friendly, and includes features that help you set up everything in just minutes. If you’re looking for a tool that simplifies the process without sacrificing quality, this is a solid option. If you use the coupon code “TRAVIS”, you’ll get an extra 10% off.
Key benefits of choosing Hostinger:
- Affordable pricing — just a couple of dollars per month
- Fast and reliable website performance
- A free domain name included with your plan
- Built-in AI content creator to help you generate content
- One-click WordPress setup with guided onboarding
The business plan includes everything you need — from a free domain and AI content creator to fast performance and one-click WordPress setup. It’s built to help you launch quickly while giving you the tools to grow over time. Whether you’re starting small or planning for something bigger, it’s a smart and flexible choice.
How to Get Started
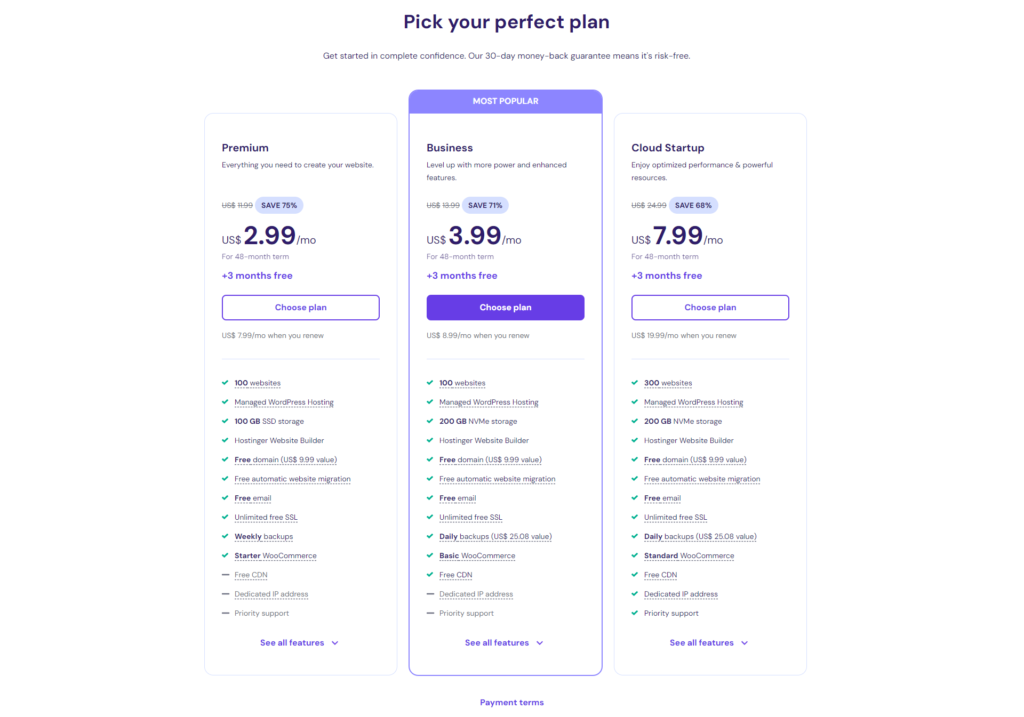
Getting started is straightforward and only takes a few steps. Once you’ve selected your hosting plan — the 48-month business plan is highly recommended because it locks in the lowest monthly rate — you’ll be prompted to enter your personal information, including your name, email address, and payment details. During checkout, you’ll also have the chance to apply a discount code to save even more. By using the coupon code TRAVIS, you can get an extra 10% off on top of the already discounted pricing. After submitting your payment, your account will be set up immediately, and you’ll be ready to start building your blog from the ground up.
Step 2: Set Up Your Basic Blog Details
After purchasing hosting, you’ll begin the setup process by answering a few simple questions. This step is designed to tailor your experience based on your needs and goals. And whether your end goal is content creation, affiliate marketing, or launching your own physical product, this is where you define the direction.
Defining Your Purpose and Choosing WordPress
Once you’ve signed up for hosting, you’ll be asked a few simple questions to tailor the setup. This includes choosing who the website is for and what you plan to use it for. You’ll be building a website, and from there, you’ll decide on the platform you want to use.
Here’s what you’ll select during setup:
- Who you’re making the website for (e.g., yourself)
- What type of site you’re building (choose “website”)
- Your preferred website platform (select WordPress)
WordPress is already integrated with Hostinger, so setup is fast and smooth. It’s a flexible and beginner-friendly tool that gives you full control of your blog — and the ability to expand it into something bigger over time.
Creating Login Credentials
At this point, you can create login details for your WordPress account. This allows you to manage your blog separately from your Hostinger account, giving you control over your content and design moving forward. As you scale your content or begin incorporating lead capture tools, this separation gives you a cleaner backend experience.
Step 3: Design Your Blog (Without Coding)
Now it’s time to design your blog. Hostinger offers an intuitive setup with pre-built themes that make designing your blog incredibly easy, even if you’ve never built a website before. And this isn’t just about aesthetics — the design you choose influences readability, trust, and conversion, especially as you begin to grow your audience.
Start with a Pre-Built Theme
You’ll be able to choose from a variety of templates designed for different styles and blog formats. These themes come fully built and ready to use, so you won’t have to worry about designing your blog from the ground up. All it takes is a few customizations to make it your own.
Picking a layout that aligns with your content makes your blog look polished and professional right away. It saves you time and energy, allowing you to focus on what really matters — creating valuable content and sharing your ideas with your audience.
Customize with AI Tools and Content Blocks
Once you’ve selected a theme, you can jump right into customizing your homepage. The process is simple and user-friendly, allowing you to make your blog feel personal and on-brand from the very start. Hostinger’s editor gives you the flexibility to make changes without touching any code.
Here’s what you can customize easily:
- Edit the blog title to match your brand or topic
- Rewrite the main homepage heading to speak directly to your audience
- Upload a relevant image that visually reinforces your niche
- Use the content manager to drag in text blocks, images, or full articles
With these tools, you can shape a clean, professional site that reflects your voice and message. And since everything is editable, your blog can continue evolving as your ideas — or your business — grow over time.
Step 4: Lock In Your Domain Name
Your domain name is your blog’s address on the web. Picking the right one is key to building your brand and making your site easy to remember. A domain that’s relevant, simple, and keyword-rich can go a long way in helping you build long-term authority and trust.
Choosing a Blog Name
As part of the setup process, you’ll be asked to enter your desired domain name. This will be the web address people use to access your blog, so it’s worth taking a moment to choose something that fits your niche and is easy to remember. Hostinger will automatically check if the name is available.
When picking a domain, follow these tips:
- Keep it relevant to your blog’s topic or audience
- Use simple, clear wording that’s easy to spell
- Avoid using special characters or numbers
- Try alternate versions if your first choice is taken
Once you find an available name that fits, you can register it immediately and move on to the final steps. Think of this domain as your brand’s identity online — it’s how people will remember and return to your blog.
Registering Your Domain
After selecting an available domain name, the next step is to register it by entering your personal information. Hostinger’s business plan includes a free domain, so there’s no additional cost. Once registration is complete, you’ll answer one last question about your target audience, and then WordPress will be installed automatically.
Here’s what happens in this final phase:
- Enter your personal details to register the domain
- Confirm your target audience selection
- Wait for WordPress to auto-install (takes about a minute)
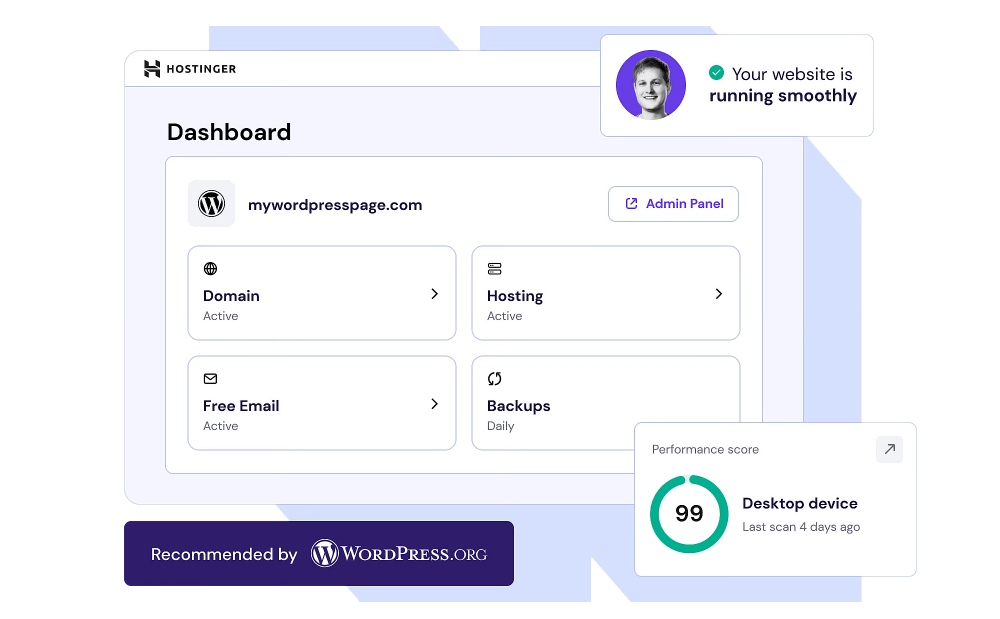
- Move directly into your WordPress dashboard
The process is quick and efficient, allowing you to move from an idea to a live blog in just a few steps. Instead of dealing with complicated configurations or separate tools, everything is streamlined into one smooth experience. This not only saves you time but also removes the typical barriers that stop people from getting started. Within minutes, you have a functioning blog that’s fully hosted, named, and ready to customize — giving you a real online presence from day one.
Step 5: Customize and Launch Your Blog
Now that your blog is set up, it’s time to make it your own. This step involves editing your homepage, adding new content, and exploring plugins that add functionality. This is where your blog starts transforming into a platform that can support future product launches, community building, and long-term business goals.
Personalizing Your Homepage
Using the WordPress editor, you can easily update your blog’s title, adjust the homepage heading, and replace placeholder images with ones that better reflect your topic or style. These quick edits help personalize your blog and make it feel more like your own from the very beginning.
Even small changes to your layout and visuals can make a big impact. Creating a clear, professional-looking first impression builds trust with new visitors and encourages them to explore more of your content.
Adding Functionality with Plugins

Plugins are tools that enhance your blog without requiring any coding. You can install features like SEO tools or eCommerce capabilities with a single click. Two of the default plugin options include an SEO optimization plugin, which helps your content get discovered by search engines, and WooCommerce, which lets you turn your blog into an online store and accept credit card payments.
Even if you don’t plan to sell anything right away, having eCommerce capabilities gives your blog the potential to support physical or digital products in the future. This aligns perfectly with the Passion Product Formula — start by building an audience, then offer them a solution. Once your customizations are complete, your blog is ready to go live. You’ve officially launched your own space online — a foundation for content, connection, and even commerce.
From Blog to Business
As you continue building your blog, there’s potential to expand into selling products or services. With features like WooCommerce included from the start, your blog can easily grow into an online store if you decide to monetize it later. The foundation you’ve built makes future growth straightforward and accessible.
This approach aligns naturally with the Passion Product Formula: create a blog to attract and serve a niche audience, then use their feedback to launch a physical or digital product. The blog becomes your testing ground, your traffic source, and your launchpad — all in one.
Blogging Tools and Tips to Succeed Faster

With everything live, you can continue building out your blog using the tools provided. The included content manager makes it simple to add and organize new posts, while the plugins give you access to more advanced features. The goal is to grow gradually and strategically — whether you’re publishing weekly content, building an email list, or preparing for a product launch.
Use the Built-In Tools
Once your blog is live, you can start customizing it using the sidebar content manager. This tool makes it easy to add articles, images, and text sections without any coding. Everything is visually laid out so you can structure your pages exactly how you want, right from the WordPress dashboard.
Here’s what you can do with the content manager and plugin options:
- Add new blog posts and text blocks quickly
- Insert and replace images to match your topic
- Access built-in SEO tools to help with search visibility
- Activate WooCommerce to enable online selling
With these tools already integrated, you can start shaping your blog into more than just a website — you’re building a platform that can grow in traffic, reach, and potential revenue over time.
Keep It Simple
There’s no need to overthink your design or content when you’re just getting started. The most important thing is to get your blog live and begin sharing helpful, valuable posts. Don’t worry about making everything perfect — the goal is to take action and learn along the way.
As you grow, you can always refine your layout, experiment with new features, or shift your content strategy. A blog gives you that flexibility. It’s a low-cost, low-risk platform that helps you build momentum, connect with an audience, and set the foundation for something bigger.
Your Blog Is Live — Now What?

Once your blog is live, you can continue improving it with fresh content, relevant images, and useful pages. Use the content tools to build out your site one section at a time. Make it your own and keep refining it as you go. Whether you’re sharing ideas, building trust with readers, or prepping for a product launch, your blog is now your central hub.
Launching your blog is a major milestone — one that marks the start of something bigger. With the right focus and consistent effort, this simple website can evolve into a powerful brand and business. And that’s exactly what the Passion Product Formula is all about: start with your passion, build your audience, and grow it into something real.
Frequently Asked Questions (FAQs)
1. How much does it cost to start a blog?
Most blogs can be launched for under $100 when using an affordable hosting provider like Hostinger. Their business plan includes a domain name, hosting, and tools to build and grow your blog quickly. It’s one of the most cost-effective ways to start building your online presence.
2. Do I need technical skills?
Not at all. Hostinger and WordPress are beginner-friendly and guide you through each step. You can create and manage your blog using a simple visual dashboard without any coding.
3. Can I earn money from a blog?
Yes. Blogs can generate income through affiliate links, product sales, sponsored posts, and ads. With consistency and the right strategy, a blog can become a strong income source.
4. How often should I post new content?
Posting once or twice per week is a great way to stay consistent and build momentum. Focus on creating helpful, relevant content that speaks to your audience. Quality and consistency matter more than quantity.
5. What if I don’t know my niche yet?
It’s perfectly fine to start broad. Choose a topic you’re genuinely interested in and start publishing. Your niche will naturally become clearer as you learn what content connects most with your readers.
