
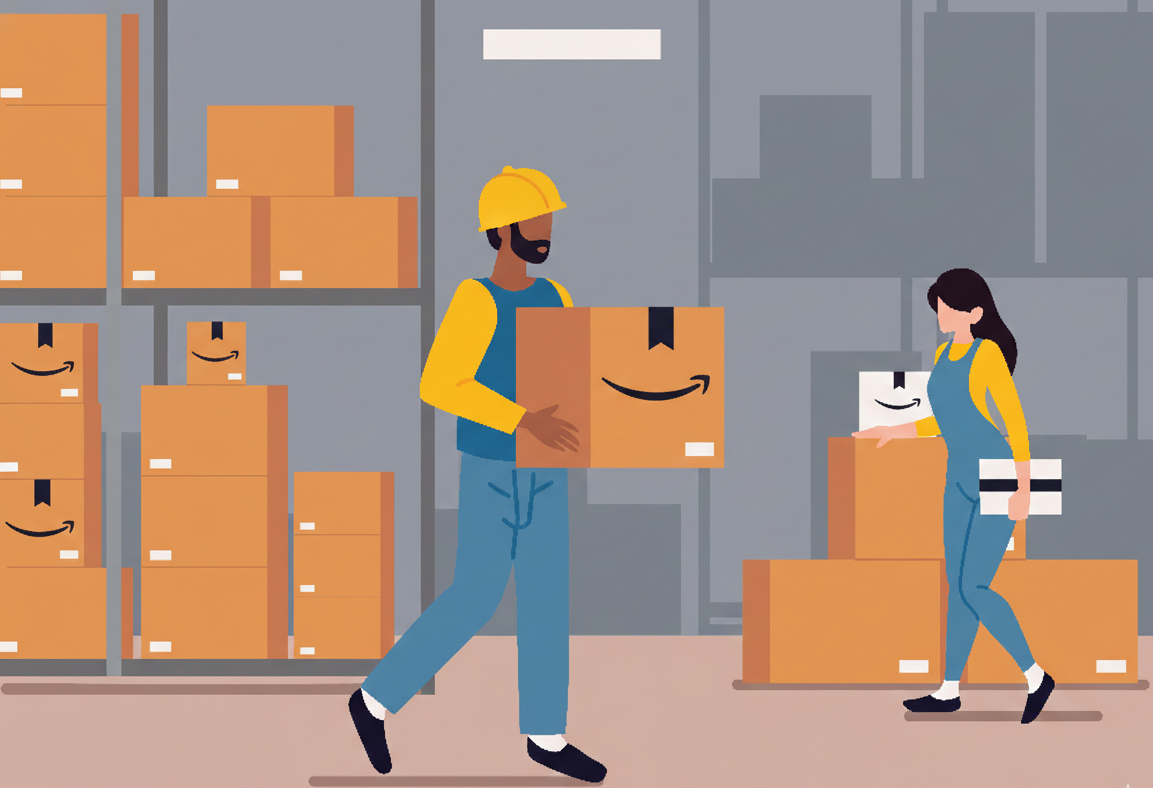
Staring at boxes of your first product, ready for your first Amazon FBA shipment, can feel both exhilarating and terrifying. You’ve invested time, money, and energy into creating something you believe in, and now you’re about to hand it over to the world’s most powerful fulfillment network. Fortunately, shipping to Amazon FBA shipment doesn’t have to be complicated or stressful when you understand the system.
Whether you’re launching your first product or streamlining your fulfillment process, mastering Amazon’s shipping workflow will save you countless hours and potentially thousands of dollars. Moreover, getting it right from the start prevents the kind of costly mistakes that plague new sellers, from long-term storage fees to rejected shipments. This comprehensive guide walks you through every single step, from navigating Seller Central to tracking your inventory as it arrives at Amazon’s warehouses.
Throughout this article, you’ll discover insider strategies for minimizing costs, avoiding common pitfalls, and setting up systems that make repeat shipments incredibly fast. Additionally, you’ll learn the critical difference between UPC and FNSKU barcodes, understand Amazon’s fee structure, and know exactly when to follow up on shipments. By the end, you’ll have the confidence to ship like a seasoned FBA pro, even if this is your first time sending inventory to Amazon FBA shipment.
- Getting Started: Accessing the Shipment Workflow
- Understanding Barcodes: UPC vs FNSKU
- The Money-Saving Barcode Strategy
- Setting Up Your Ship From Address & Box Template
- Choosing Your Shipment Destination
- Parcel Delivery vs Pallet Shipping
- Selecting Your Carrier & Understanding Costs
- Printing Labels & Final Shipment Steps
- Tracking Your Shipment
- Common Mistakes to Avoid
- International Shipping Considerations
- Scaling Your Shipping Operations
- Taking Your Amazon FBA Business to the Next Level
- Frequently Asked Questions
Getting Started: Accessing the Shipment Workflow
Before you can create your Amazon FBA shipment, navigate to the right place in Seller Central. Start by clicking the top left menu. Hover over “Inventory” and select “Manage All Inventory.” This dashboard shows all your active listings. It provides the gateway to creating shipments. You’ll want to bookmark this page. You’ll return here every time you need to send inventory.
Once you’ve located the product you want to ship, look for the small dropdown menu on the right side of that product row. Click on it, then select “Send/Replenish Inventory” from the options. This action launches Amazon’s shipment creation workflow, which guides you through the entire process step by step. Furthermore, Amazon remembers your preferences and templates, making subsequent shipments remarkably faster.
The interface might seem overwhelming initially, but Amazon designed it to be logical and progressive. Each screen asks for specific information before moving you to the next step, ensuring you don’t miss critical details. As a result, even complete beginners can successfully create their first shipment by simply following the prompts and understanding what each field means.
Understanding Barcodes: UPC vs FNSKU
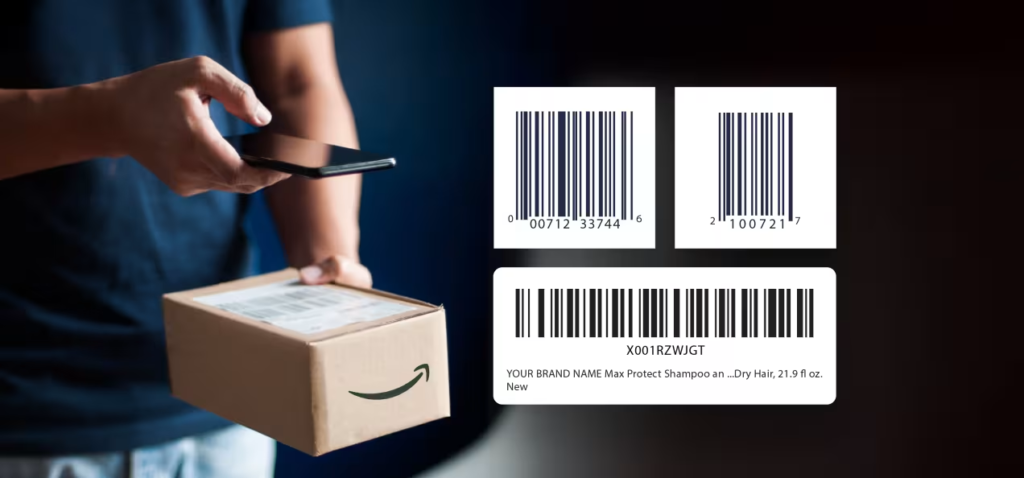
Barcodes represent one of the most crucial and frequently misunderstood aspects of Amazon FBA shipment. When you buy a product from a manufacturer to resell, it typically comes with a UPC barcode already printed on it. This Universal Product Code serves as the product’s unique identifier in the retail world. It allows any store to scan it at checkout. You need a UPC code to create your initial Amazon listing. It tells Amazon what product category your item falls into.
However, once Amazon creates your listing, something important happens. The platform assigns your specific listing a unique FNSKU barcode, which stands for Fulfillment Network Stock Keeping Unit. This barcode differs completely from the UPC because it links directly to your seller account and your specific listing. Therefore, when Amazon receives your shipment, they scan the FNSKU to confirm that these units belong to you, not to another seller offering the same product.
Every single unit you send to Amazon must display this FNSKU barcode clearly and prominently. Without it, Amazon cannot properly receive your inventory into their system. Moreover, the FNSKU ensures that when customers order your product, they receive your units specifically, not commingled inventory from other sellers. This protection becomes especially important for brand owners who want to guarantee product authenticity and quality control.
Understanding this distinction will save you significant money and headaches. Many new sellers mistakenly ship products with only UPC barcodes, forcing them to either recall the shipment or pay Amazon’s expensive labeling fees. Conversely, experienced sellers build FNSKU requirements into their manufacturing process from day one, eliminating this problem entirely.
The Money-Saving Barcode Strategy
Here’s where smart sellers separate themselves from everyone else: Amazon offers to apply FNSKU labels for you, but they charge $0.55 per unit for this service. On the surface, that might not sound expensive, but let’s do the math. If you’re shipping 45 units per box across 10 boxes, you’re looking at 450 units total. Multiply that by $0.55, and you’ve just added over $247 to your costs before you’ve sold a single item. Now imagine doing this for every shipment, multiple times per year.
Fortunately, there’s a dramatically better approach that costs essentially nothing. When you’re designing your product packaging, simply include the FNSKU barcode as part of your printed design. You can set up your Amazon listing three months before you even order inventory, all you need is a placeholder image. Once the listing exists, Amazon generates your FNSKU barcode, which you can then send to your manufacturer. Consequently, when your products arrive from the factory, they already have the correct barcode printed right on the packaging.
This strategy works beautifully for private label products where you control the packaging design. Your manufacturer simply incorporates the FNSKU barcode into the artwork before printing, adding zero additional cost to your unit price. Even if you’re not quite ready to launch, creating the listing early pays massive dividends. Furthermore, you can always update the product images, description, and other details later when you’re closer to launch.
If you’re doing retail arbitrage or reselling products with existing packaging, you’ll need a slightly different Amazon FBA shipment approach. Purchase FNSKU barcode stickers. Place them directly over the existing UPC barcode on each unit. This adds a small labor cost. It’s still infinitely cheaper than paying Amazon $0.55 per unit. Many prep centers offer this service affordably. You don’t have to handle it yourself.
Setting Up Your Ship From Address & Box Template
Accuracy matters tremendously when it comes to your ship from address, yet many sellers rush through this step without thinking. Amazon’s receiving system expects shipments to arrive from the address you specify during setup. When discrepancies occur, it can cause delays or even rejection of your shipment. Therefore, double-check that you’re entering the exact address where your boxes will actually ship from, whether that’s your home, office, warehouse, or manufacturer’s location.
Next, you’ll create a box template, which essentially tells Amazon what to expect when your shipment arrives. This template includes critical specifications that Amazon uses to plan warehouse space and receiving schedules. Specifically, you’ll enter the number of units per box, the box dimensions in inches (length, width, and height), and the total weight of each box. Amazon has strict requirements here: each box must weigh less than 50 pounds and contain fewer than 150 units.
Creating named templates makes future shipments incredibly efficient. For example, you might have a “Large Box – 45 Units” template for your main product and a “Small Box – 20 Units” template for sample shipments. Once saved, these templates load instantly with just a few clicks. Moreover, you’ll select who labels the products, always choose “Seller” if you’ve already applied FNSKU barcodes, avoiding those unnecessary $0.55 per unit fees.
Amazon validates your template immediately. It displays a green checkmark when everything looks correct. Occasionally, the system flags issues. Your box weight might seem inconsistent with the number of units. Dimensions might exceed carrier limits. When this happens, simply review your numbers and adjust accordingly. This validation system protects you from Amazon FBA shipment problems down the line.
Choosing Your Shipment Destination
Amazon offers two primary destination options for your inventory, and understanding the difference prevents confusion and strategic mistakes. The traditional route sends products directly to a fulfillment center, where Amazon picks, packs, and ships to customers when orders come in. Your inventory only shows as “in stock” when it reaches a fulfillment center, making this the standard choice for most sellers. However, Amazon recently introduced Amazon Warehousing and Distribution, commonly called AWD, which functions as a holding facility.
Think of AWD as a staging area for your inventory. When you ship to AWD, your products sit in storage until you request that Amazon transfer them to a fulfillment center. This option provides flexibility if you want to bulk ship inventory but aren’t quite ready to go live, or if you want to store extra stock without paying fulfillment center fees. Nevertheless, remember that customers cannot buy your product until it moves from AWD to an actual fulfillment center. Therefore, you’ll need to proactively request transfers when you’re ready to sell.
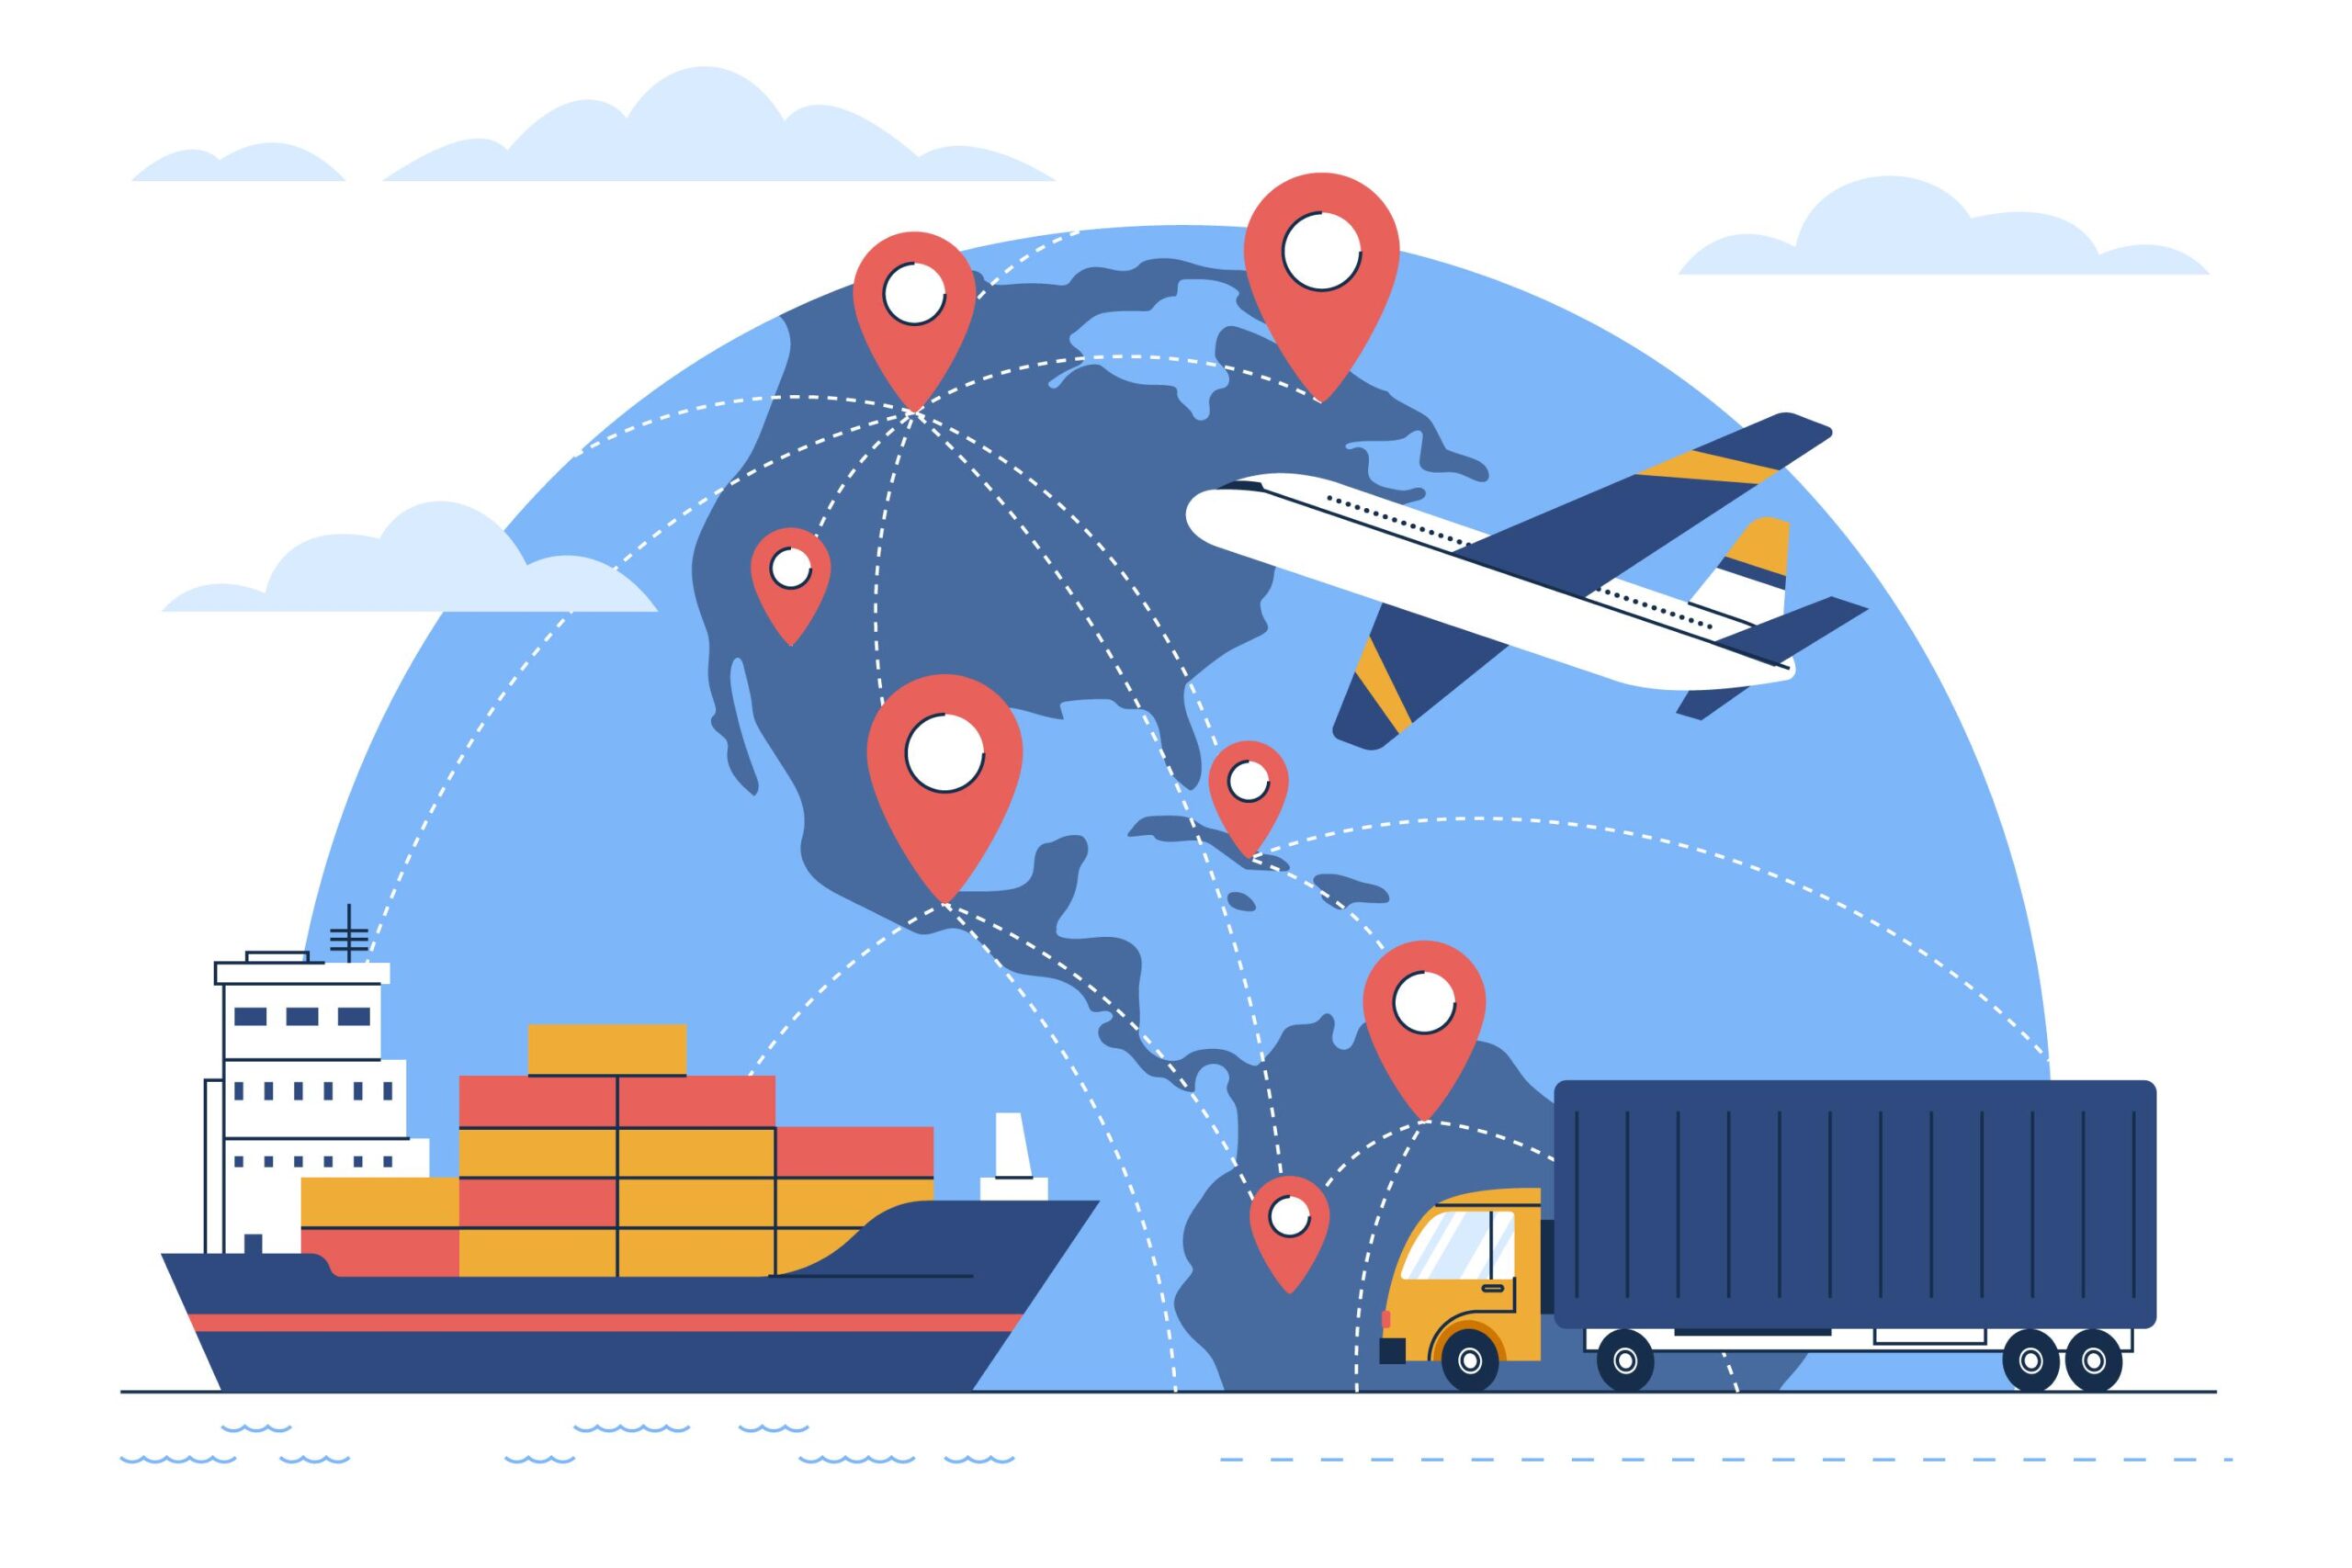
For most sellers, especially those just starting out, shipping directly to fulfillment centers makes the most sense. You’ll then face another choice: ship to one location or multiple locations. Selecting multiple shipments means Amazon splits your inventory across two or more warehouses in different regions. While this adds slight complexity, it offers significant advantages. Your products distribute geographically closer to customers, reducing delivery times and shipping costs. Additionally, Amazon charges lower placement fees for multiple shipments compared to single-location shipping.
International sellers often prefer single-location shipping because coordinating multiple destinations from overseas becomes logistically challenging. If you’re working with a freight forwarder to bring products from China, for example, consolidating everything to one US warehouse simplifies customs, tracking, and communication. Conversely, if you’re shipping domestically, splitting shipments across multiple warehouses typically saves money and improves customer delivery speeds.
Parcel Delivery vs Pallet Shipping
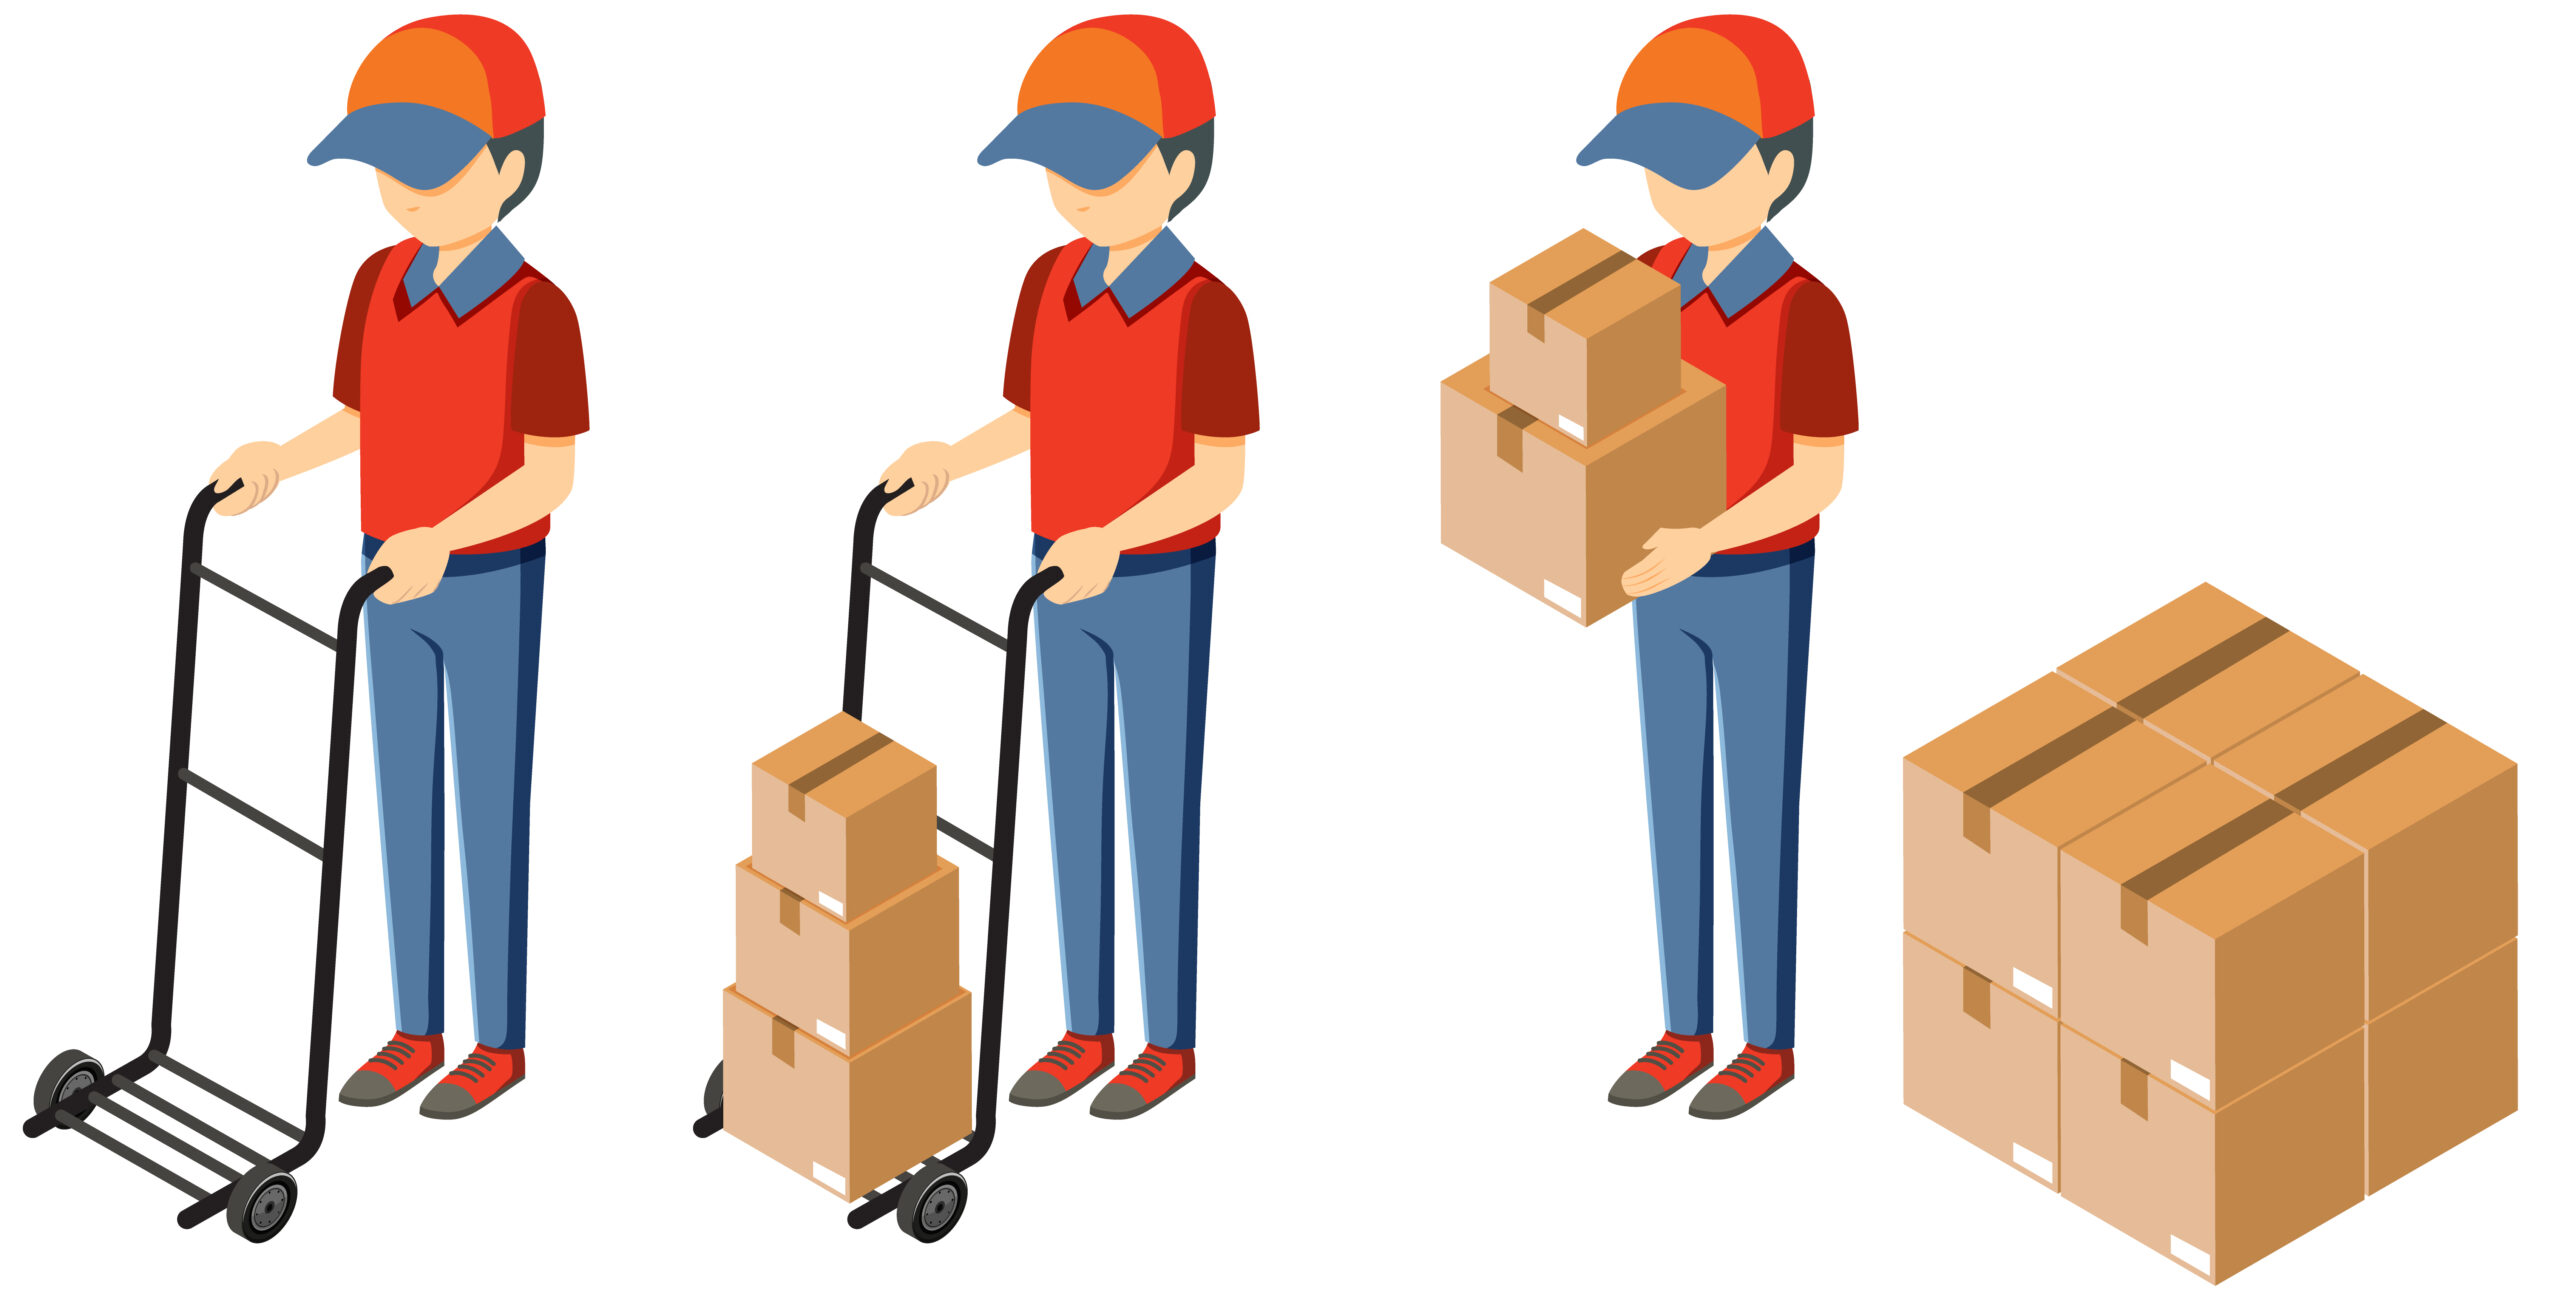
The Amazon FBA shipment method you choose depends on your volume and packaging. Small parcel delivery works perfectly for most new sellers. You take your labeled boxes to a UPS store, FedEx location, or USPS post office. Hand them over. The carrier treats each box as an individual package. They scan it into their system and deliver it to Amazon. This approach offers incredible flexibility. You control exactly when you drop off the boxes.
However, once you scale to larger volumes, pallet shipping becomes more efficient and cost-effective. Instead of individual boxes, you stack multiple boxes onto wooden pallets, shrink-wrap them for stability, and arrange for a freight truck to pick them up. This method falls into two categories: Less Than Truckload (LTL) and Full Truckload (FTL). LTL means you’re sharing truck space with other shippers, while FTL means you’ve filled an entire truck with your products alone.
Pallet shipping requires more preparation and planning. You’ll need to create a Bill of Lading, which serves as a legal document describing what’s being shipped and who’s responsible for it. When the truck driver arrives to pick up your pallets, they must sign this document, creating an official record of the handoff. Subsequently, this becomes your proof if anything goes missing or gets damaged during transit. Never let a driver leave without signing the Bill of Lading.
For our example of 10 boxes, small parcel delivery makes perfect sense. You’re nowhere near filling a pallet, and the hassle of arranging freight pickup outweighs any potential savings. As you grow, though, transitioning to pallets will save substantial money on shipping costs per unit.
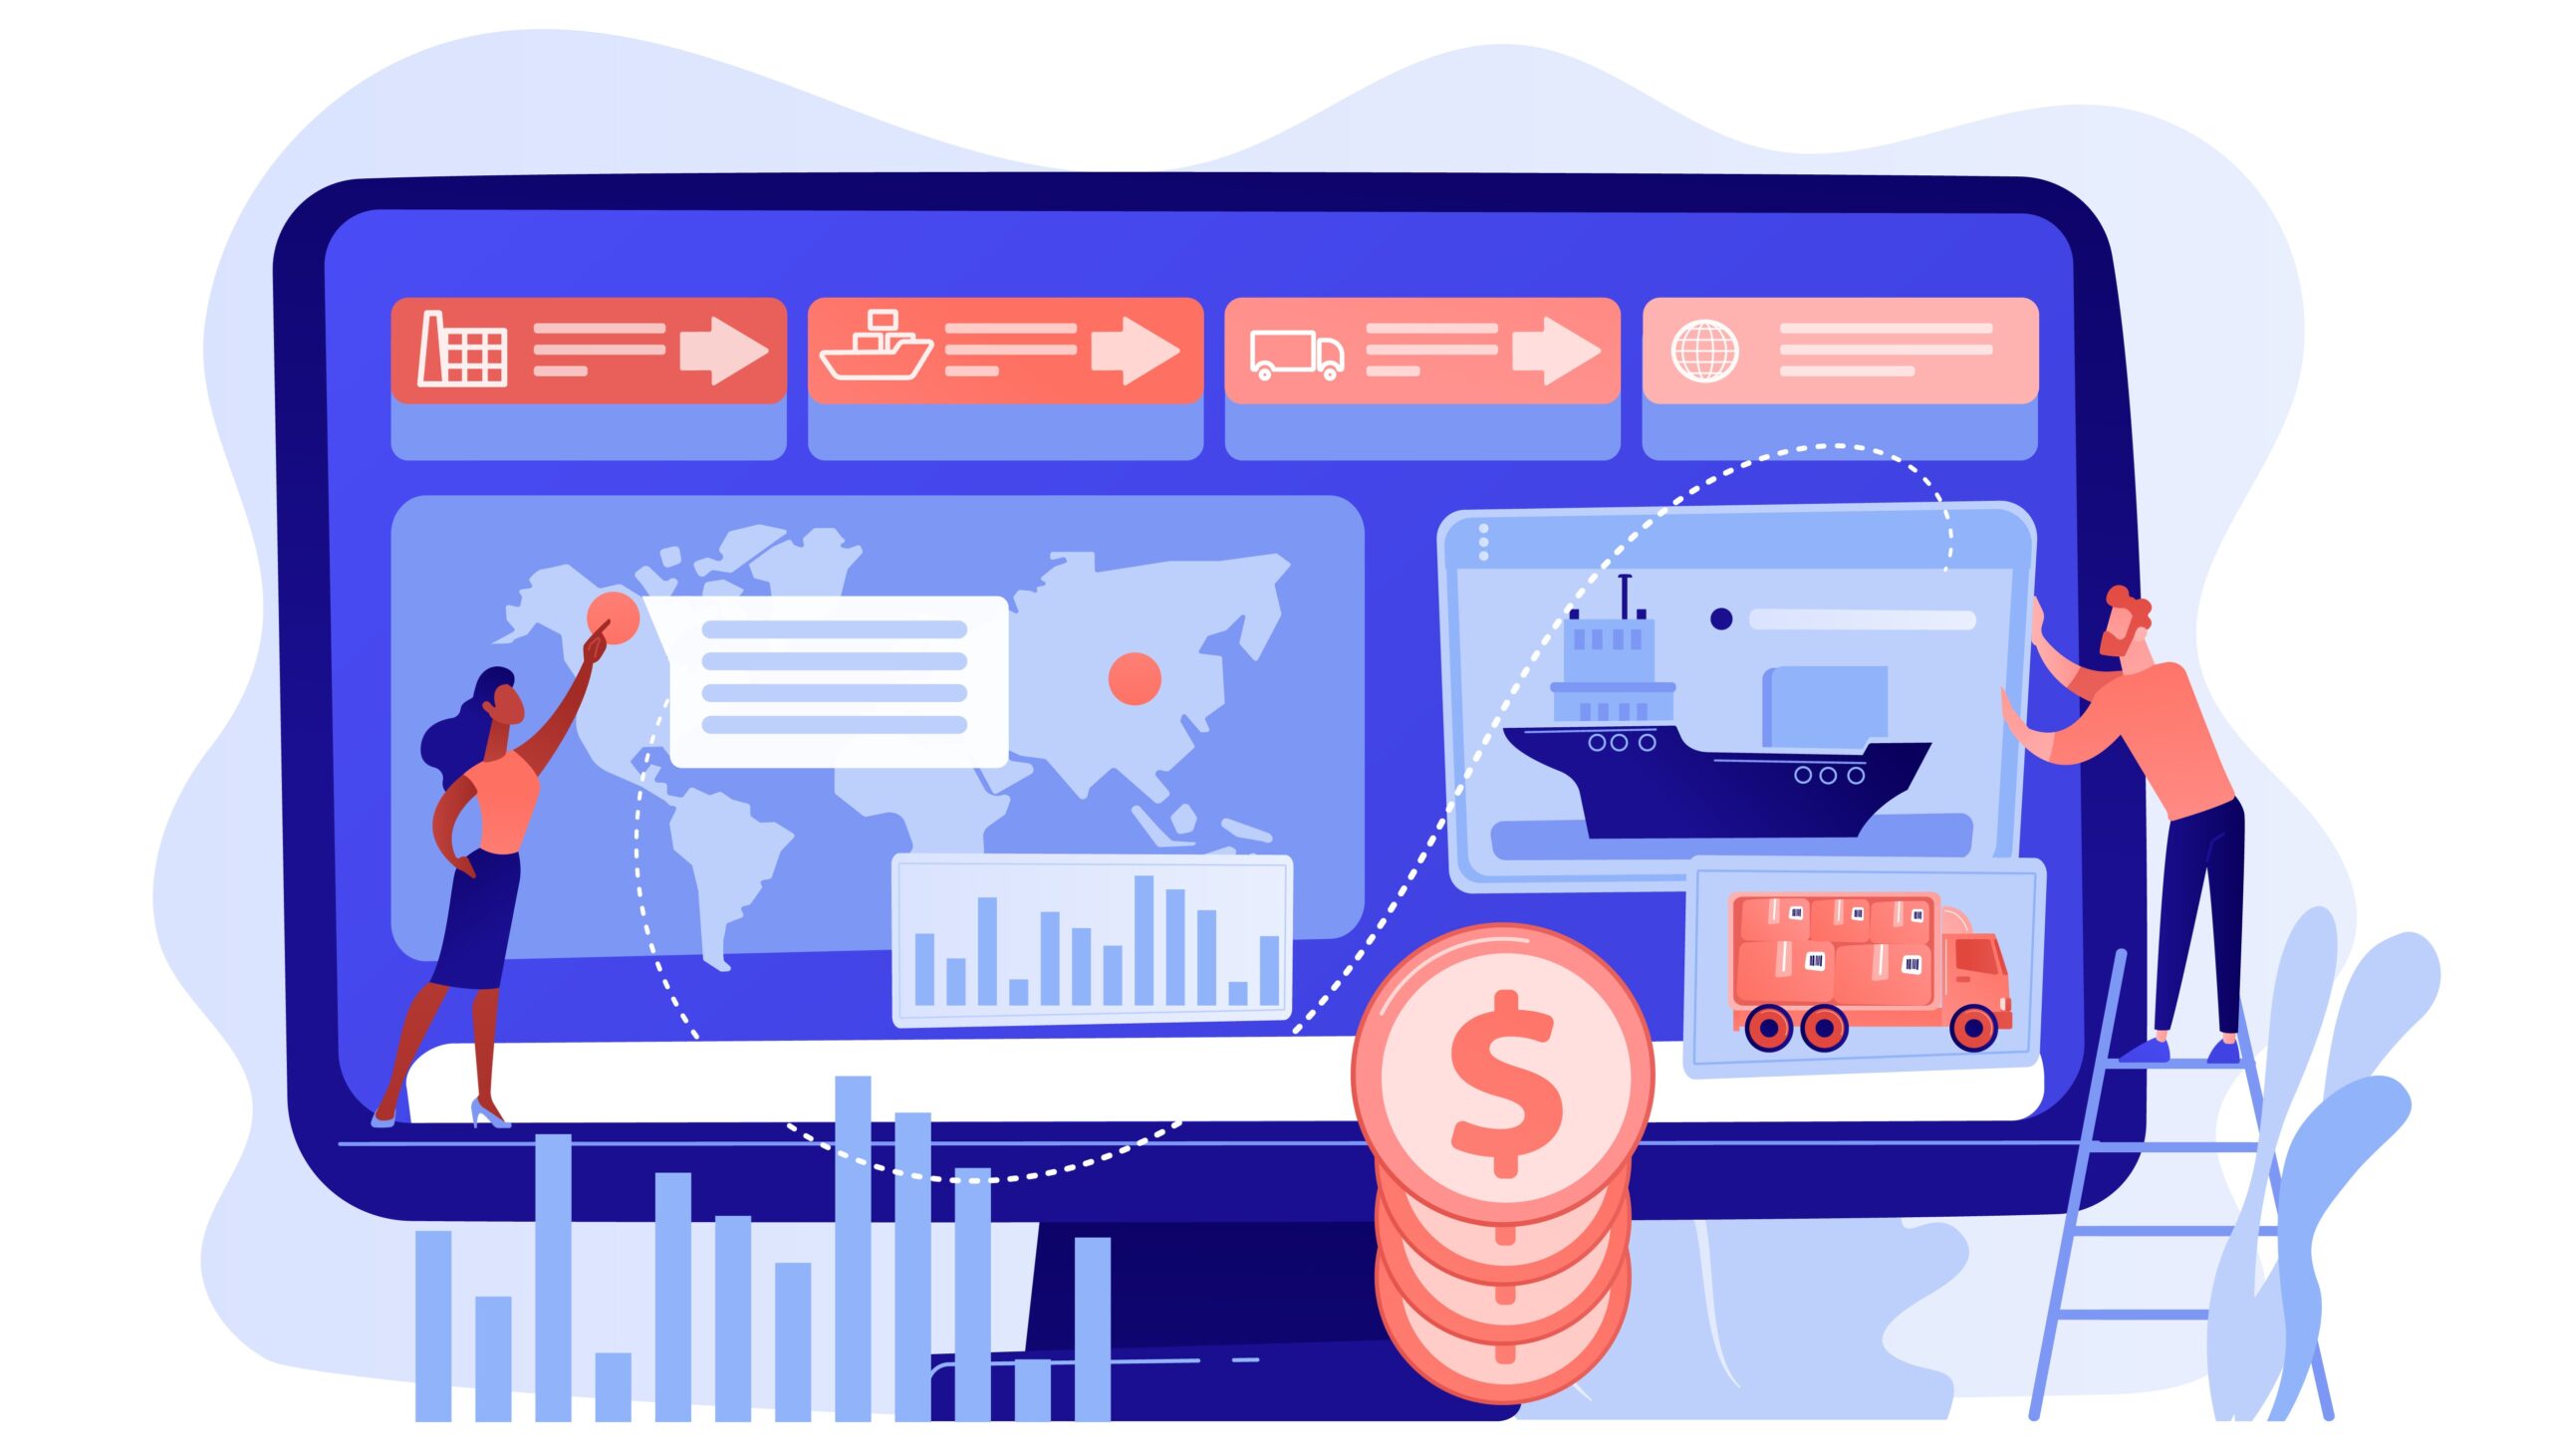
Selecting Your Carrier & Understanding Costs
Amazon partners with UPS as their preferred carrier for Amazon FBA shipments. They offer streamlined integration and potentially better rates. However, you’re not locked into this choice. The platform allows multiple carriers. You can select FedEx, FedEx Ground, DHL, and USPS. Shipping costs across these carriers tend to be comparable. Feel free to get quotes from multiple carriers. This helps optimize costs, especially for large shipments.
Understanding Amazon’s fee structure prevents unwelcome surprises. Looking at our 10-box example shipping 450 total units, the cost breakdown reveals three components. First, the prep fee shows $0 because we labeled products ourselves rather than paying Amazon. Second, the placement fee totals $76.50, which Amazon charges for distributing inventory across their fulfillment network. Finally, the shipping fee itself costs $242.50 for carrier transportation. Adding these together gives us $319 total for this shipment.
The placement fee deserves special attention because many new sellers don’t expect it. Amazon implements this fee to cover the internal logistics of moving your inventory to the optimal warehouse locations. Interestingly, choosing multiple shipment destinations typically results in lower placement fees than forcing everything to one location. Furthermore, these fees increase if you insist on single-location shipping because Amazon must redistribute your inventory after receiving it.
Be aware of Amazon’s cancellation policy regarding these fees. Once you confirm charges, you have only 24 to 48 hours to cancel before Amazon processes payment. After that window closes, you’re committed to the shipment. This policy encourages sellers to finalize preparations before creating shipments, ensuring boxes are actually ready to ship when they click “confirm.”
Printing Labels & Final Shipment Steps
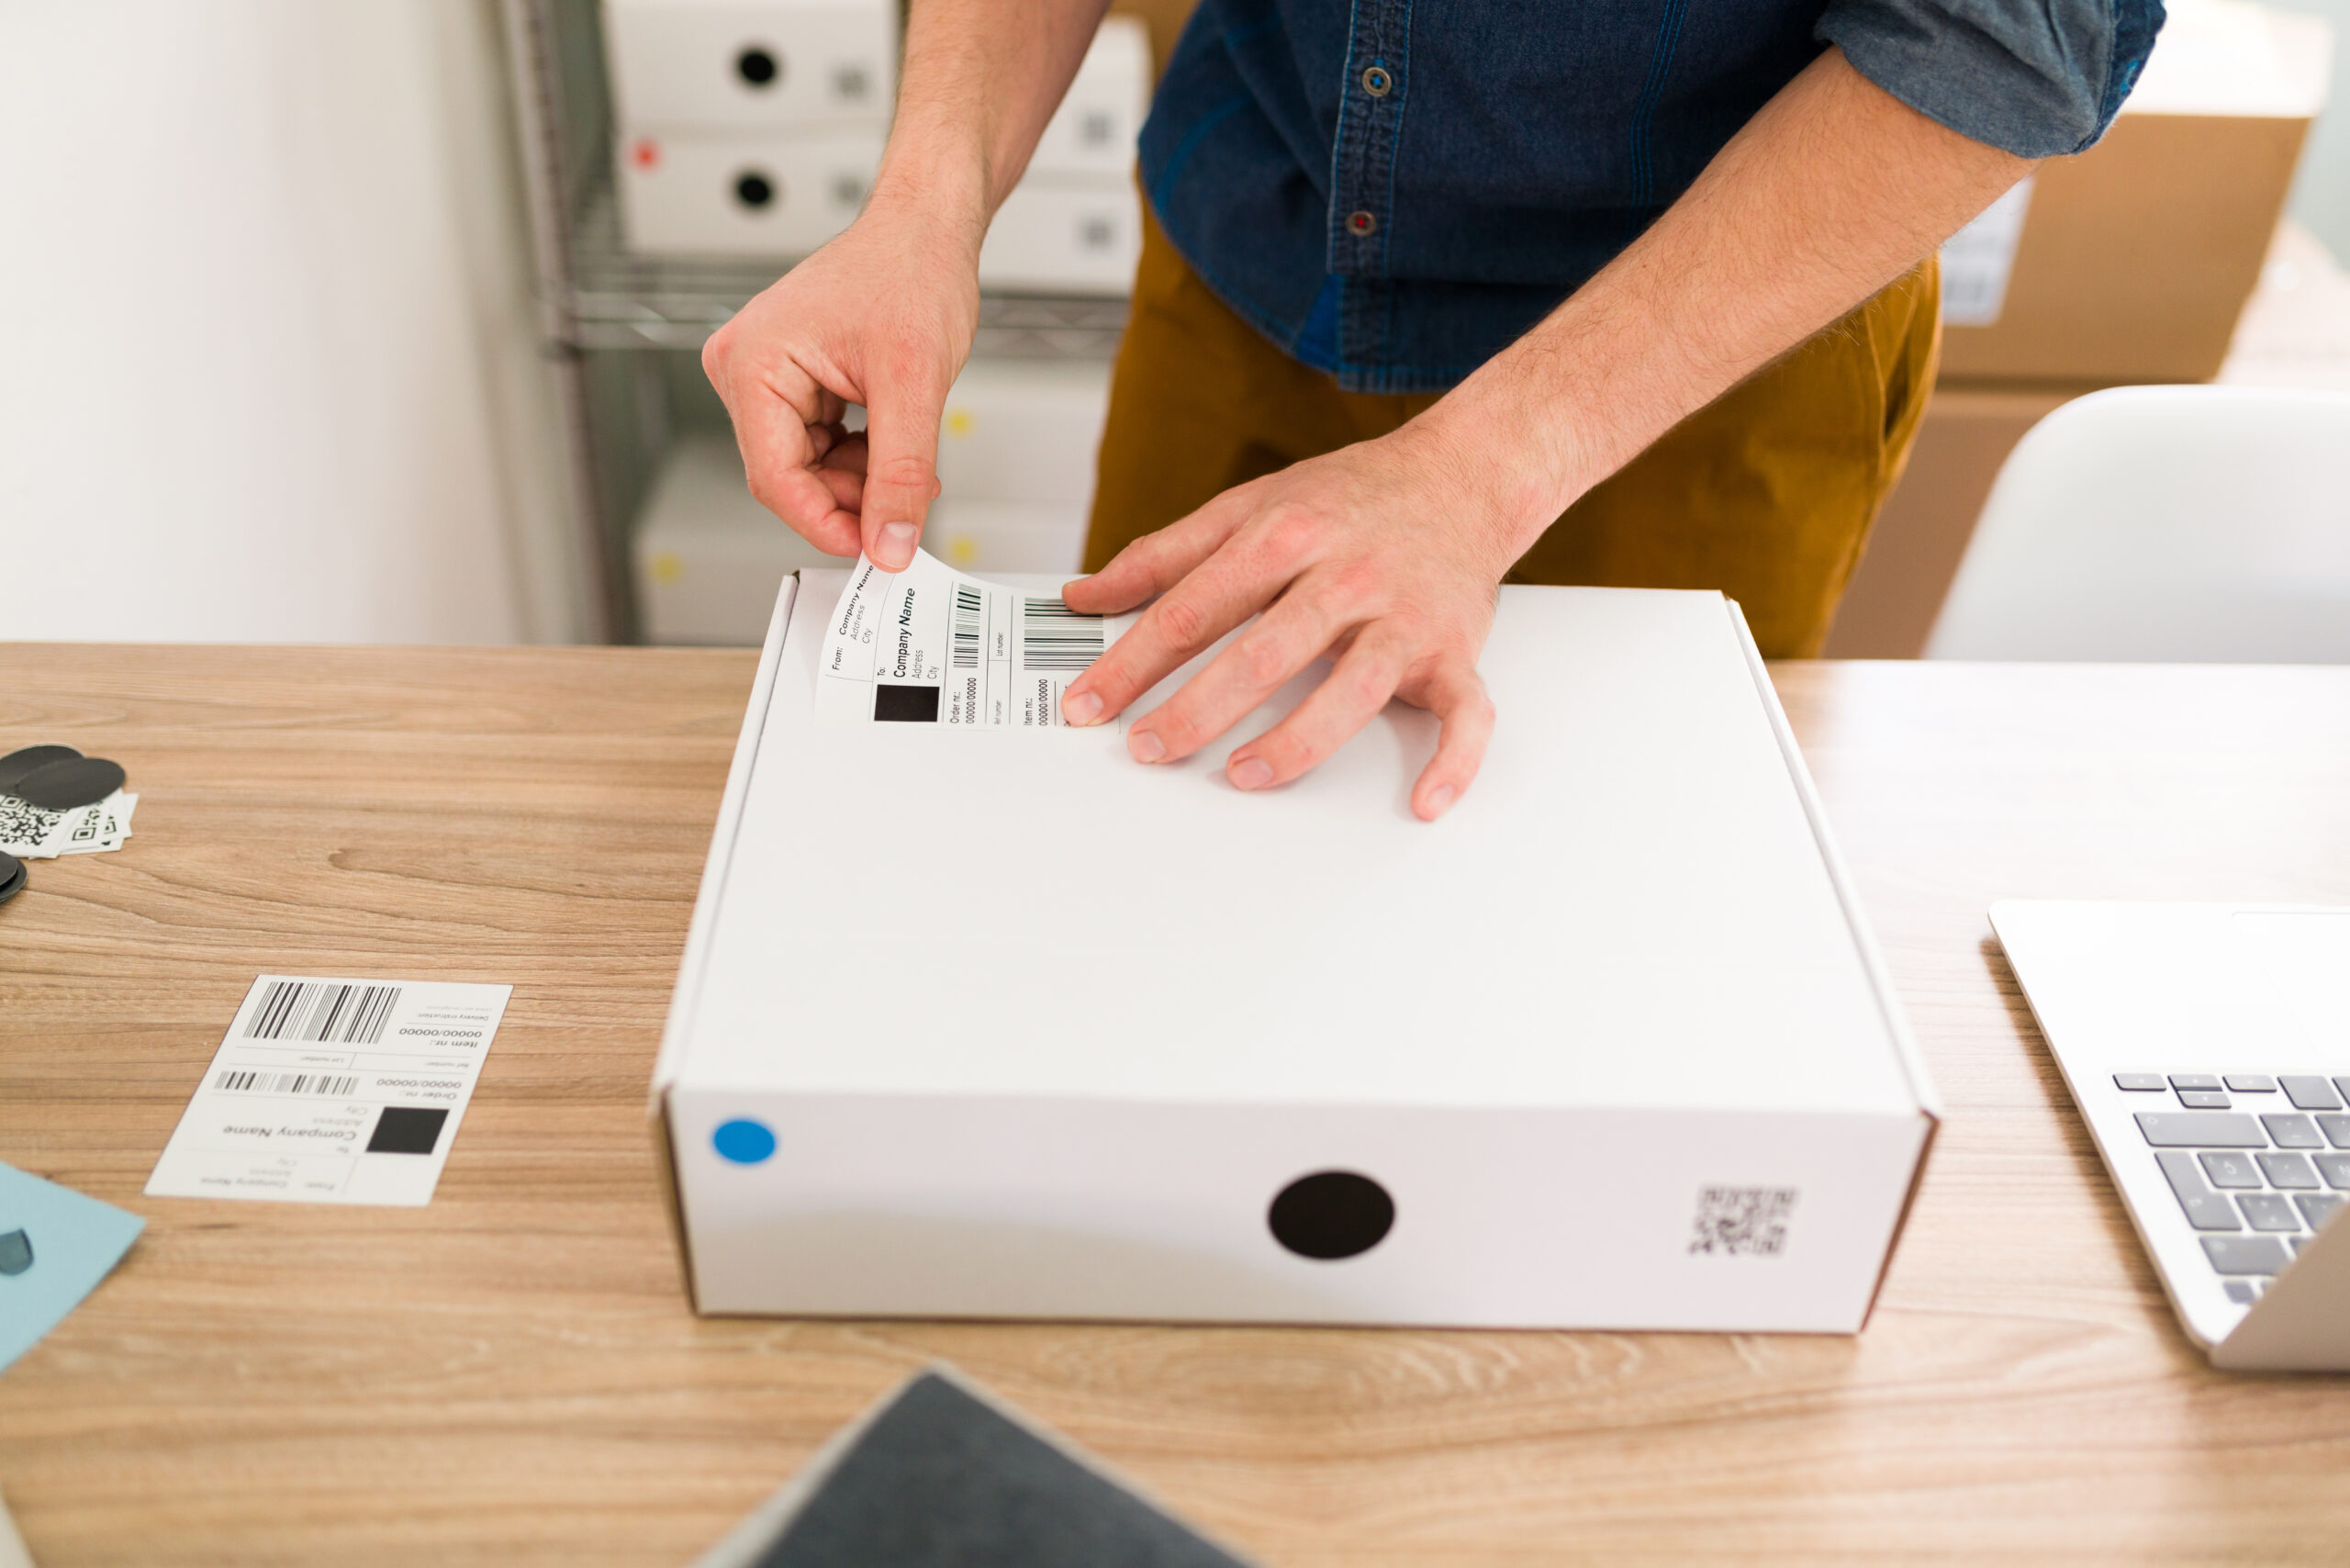
Once Amazon approves your shipment, you’ll advance to the label printing stage. This step generates two distinct labels for each box you’re shipping. The first label comes from your chosen carrier UPS, FedEx, etc. and contains the shipping address, tracking barcode, and delivery information. The second label is Amazon’s FBA box label, which includes crucial identifiers linking that specific box to your shipment plan and listing. Both labels must appear clearly on the exterior of each box.
Amazon’s system automatically generates the correct number of label sets based on how you split your shipment. In our example, six boxes go to one Pennsylvania fulfillment center while four boxes head to a different Pennsylvania warehouse. Consequently, you’ll print six label sets for the first shipment and four for the second. Each label set includes both the carrier shipping label and the FBA box label, which you’ll affix to the same box.
Here’s an absolutely critical money-saving tip that experienced sellers swear by: document everything meticulously. Before sealing your boxes, take clear photos showing the products inside and the FNSKU barcodes on each unit. Weigh each box individually and record the weights in a spreadsheet. When you drop off at the carrier location, request detailed receipts showing every tracking number. Additionally, take photos of the sealed, labeled boxes before they leave your possession.
Why go through all this trouble? Amazon occasionally loses shipments. They damage boxes in transit. They record incorrect unit counts when receiving inventory. When disputes arise, thorough documentation means Amazon will refund you for missing or damaged items. Without proof, you’re at their mercy. Spending five extra minutes documenting your Amazon FBA shipment protects hundreds or thousands of dollars in inventory investment.
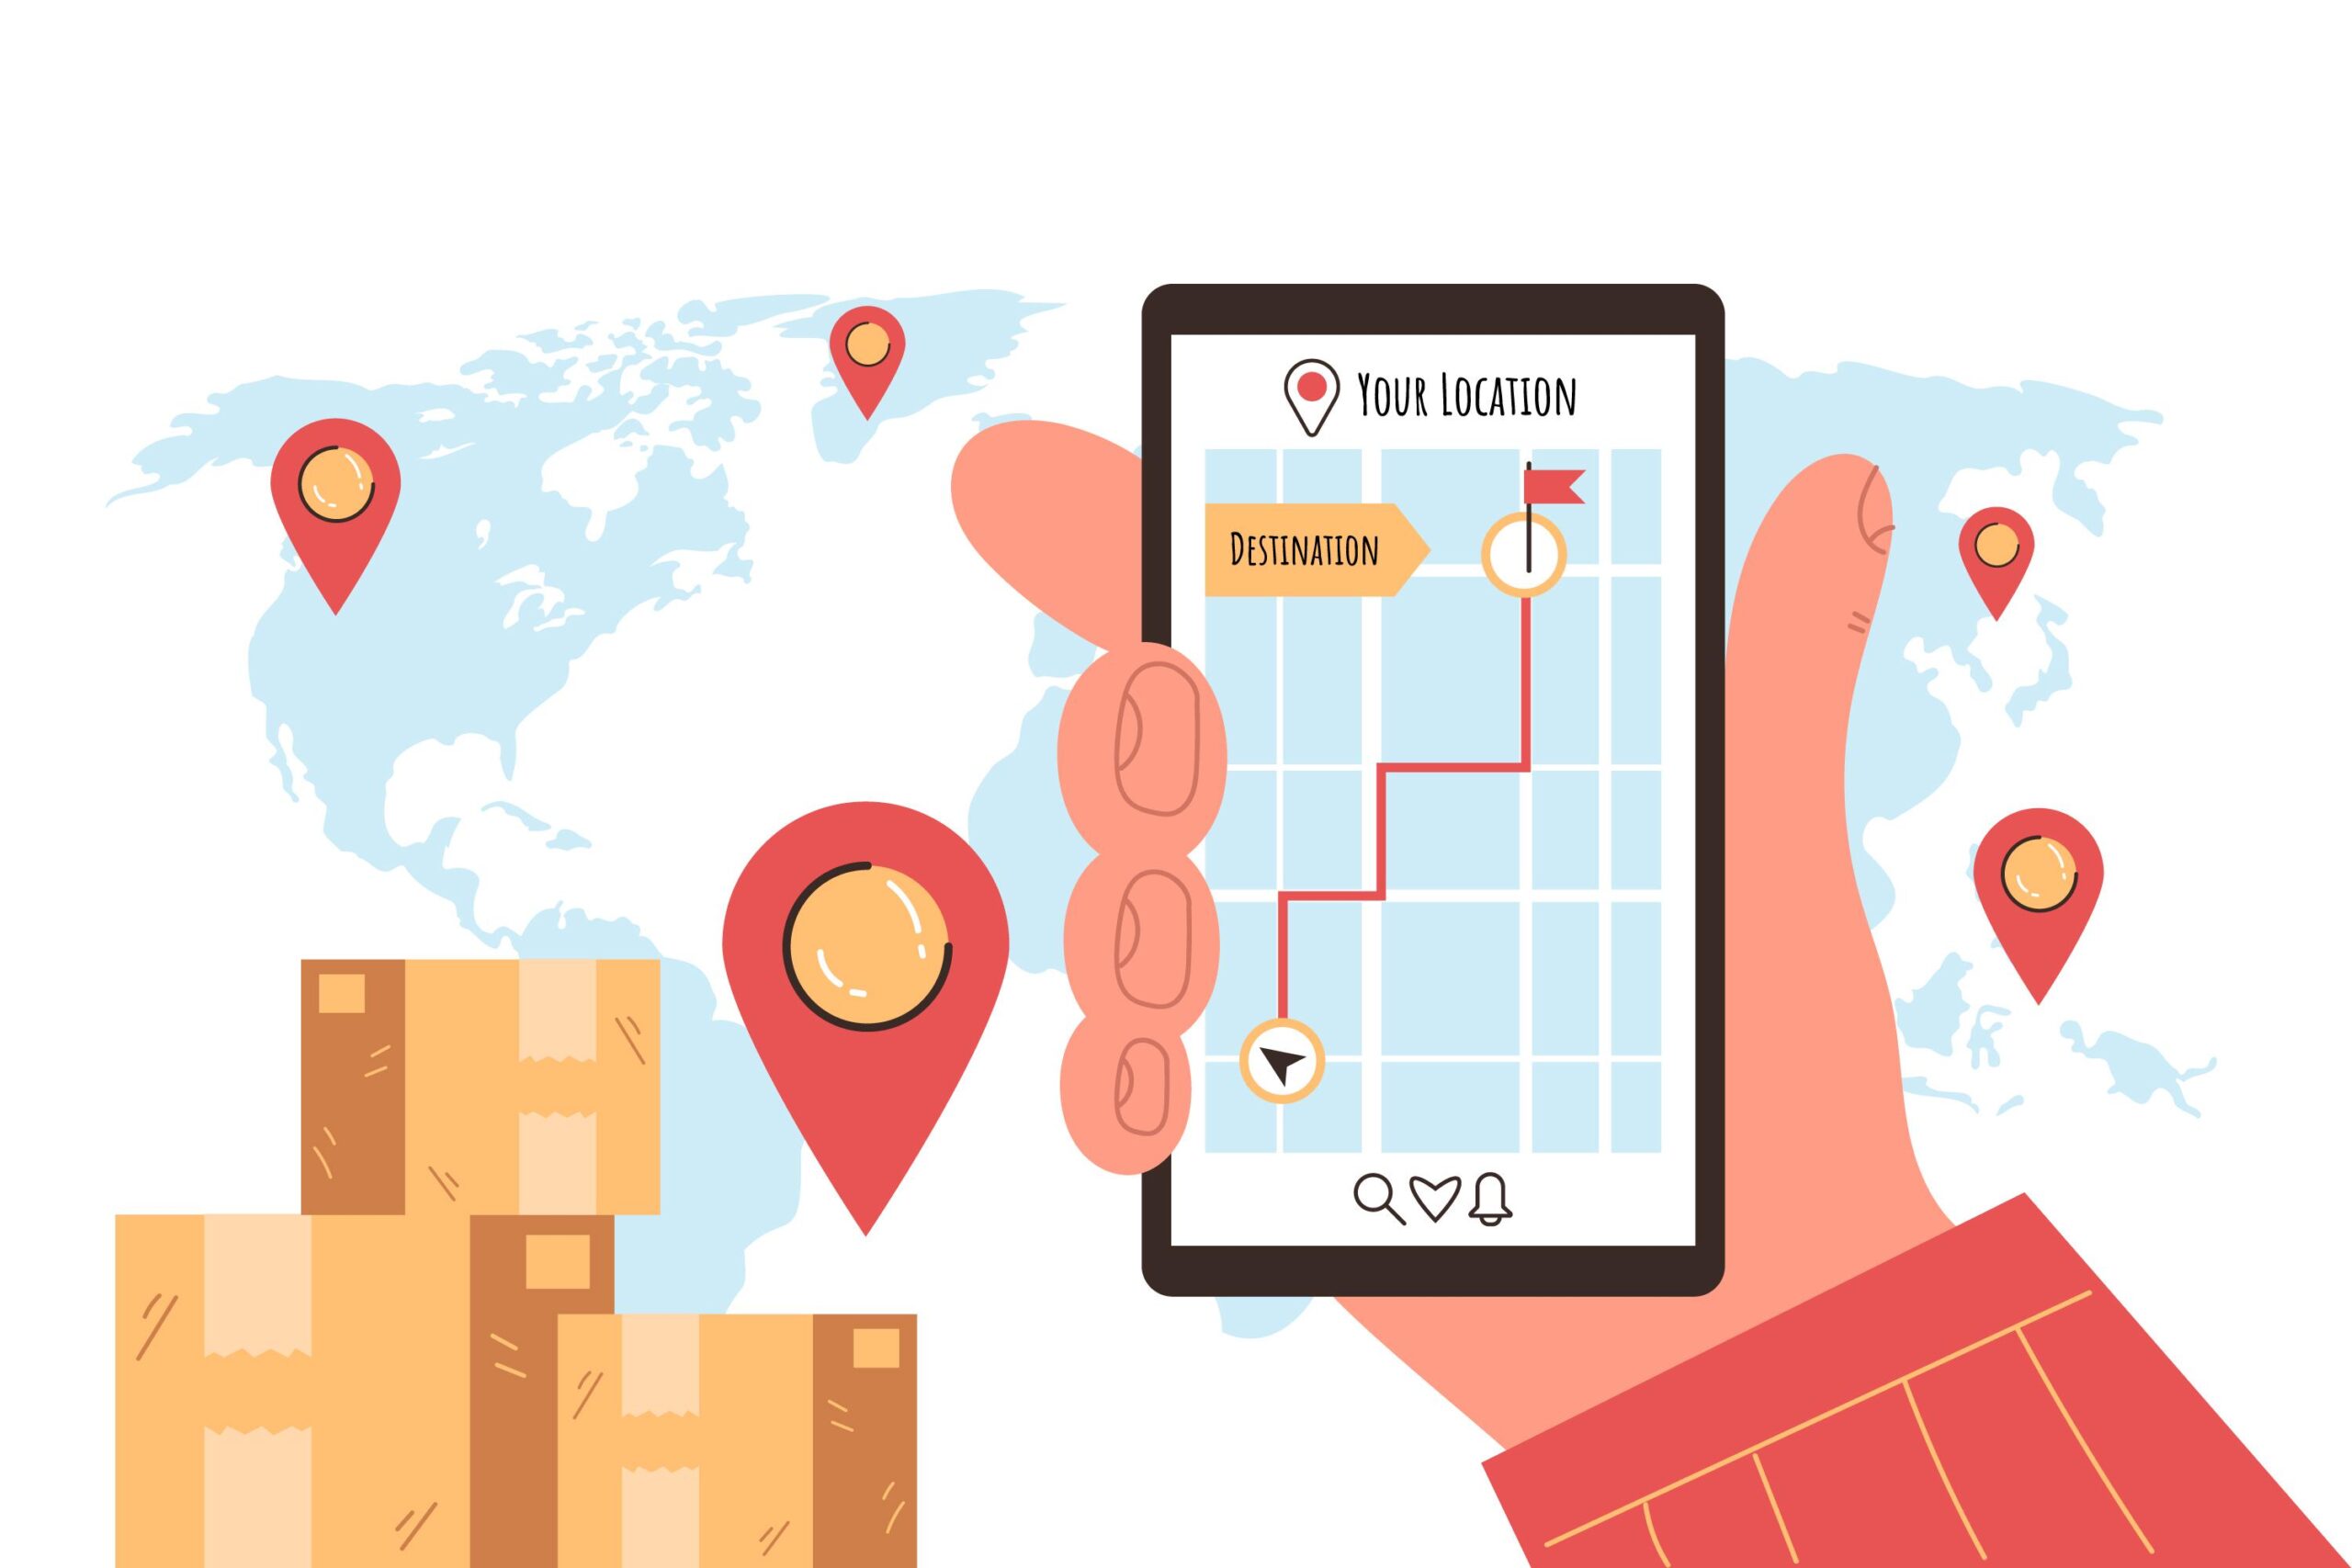
Tracking Your Shipment

After dropping your boxes at the carrier, monitor your Amazon FBA shipment progress through Amazon’s shipping queue. Navigate to this section in Seller Central. You’ll see all your shipments and their current status. The system displays several possible statuses. Each indicates a different stage in the journey. “Ready to Ship” means you’ve created the shipment plan but haven’t marked it as shipped. “Working On” indicates an incomplete step, usually an unprinted label.
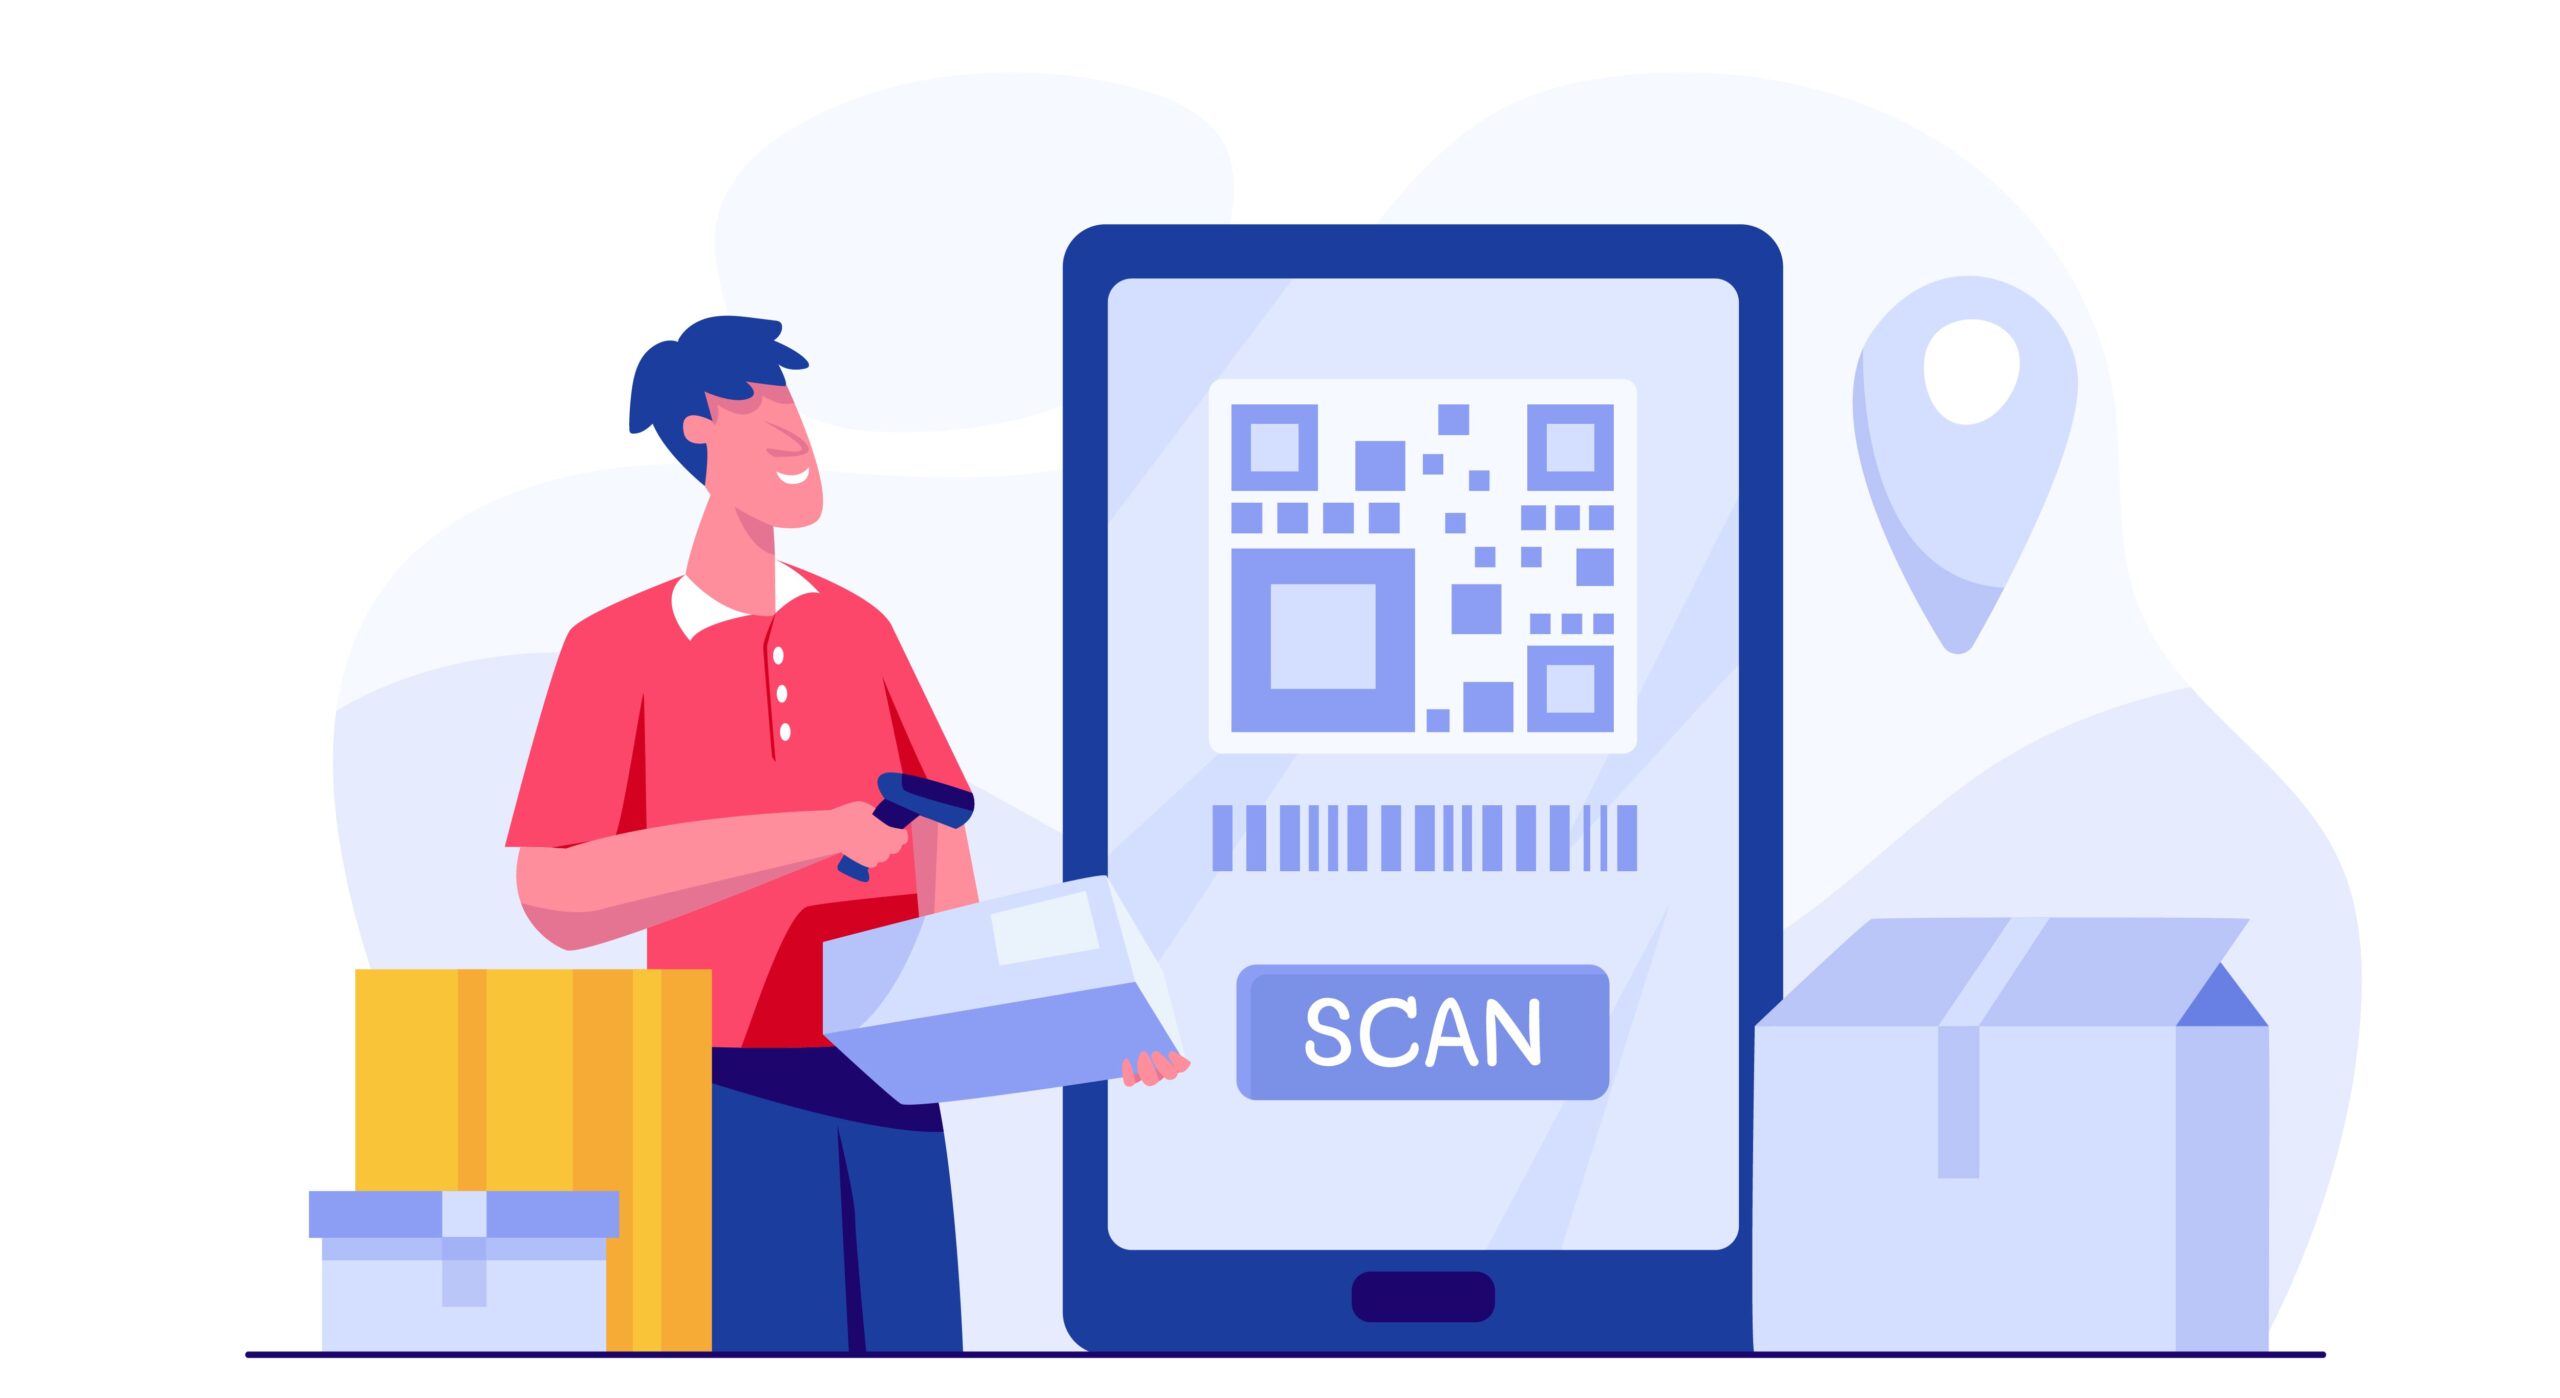
Once you ship, the status changes to “In Transit,” which simply means your boxes are traveling to Amazon’s warehouse. When they arrive, you’ll see “Delivered,” but don’t celebrate just yet, delivered doesn’t mean available for sale. Amazon still needs to physically open your boxes, scan your FNSKU barcodes, and enter the units into their inventory system. Therefore, the status will then show “Checked In” followed by “Receiving” as they process your shipment.
Only when the status finally reaches “Available for Sale” can customers actually purchase your product. This entire progression typically takes three to six weeks from the moment you drop off boxes to when inventory goes live. Various factors affect this timeline, including seasonal volume at Amazon warehouses, how many other shipments they’re processing, and even the specific fulfillment center receiving your boxes. Some warehouses move faster than others.
Resist the urge to panic if your shipment sits at “Delivered” for two weeks without advancing. Amazon processes thousands of shipments daily, and yours is in queue with everyone else’s. However, if six weeks pass without your shipment being checked in, that’s when you should contact Amazon Seller Support. Open a case, provide your shipment ID and tracking numbers, and ask them to investigate. Usually, they’ll locate your shipment and push it through receiving.
Common Mistakes to Avoid

Using an incorrect ship-from address ranks among the most frequent Amazon FBA shipment mistakes that cause problems. Amazon’s system expects your boxes to arrive from the address you entered during shipment creation. When the actual shipping origin differs, it can trigger flags in their receiving system, potentially delaying or complicating check-in. Moreover, this discrepancy might cause issues if you need to file a claim for lost or damaged shipments. Always triple-check that your ship-from address matches where the boxes will actually originate.
Forgetting to apply FNSKU barcodes to every single unit causes major headaches. Some sellers mistakenly think they can leave products with their original UPC barcodes or that FNSKU labels on the outer box suffice. Neither approach works, Amazon requires the FNSKU on each individual unit inside every box. When shipments arrive without proper unit-level labeling, Amazon charges you $0.55 per unit to apply labels themselves, adding unexpected costs. Alternatively, they might refuse the shipment entirely, forcing you to recall it at your expense.
Shipping excessive inventory before understanding your turnover rate creates a costly trap. Amazon charges long-term storage fees on inventory that sits in their warehouses for more than 365 days. These fees add up quickly, turning unsold inventory into a monthly expense that eats your profits. Many new sellers get excited and ship 1,000+ units of their first product, only to discover sales velocity is slower than projected. Starting with 500 units provides a much safer testing ground, allowing you to gauge demand before committing to larger inventory positions.
When shipping pallets, failing to obtain a signed Bill of Lading from the pickup driver eliminates your proof of what was shipped and its condition at pickup. This document becomes essential if shipments go missing or arrive damaged, as it establishes what the freight carrier received. Your manufacturer can help create Bills of Lading if you’re shipping directly from their facility, or you can generate them yourself using templates. Never allow a pallet to leave without this signed documentation.
International Shipping Considerations
Sellers sourcing products internationally face additional complexity in getting inventory to Amazon’s warehouses. The two primary shipping methods like sea freight and air freight that offer dramatically different tradeoffs. Sea freight costs significantly less per unit, making it ideal for large orders or products with healthy profit margins. However, ocean shipping takes substantially longer, often requiring four to eight weeks to cross the Pacific Ocean from China to US ports. Consequently, you’ll need to plan inventory orders well in advance and account for this extended timeline.
Air freight moves products much faster, typically delivering from Chinese manufacturers to US warehouses within seven to ten days. This speed comes at a premium price, sometimes costing three to five times more than sea freight. Nevertheless, air shipping makes sense in specific situations: when launching a new product and needing inventory quickly, when running low on stock and needing emergency replenishment, or when shipping small, high-value items where the cost difference remains manageable.
Working with a professional freight forwarder dramatically simplifies international shipping logistics. These companies specialize in moving products across borders, handling customs documentation, coordinating with carriers, and managing the complex regulations involved in international trade. While freight forwarders charge fees for their services, the time saved and headaches prevented usually justify the cost. Furthermore, they leverage bulk shipping volume to negotiate better rates than you could obtain independently.
When discussing options with freight forwarders, some prefer shipping to a single Amazon fulfillment center rather than splitting across multiple locations. This preference stems from the added complexity of coordinating international shipments to multiple domestic destinations simultaneously. If your forwarder strongly recommends single-location shipping, consider following their advice, they understand the logistical challenges better than most sellers. You can always let Amazon redistribute inventory after it clears customs and arrives at the first warehouse.
Scaling Your Shipping Operations
Once you successfully complete your first shipment, subsequent ones become remarkably straightforward. The templates you created, the ship-from address already in the system, and your familiarity with the workflow combine to make repeat shipments incredibly fast. Experienced sellers complete the entire process in under two minutes because they’re simply reusing proven templates and confirming quantities. This efficiency allows you to focus on higher-value activities like marketing, product research, and customer service.
Strategic timing of your inventory orders prevents stockouts while minimizing storage costs. Start monitoring your inventory levels closely as you approach 30 days of remaining stock. This buffer gives you time to manufacture new inventory, ship it to Amazon FBA Shipment, and account for the three-to-six-week receiving timeline. Setting up inventory alerts in Seller Central automatically notifies you when stock levels drop below your specified threshold, removing the need to check manually.
As your business grows, consider whether you should continue handling shipments yourself or outsource to a prep center. These third-party facilities receive inventory from your manufacturer, apply FNSKU labels if needed, create Amazon FBA shipments, and handle the entire shipping process. While prep centers charge fees, they save enormous time and allow you to scale without being physically involved in every shipment. Many successful sellers reach a point where their time is worth more than the prep center fees.
What initially feels complicated and overwhelming quickly becomes second nature. You’ll remember box dimensions, understand carrier timing, and navigate Seller Central‘s shipping workflow without thinking. This mastery represents an important milestone in your Amazon FBA shipment journey, proving you can handle the operational side of the business while focusing on growth.
Taking Your Amazon FBA Business to the Next Level

You now possess comprehensive knowledge about shipping products to Amazon’s fulfillment network, understanding that most new sellers lack. From FNSKU barcodes to placement fees, from documentation strategies to avoiding long-term storage charges, you’ve got the tactical playbook for getting inventory to Amazon efficiently and cost-effectively. However, shipping represents just one component of building a truly successful Amazon FBA business.
Product selection determines whether your shipping skills even matter. Choosing the wrong product means shipping inventory that never sells, turning those boxes into expensive storage fees rather than profits. Similarly, optimizing your listings, executing powerful launch strategies, mastering Amazon PPC advertising, and scaling operations all require specific knowledge and proven systems. Many sellers spend months or years trying to figure these pieces out through trial and error, losing money and confidence along the way.
The Passion Product Formula provides a comprehensive roadmap for navigating every stage of the Amazon FBA shipment journey. Rather than piecing together information from scattered YouTube videos and outdated blog posts, you gain access to a structured curriculum covering product research, supplier negotiation, listing creation, launch tactics, advertising strategies, and scaling systems. Our coaching programs, including the Passion Product Formula, the Passion Product Accelerator, and the Fast Track to meet you wherever you are in your journey, providing the specific guidance you need.
We’re currently opening a limited number of one-on-one coaching spots for motivated sellers ready to take decisive action. These sessions provide personalized guidance on your specific products, challenges, and goals, helping you avoid costly mistakes and compress your timeline to profitability. If you’re serious about building a successful Amazon FBA business beyond just understanding shipping logistics, apply for a free strategy call using the link below. Let’s work together to transform your Amazon aspirations into a thriving reality.
Frequently Asked Questions
How long does it take for Amazon to receive and process my shipment?
The typical timeline from dropping boxes at your carrier to seeing inventory available for sale spans three to six weeks. This includes transit time, Amazon’s receiving queue, the physical check-in process, and final system updates. During peak seasons like Q4, processing times may extend even longer. Don’t panic if your shipment shows “Delivered” for two weeks before advancing to “Checked In”, this delay is completely normal given Amazon’s massive daily receiving volume.
Can I ship products without FNSKU barcodes and let Amazon label them?
Technically yes, but this decision costs you $0.55 per unit. For a shipment of 500 units, that’s $275 in unnecessary fees. Instead, incorporate FNSKU barcodes into your product packaging during manufacturing, or apply barcode stickers yourself before shipping. This simple step saves hundreds or thousands of dollars across multiple shipments throughout the year.
Should I choose one shipment location or multiple fulfillment centers?
Multiple fulfillment centers typically cost less overall despite seeming more complicated. Amazon FBA Shipmentcharges lower placement fees when you allow them to split inventory across their network, and your products reach customers faster from geographically distributed warehouses. The exception is international shipments, where single-location shipping simplifies customs and freight forwarding logistics.
What happens if my shipment gets lost or damaged in transit?
This is exactly why documenting everything is crucial. If you have photos of your boxes, weight records, carrier receipts with tracking numbers, and proof of what you shipped, Amazon will refund you for lost or damaged inventory. Without documentation, however, you’ll struggle to prove what was lost, making it nearly impossible to recover your investment. Spend five extra minutes on documentation to protect potentially thousands of dollars.
How much inventory should I ship for my first product launch?
Start conservatively with approximately 500 units unless you have strong validation of demand. Shipping excessive inventory before understanding your turnover rate risks accumulating long-term storage fees after six months. You can always reorder more inventory quickly once you validate sales velocity, but you cannot easily recover capital tied up in slow-moving inventory sitting in Amazon’s warehouses.
Do I need a freight forwarder for international shipping?
While not absolutely required, freight forwarders dramatically simplify international logistics and usually save money through their negotiated carrier rates. They handle customs documentation, coordinate with factories and carriers, and manage the complexity of moving products across borders. For most sellers, especially those new to importing, the freight forwarder’s fees represent money well spent.
How do I track my shipment status in Seller Central?
Navigate to your Seller Central dashboard and find the “Shipping Queue” section under Inventory. This page displays all your shipments with current statuses ranging from “Ready to Ship” through “In Transit,” “Delivered,” “Checked In,” “Receiving,” and finally “Available for Sale.” You can click individual shipments to see detailed information including tracking numbers and unit counts.
What’s the difference between AWD and regular fulfillment centers?
Amazon Warehousing and Distribution (AWD) serves as a storage facility where inventory waits until you request transfer to a fulfillment center. Your products aren’t available for customers to purchase while in AWD, they must move to actual fulfillment centers first. Regular fulfillment centers are where Amazon picks, packs, and ships customer orders, making your inventory immediately available for sale upon arrival.


