
Starting your Amazon FBA journey can feel overwhelming when you first log into Seller Central. You’ll see a maze of options, forms, and requirements staring back at you. However, creating your first Amazon product listing is actually far more straightforward than most beginners realize. Once you understand the workflow and know which fields truly matter, the entire process becomes second nature.
Throughout this comprehensive guide, you’ll discover exactly how to navigate Amazon Seller Central. You’ll learn to create a compelling product listing and set yourself up for long-term profitability. Whether you’re launching your first product or looking to refine your listing creation process, mastering these fundamentals is absolutely essential.
The good news is that Amazon has streamlined much of the process over the years. This makes it easier than ever to get your products in front of millions of potential customers. By following the proven strategies outlined in this guide, you’ll avoid common pitfalls that trip up new sellers. Instead, you’ll create listings that rank well, convert browsers into buyers, and build sustainable income. Best of all, you’ll learn how these techniques integrate seamlessly with the Passion Product Formula methodology.

- Getting Started: Navigating to the Product Creation Portal
- Understanding Product IDs and UPC Codes
- Amazon FN SKU vs. UPC: What You Need to Know
- Creating Your Product Listing: The Item Name
- Brand Verification Process
- Writing Compelling Product Descriptions
- Crafting High-Converting Bullet Points
- Product Images: Your Most Important Asset
- Product Details and Compliance Information
- Safety, Compliance, and Regulatory Requirements
- Setting Up Your Offer: Pricing and Fulfillment
- Final Submission and Going Live
- Navigating the Amazon Seller Central Dashboard
- Managing Your Inventory Like a Pro
- Essential Amazon Seller Tools and Features
- Reviews, Feedback, and Customer Relations
- Your Path Forward: From Overwhelm to Amazon Success
- Frequently Asked Questions (FAQs)
Getting Started: Navigating to the Product Creation Portal
Before you can create your Amazon product listing, you’ll need to know exactly where to begin inside Seller Central. After logging into your account, navigate to the main dashboard. Look for the “Manage All Inventory” section in the menu. This centralized hub serves as your command center for all product-related activities.
Once you’re in this section, you’ll immediately notice the prominent “Add a Product” button. This is your gateway to creating new listings. Amazon provides three primary methods for adding products to your catalog. You can search for existing products, enter product IDs directly, or upload via spreadsheet. For most beginners, the first two options are significantly more practical and user-friendly.
Choosing Your Listing Method
Searching allows you to check whether your product already exists in Amazon’s catalog. Entering product IDs gives you direct access to creating brand-new listings. Spreadsheet uploads introduce unnecessary complexity for sellers just starting out. They’re better reserved for experienced sellers managing large catalogs with hundreds of SKUs.
Choosing between the search method and product ID entry depends entirely on your specific situation. If you’re planning to sell a product that already has a listing on Amazon, the search function helps you find that existing ASIN quickly. Conversely, when you’re launching a completely new product, you’ll want to use the product ID method to create a fresh listing from scratch. Understanding this distinction right from the start saves you valuable time and prevents frustration.
Understanding Product IDs and UPC Codes
Every product sold through Amazon requires a unique identifier known as a UPC (Universal Product Code). This is the standardized barcode system you’ve seen on virtually every retail product throughout your life. These barcodes serve multiple critical functions in the e-commerce ecosystem. They help with warehouse inventory management, point-of-sale scanning, and tracking products throughout the entire supply chain.
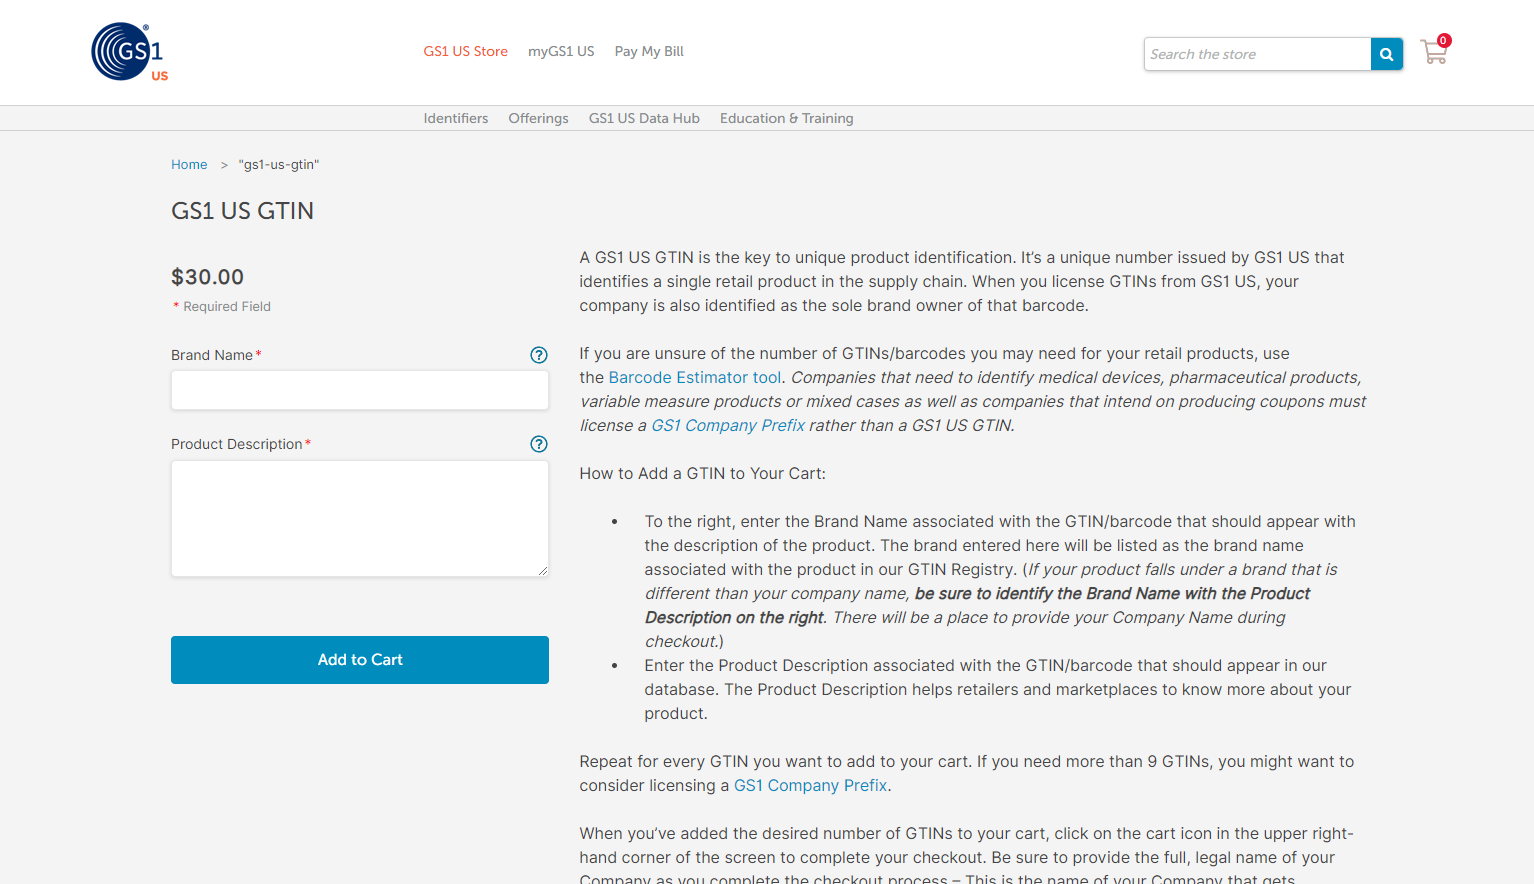
When you examine any product in your home right now, you’ll find a UPC barcode printed somewhere on the packaging. It’s typically on the back or bottom panel. To obtain a legitimate UPC code for your Amazon product listing, you’ll need to visit GS1. This is the official global organization that issues these universal product codes. The investment is remarkably affordable, with individual UPC codes costing approximately $25 each.
Where to Purchase Legitimate UPC Codes
Many new sellers mistakenly try to save money by purchasing UPCs from resellers or unofficial sources. This shortcut can create serious problems down the road. These include potential listing suspensions and brand registry complications. Bulk purchases from GS1 offer better value if you’re planning to launch multiple products.
Having a proper, GS1-issued UPC code isn’t just about Amazon compliance. It’s about building a legitimate brand with long-term expansion potential. If you ever decide to sell your products through other channels, you’ll absolutely need these legitimate codes. Furthermore, authentic UPC codes provide credibility and professionalism that resonates with both Amazon’s algorithms and discerning customers.
Amazon FN SKU vs. UPC: What You Need to Know
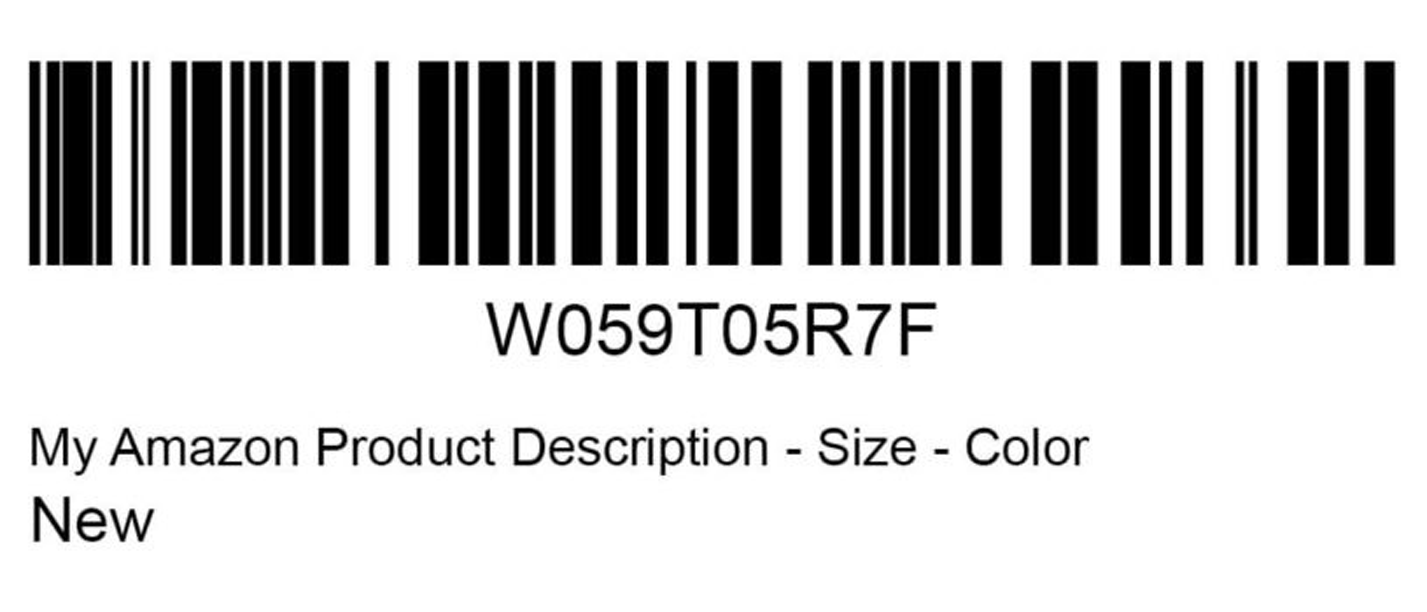
Beyond traditional UPC codes, Amazon operates its own proprietary barcode system called FN SKU. This stands for Fulfillment Network Stock Keeping Unit. It functions exclusively within Amazon’s ecosystem. When you choose to use FN SKU instead of UPC, Amazon generates a unique barcode specifically for your product.
This option can seem appealing because it eliminates the upfront cost of purchasing UPC codes. Amazon has made it increasingly easy to bypass UPC requirements for certain categories and sellers. However, understanding the limitations of FN SKU codes is crucial for making informed decisions about your business strategy. Since these codes only function within Amazon’s system, any product labeled with an FN SKU barcode cannot be sold through other channels.
Making the Right Choice for Your Business
If your long-term vision includes expanding to multi-channel distribution, choosing FN SKU creates an unnecessary barrier. This limits your flexibility in selling on your own website, through other marketplaces, or even in brick-and-mortar retail. You’d need to completely relabel all your inventory to expand beyond Amazon.
Despite these limitations, FN SKU codes remain perfectly acceptable for sellers who are exclusively focused on Amazon. Many successful Amazon-only brands use FN SKU without any issues whatsoever. The key is making this decision intentionally based on your specific business goals. For sellers following the Passion Product Formula, which emphasizes building sustainable, scalable businesses, investing in legitimate UPC codes typically aligns better with long-term growth objectives.
Creating Your Product Listing: The Item Name

Your product’s title represents one of the most powerful ranking factors in Amazon’s search algorithm. This makes this field absolutely critical for both discoverability and conversion. Amazon’s A9 algorithm analyzes every word in your title to determine when your product should appear in search results. Crafting a descriptive, keyword-rich title is essential for organic visibility.
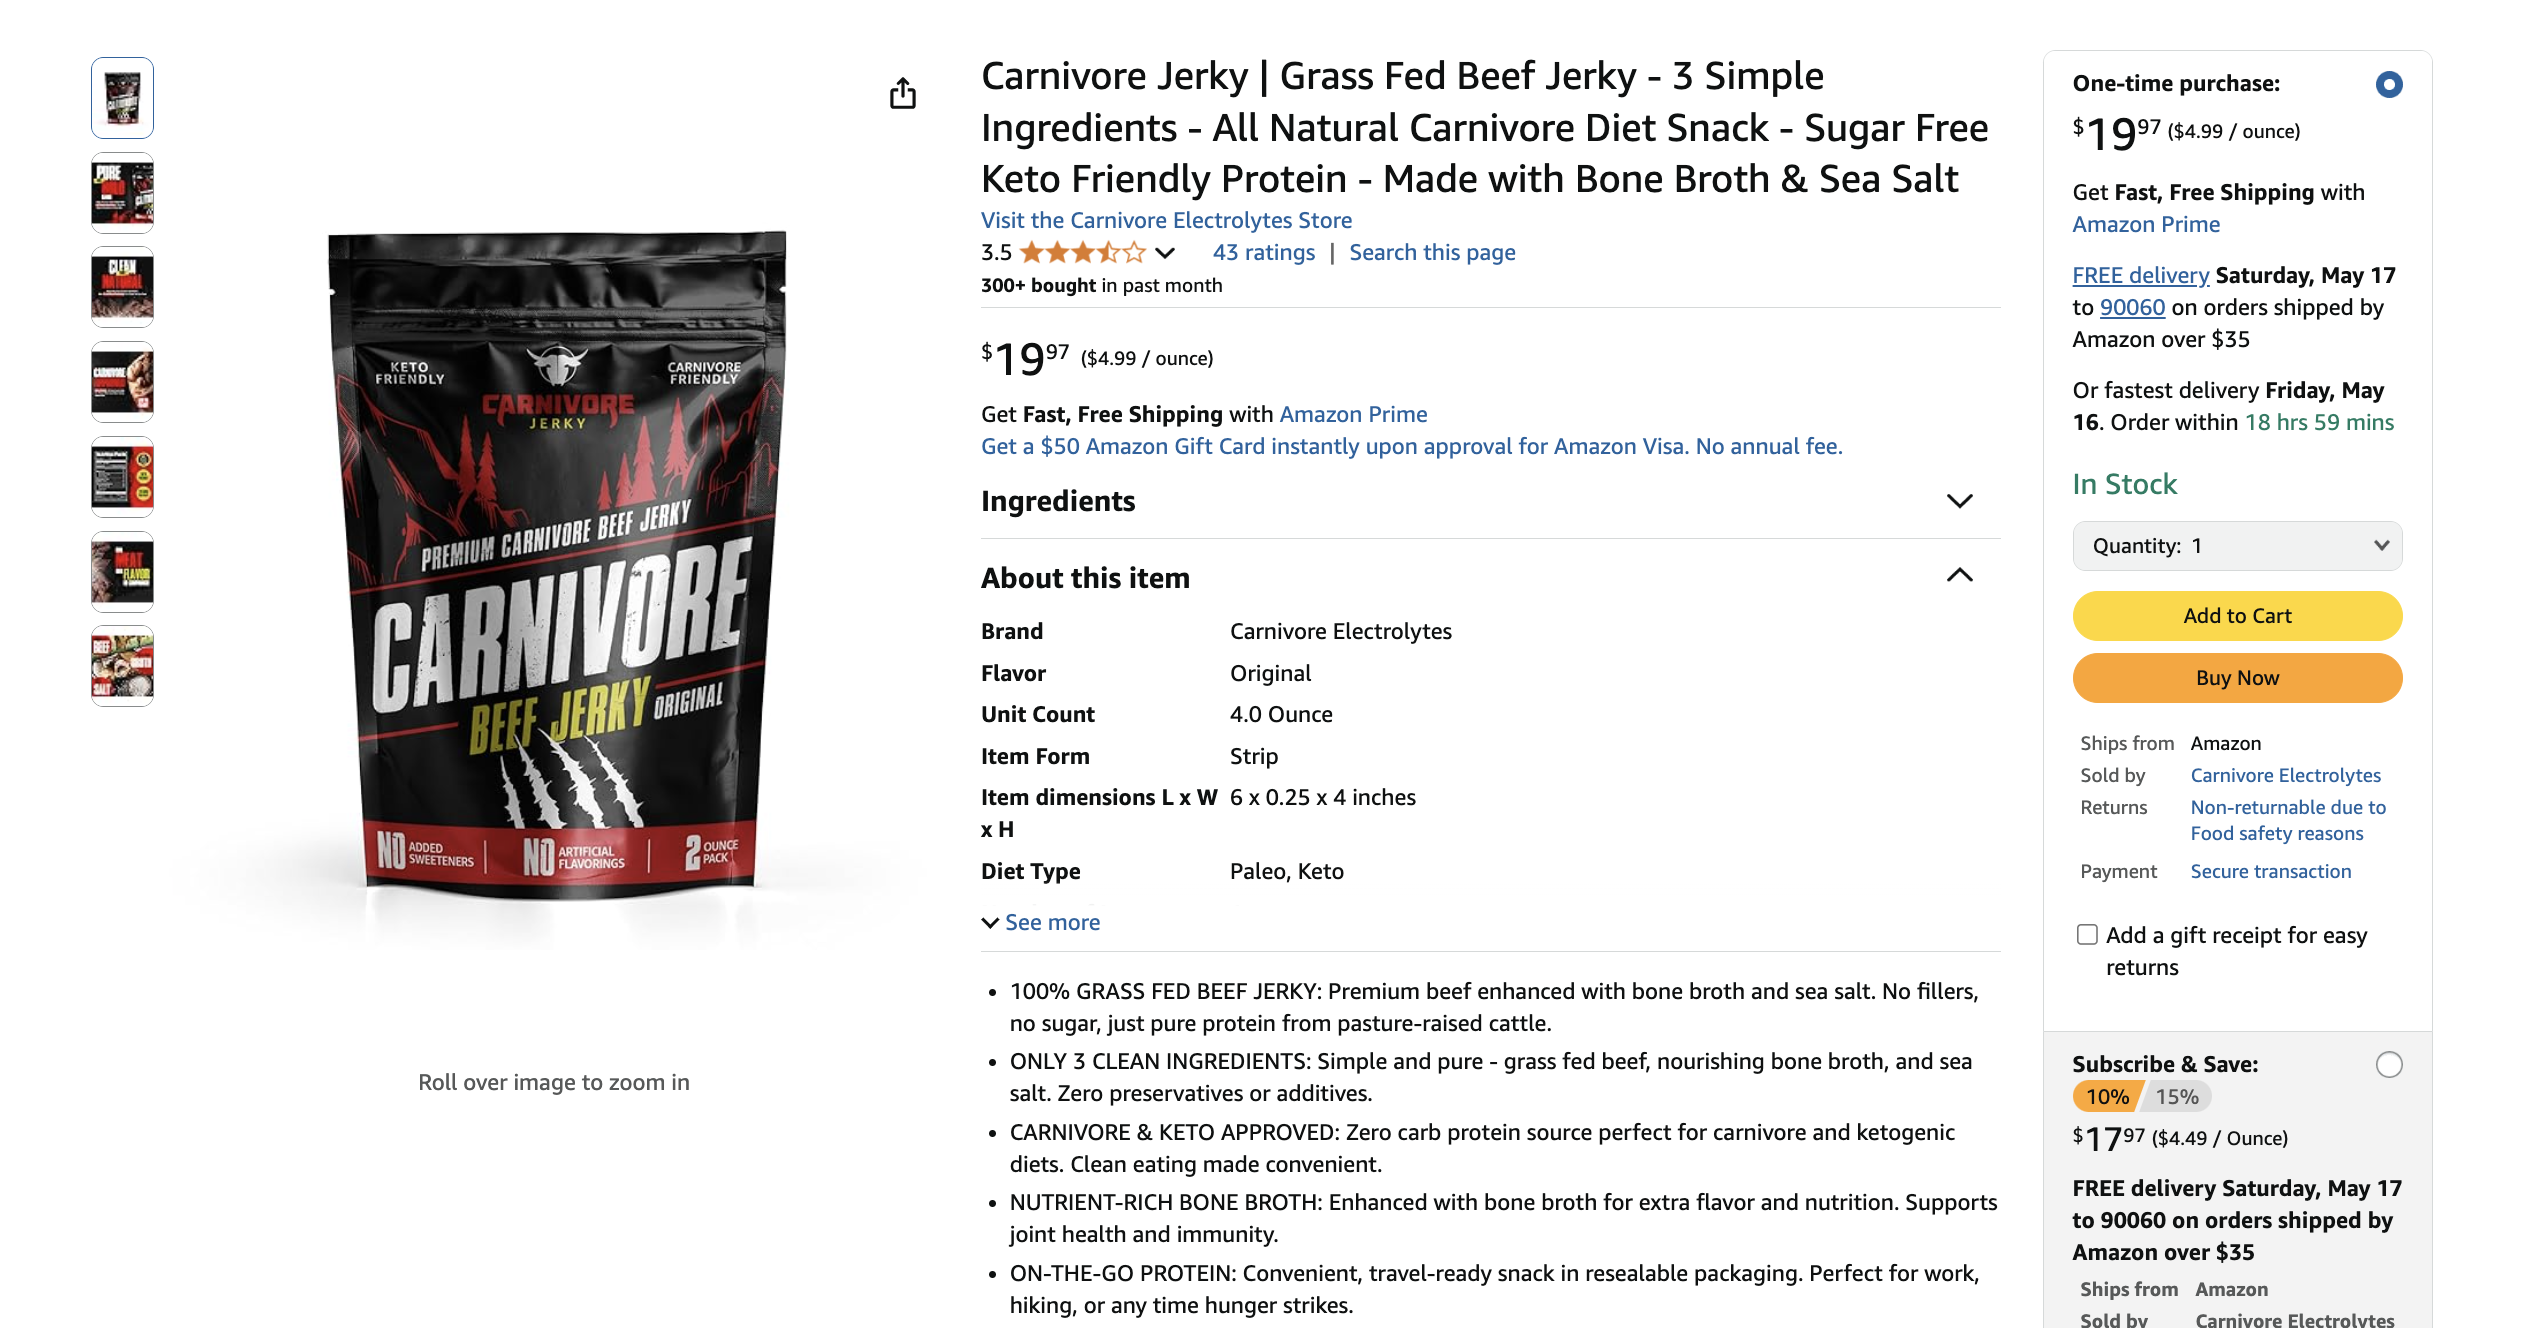
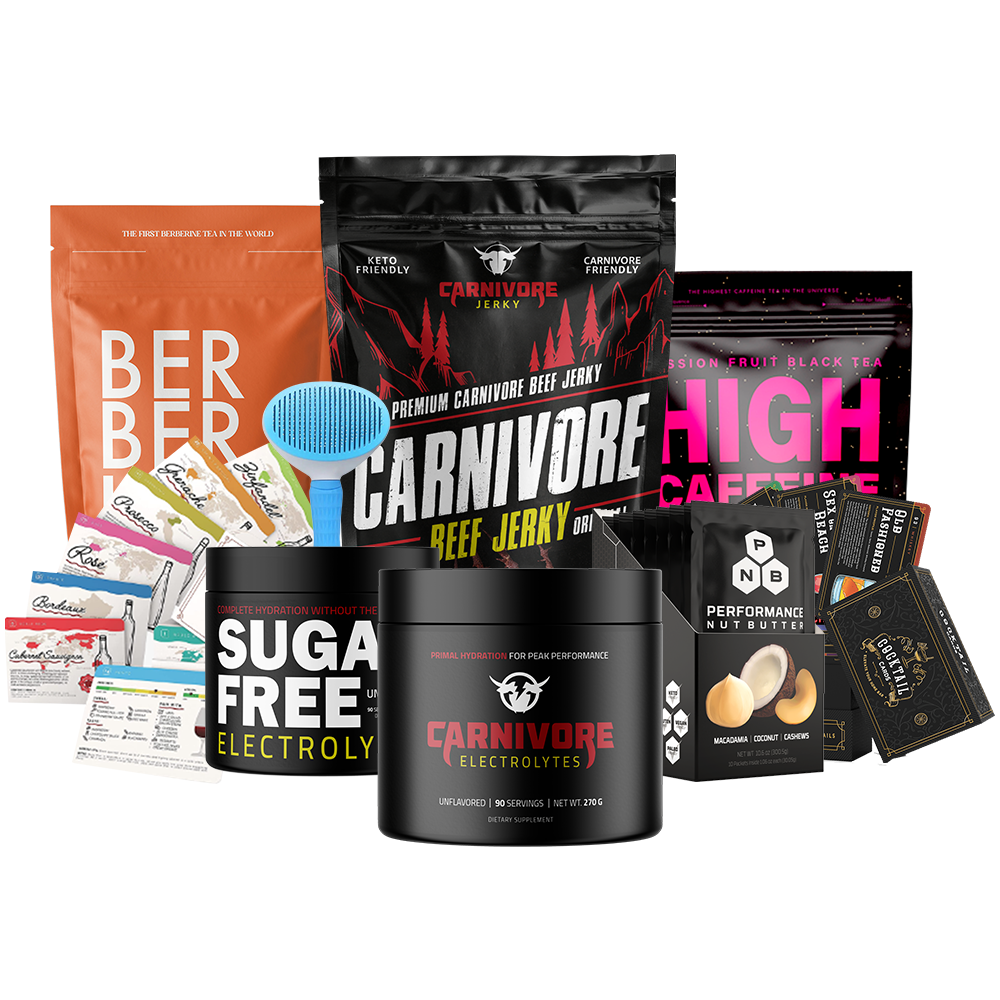
Rather than creating short, vague titles, successful sellers pack their titles with relevant search terms. They maintain readability while providing valuable information to potential customers. Consider this example: “Carnivore Jerky, 100% Carnivore Friendly, All Natural Beef Jerky for the Carnivore and Keto Diet – Salt and Pepper.” This title incorporates primary keywords while communicating key benefits and specifying the flavor variant.
Best Practices for Title Optimization
The art of title optimization involves balancing keyword density with customer-friendly language. You don’t want it to feel like spam or keyword stuffing. Tools like Helium 10 can help you identify high-volume search terms related to your product category. Remember that Amazon enforces character limits on titles, typically 200 characters.
Every word must earn its place by either improving searchability or providing essential product information. Common mistakes include creating titles that are too short and miss ranking opportunities. Others stuff titles with repetitive keywords that violate Amazon’s terms of service. Some sellers write titles in all caps which can appear unprofessional and may violate category-specific guidelines. By taking time to research your competition and analyze top-performing listings in your category, you’ll establish a strong foundation for success.
Brand Verification Process

Before your Amazon product listing can go live, Amazon requires sellers to verify their brand ownership. This verification step protects both consumers and legitimate brand owners from counterfeit products and unauthorized sellers. When you enter a brand name that isn’t already registered to your Seller Central account, Amazon will prompt you for proof. You’ll need to upload photographic evidence that the brand name actually appears on your physical product or packaging.
The verification process is remarkably straightforward. Simply take a clear photograph showing your brand name prominently displayed on your product or its packaging. For example, if your brand name is “Carnivore Electrolytes,” you’d need to show a photo where those exact words appear on the product label. Amazon’s verification team reviews these submissions relatively quickly, typically approving legitimate brands within 24-48 hours.
Benefits of Brand Registry
This requirement might seem like an extra hurdle when you’re eager to launch. However, it actually provides significant benefits for serious sellers. Brand verification is the first step toward enrolling in Amazon Brand Registry. This unlocks powerful tools like A+ Content, sponsored brand ads, and enhanced brand protection against hijackers.
Furthermore, having your brand officially recognized by Amazon builds credibility with customers. It provides legal recourse if unauthorized sellers attempt to list products under your brand name. The verification process is simple, fast, and opens doors to valuable features that can significantly boost your sales and protect your intellectual property.
Writing Compelling Product Descriptions

Your product description serves a dual purpose that many sellers overlook. It must simultaneously inform potential customers while strategically incorporating keywords. This improves your Amazon product listing’s search ranking. Amazon’s algorithm crawls every word in your description. It uses this content to determine relevancy for various search queries.
Consequently, writing a comprehensive, keyword-rich description isn’t optional. It’s absolutely essential for organic visibility and long-term success on the platform. The most effective approach involves using keyword research tools like Helium 10. These help you identify all relevant search terms your target customers use when looking for products like yours. Rather than simply listing features, weave these keywords naturally into compelling copy.
Balancing SEO with Readability
Tell your product’s story, address customer pain points, and clearly communicate the benefits of choosing your brand. For instance, instead of writing “Our beef jerky tastes good,” you might say “Our all-natural, grass-fed beef jerky delivers the authentic, bold flavor that carnivore diet enthusiasts crave.” Add details like “zero artificial ingredients or added sugars” to reinforce value.
Your description should never feel like a jumbled mess of keywords stuffed together without coherent meaning. Instead, think of it as an opportunity to have a conversation with your ideal customer. Answer their questions and address objections while naturally incorporating the search terms they’re already using. This customer-centric approach aligns perfectly with the Passion Product Formula‘s emphasis on creating genuine value rather than simply gaming algorithms.
Crafting High-Converting Bullet Points
Bullet points occupy prime real estate near the top of your Amazon product listing. They appear prominently where customers first land on your product page. These concise, scannable highlights serve as your elevator pitch. They quickly communicate your product’s most compelling features and benefits before customers scroll down to read your full description.
Because of their strategic positioning and high visibility, well-crafted bullet points can dramatically impact your conversion rate. Amazon allows five bullet points per listing in most categories. Successful sellers use every single one strategically. Consider these examples: “100% All Natural – Jerky from all natural cows raised without hormones or antibiotics.” “Pasture Raised – Cows raised on grass-fed farms and cage-free environments for superior quality.”
Formatting for Maximum Impact
The structure of effective bullet points typically begins with a bold, capitalized feature or benefit. Follow this with a dash and then supporting details that expand on that point. This formatting makes your bullets easy to scan while ensuring that the most important information catches the customer’s eye immediately. Each bullet accomplishes the dual purpose of highlighting a unique selling proposition while incorporating relevant keywords.
Avoid writing bullets that simply repeat information from your title or that state obvious facts that don’t differentiate your product from competitors. Common mistakes include creating bullet points that are either too short and waste valuable space or too long and become difficult to read. Aim for bullets that are substantial enough to provide real value typically 2-3 sentences each while remaining concise and focused.
Product Images: Your Most Important Asset
If there’s one element of your Amazon product listing that deserves the most attention and investment, it’s undoubtedly your product images. Unlike traditional retail shopping where customers can touch, feel, and examine products before purchasing, online shoppers rely entirely on visual information. The perception customers form from your images directly determines whether they click “Add to Cart” or continue searching for alternatives.
This makes professional-quality images absolutely essential for success. Amazon’s image requirements are specific and non-negotiable, particularly regarding authenticity and realism. The platform strictly prohibits AI-generated images, illustrated graphics, or anything that appears artificial or heavily manipulated. Many sellers unknowingly violate these guidelines by using cartoon-style illustrations or obvious computer-generated imagery.
Creating Professional Product Images
This can result in listing suppression or even account strikes. Instead, Amazon requires either authentic photographs of your actual product or highly realistic 3D mockups. These mockups must appear indistinguishable from real photos. For sellers who don’t have professional photography equipment or expertise, services like FBA Creatives provide an excellent solution.
This specialized design team creates professional-quality product images by working from photos you provide. They transform basic product shots into compelling visuals that drive conversions. Your image sequence should tell a complete story about your product. Start with a clean, professional main image against a white background, followed by lifestyle images showing the product in use, detailed shots highlighting specific features, size comparison images, and infographic-style images that communicate key benefits visually.
Product Details and Compliance Information

Once you’ve completed the customer-facing elements of your Amazon product listing, you’ll need to navigate the more technical product details section. This is where Amazon collects specific information for categorization, fulfillment, and compliance purposes. This section might seem tedious, but accuracy here prevents future headaches. You’ll avoid listing suppression, fulfillment issues, and customer complaints.
Start by entering your manufacturer information. This can be your company name, your manufacturer’s name, or your manufacturer’s “doing business as” designation. Next, you’ll specify package quantities, serving sizes, and other product-specific details. These vary based on your category. For food products, this includes comprehensive nutritional information that typically appears on your product’s packaging.
Storage and Handling Requirements
Temperature sensitivity, storage requirements, and handling instructions all factor into how Amazon stores and ships your product. If your product requires refrigeration or has specific temperature ranges for optimal storage, indicating this information ensures Amazon handles your inventory correctly. For perishable items, you’ll need to provide shelf life information and specify how expiration dates are marked on your packaging.
Additional category-specific fields will populate as you complete other sections of your listing. For instance, if your product contains batteries, new fields requesting battery type and quantity will appear. Similarly, allergen information fields emerge for food products, while hazmat-related questions appear for chemical products. Pay close attention to these dynamically-generated fields and complete them thoroughly.
Safety, Compliance, and Regulatory Requirements

Amazon takes product safety and regulatory compliance extremely seriously. They do this both to protect consumers and to shield themselves from liability. The safety and compliance section of your Amazon product listing requires you to accurately represent several key details. You’ll specify your product’s country of origin, confirm whether it contains dangerous goods, and provide weight and dimension specifications.
Amazon uses these specifications for fulfillment planning. Providing false or inaccurate information in this section can result in serious consequences. These include listing suspension, account deactivation, or even legal liability. Begin by specifying where your product is manufactured, whether that’s the United States, China, or any other country. This information appears on your product page and matters to consumers who prioritize domestically-made products.
Weight and Dimension Accuracy
Weight and dimension accuracy directly impacts your fulfillment fees. This makes precision in this section financially important. Amazon calculates FBA fees based on both the product’s weight and its dimensional weight (size). They ultimately charge whichever is greater. Providing inaccurate measurements can result in unexpected fee adjustments later when Amazon measures and weighs your inventory upon receipt.
As you complete these forms, additional questions and requirements will appear based on your responses and product category. Battery requirements, allergen disclosures, and category-specific certifications all emerge during this process. Rather than rushing through these questions to get your listing live quickly, take time to ensure complete accuracy. A few extra minutes of diligence during listing creation prevents weeks of headaches dealing with compliance issues or listing suspensions later.
Setting Up Your Offer: Pricing and Fulfillment

After completing all product information and compliance requirements, you’ll move to the offer section. This is where you’ll configure your SKU, pricing, and fulfillment method for your Amazon product listing. The SKU (Stock Keeping Unit) is your internal identifier for tracking this specific product. You can create any alphanumeric code that makes sense for your inventory system.
Many sellers use simple codes like “JERKY-001” or “CE-ORIGINAL.” Others develop more complex systems that encode product information within the SKU itself. The most critical decision in this section involves choosing between fulfilling orders yourself (FBM) or having Amazon handle everything through FBA. For the vast majority of sellers, particularly beginners, FBA is the superior choice.
Strategic Pricing Decisions
By checking the FBA box, you’re enlisting Amazon to store your inventory, pick and pack orders, handle customer service, and manage returns. This not only saves you countless hours but also makes your products eligible for Prime shipping. This dramatically increases your conversion rate. Setting your initial price requires balancing competitiveness with profitability.
Consider your total costs including product cost, Amazon fees, FBA storage and fulfillment fees, shipping to Amazon, and desired profit margin. Many sellers use repricing software to automatically adjust prices based on competition. However, starting with a manually-set price based on thorough cost analysis ensures you’re not selling at a loss. Finally, you’ll enter package dimensions and weight, which Amazon uses to calculate your FBA fees.
Final Submission and Going Live

Once you’ve thoroughly completed every section of your Amazon product listing, take a few minutes to review everything before hitting submit. Scroll through each section looking for any errors, incomplete fields, or information that could be improved. Amazon’s system will also flag any required fields you’ve missed. It will identify any entries that don’t meet their formatting requirements.
This prevents submission until these issues are resolved. Addressing these problems proactively saves time and prevents frustration during the submission process. When you’re confident everything is accurate and complete, click the submit button. Amazon’s system will begin processing your listing. In most cases, Amazon reviews and approves new listings within one hour.
Post-Launch Verification
However, complex categories or products requiring additional review may take longer. You’ll receive a notification once your listing goes live. After your Amazon product listing is approved and active, resist the urge to immediately relax. Instead, view your listing as a customer would by searching for it on Amazon.
Examine how it appears in search results and on the product detail page. Check that all images are displaying correctly, bullet points are formatted properly, and all information appears as intended. Your next immediate steps should include setting up your initial PPC campaigns to drive traffic to your new listing. Consider enrolling in Amazon Vine to generate early reviews, and monitor your listing’s performance closely during the first few weeks.
Navigating the Amazon Seller Central Dashboard
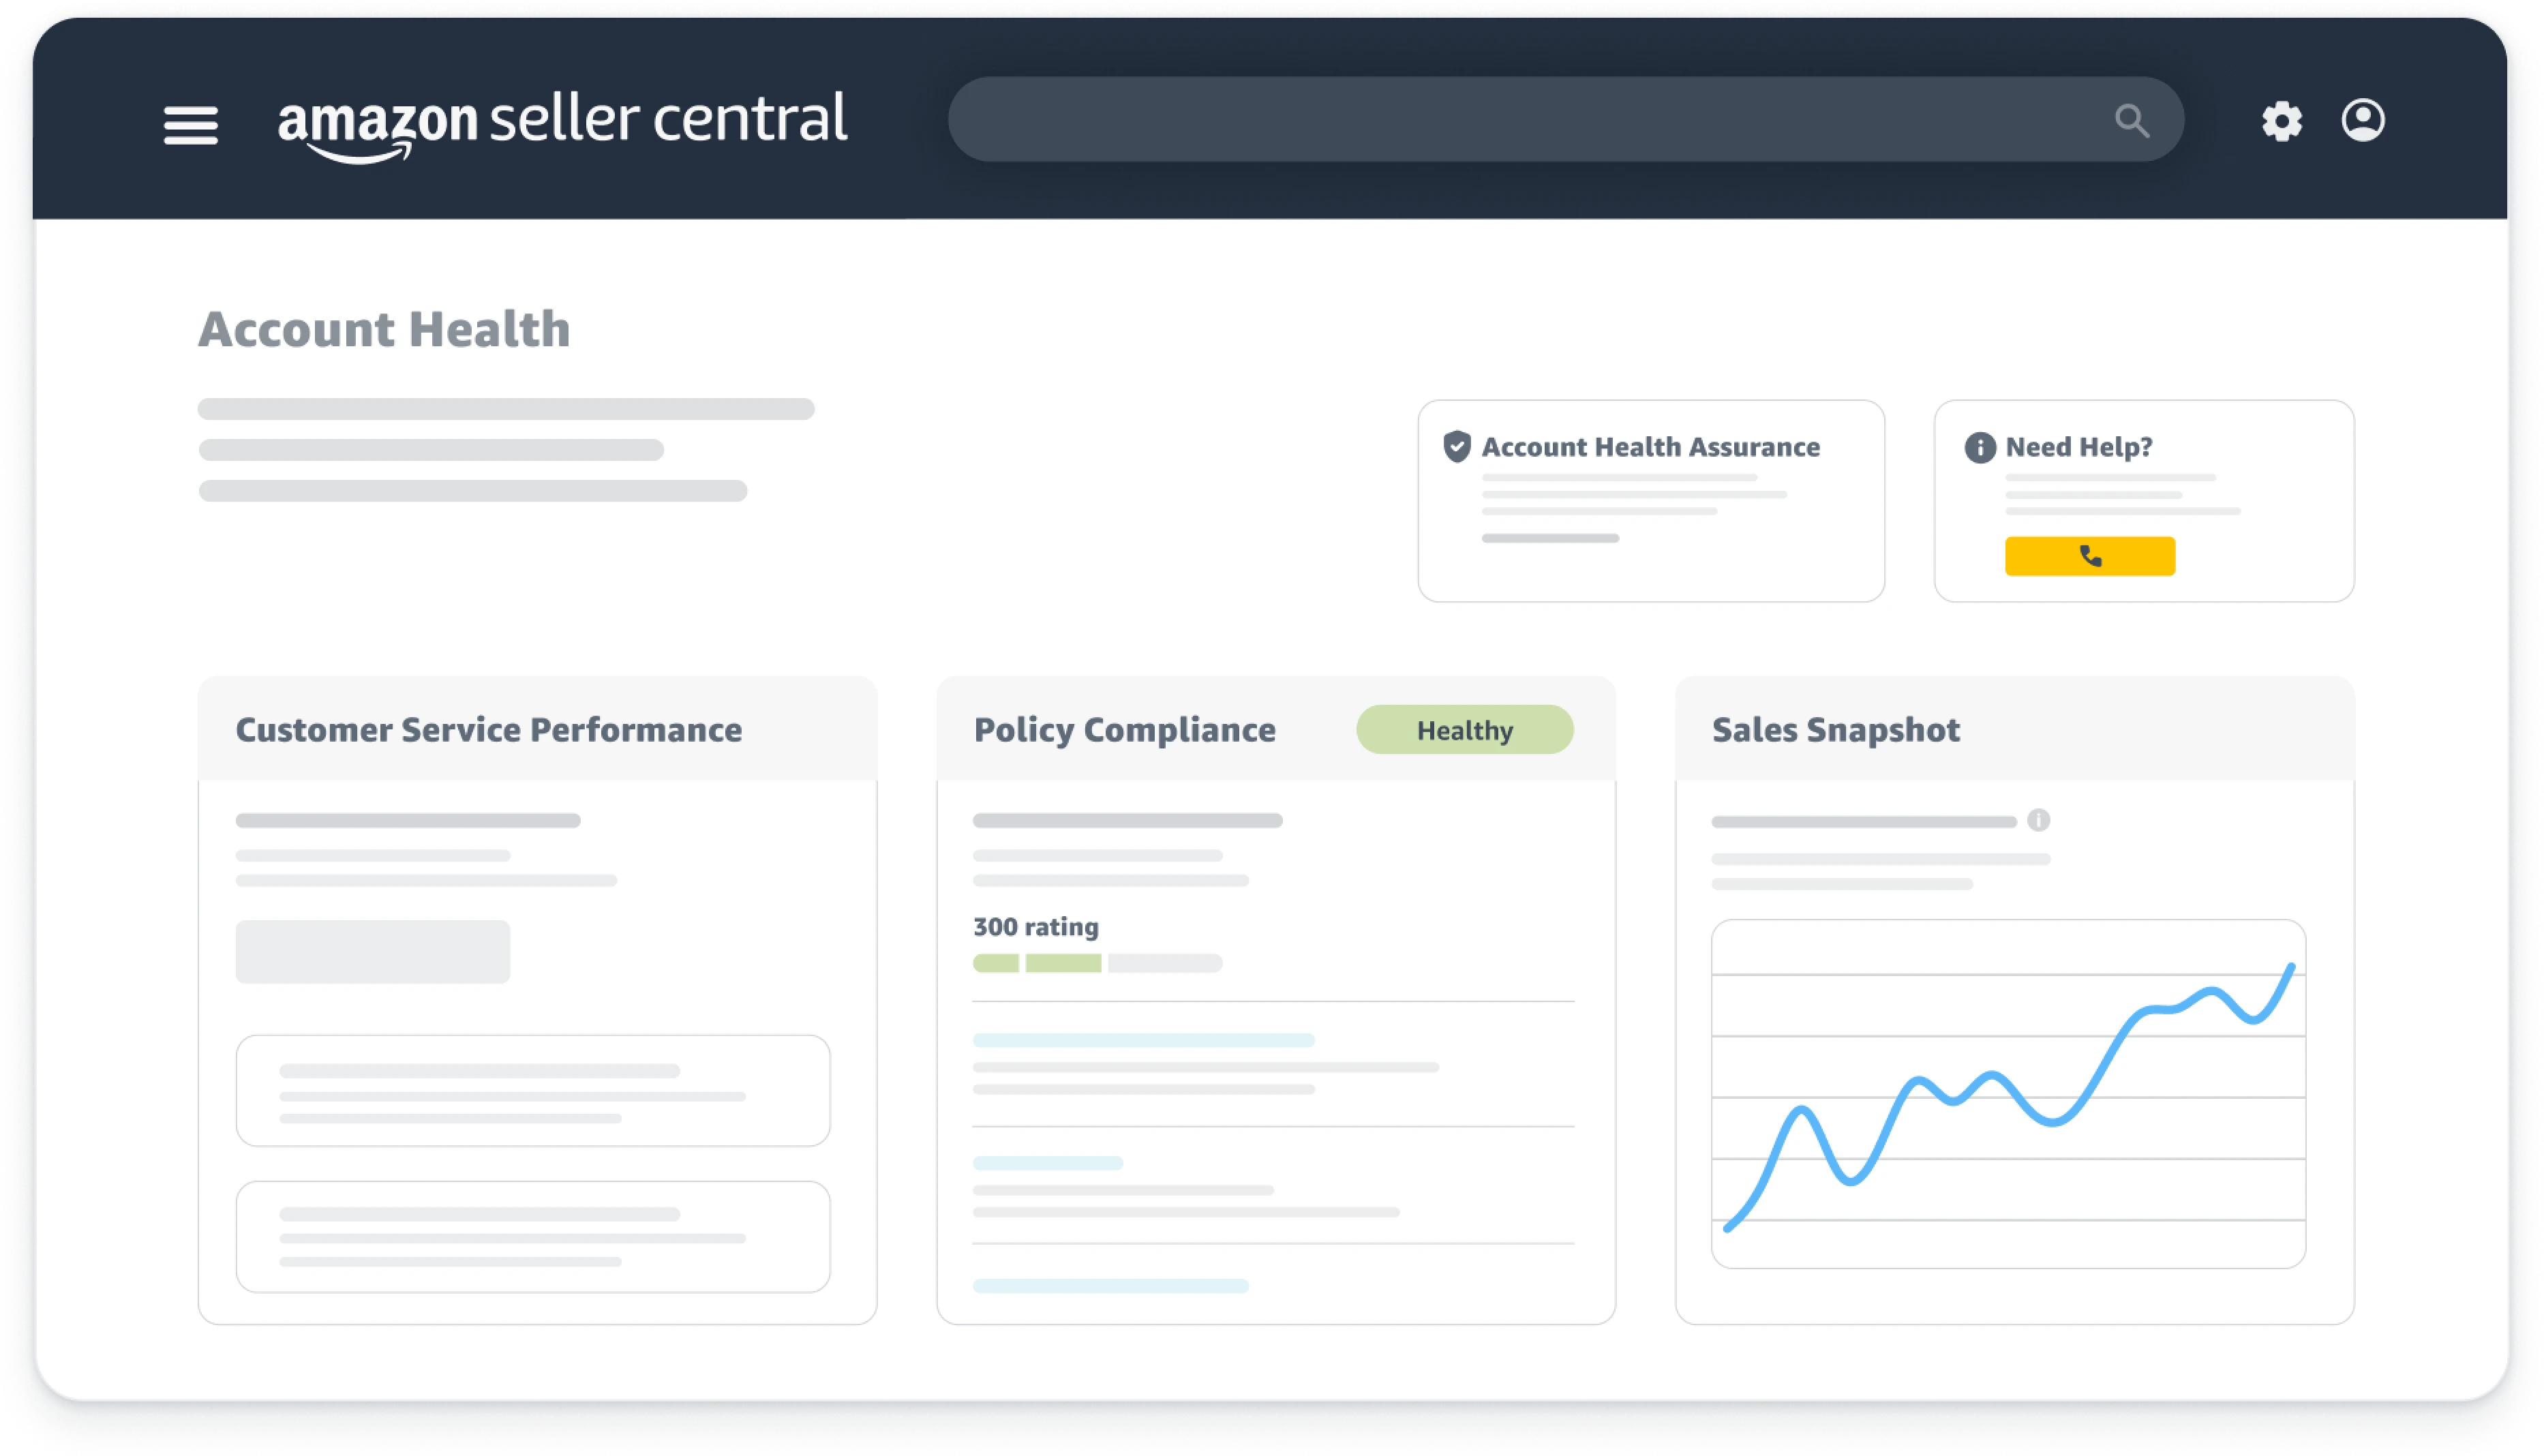
Your Amazon Seller Central dashboard serves as mission control for your entire business. It provides real-time insights into sales performance, customer feedback, advertising metrics, and account health. Understanding how to interpret and leverage this information separates successful sellers who scale their businesses from struggling sellers who operate blindly.
The dashboard displays your sales for the current day and recent time periods. This allows you to track performance trends and identify patterns in customer buying behavior. Beyond basic sales numbers, the dashboard shows your total account balance, pending disbursements, and payment schedules. This financial overview helps you manage cash flow and plan for inventory replenishment.
Monitoring Performance and Advertising
Additionally, you’ll see your seller feedback rating. This reflects customers’ overall satisfaction with their purchasing experience and directly impacts your ability to win the Buy Box. The advertising section of your dashboard provides a snapshot of your PPC performance. This includes ad impressions, clicks, and sales generated through Amazon’s advertising platform.
These metrics help you quickly assess whether your advertising campaigns are performing efficiently or require optimization. As you gain experience, you’ll develop benchmarks for acceptable performance and learn to spot opportunities for improvement at a glance. Regularly reviewing your dashboard ideally daily during your first few months helps you stay connected to your business’s pulse. Rather than relying on gut feelings or assumptions, you’ll develop a deep understanding of how various factors affect your sales.
Managing Your Inventory Like a Pro

The inventory management screen represents your command center for tracking stock levels, monitoring sales velocity, and ensuring you never miss sales due to stockouts. This interface displays critical information at a glance. You’ll see units available in Amazon’s warehouses, inbound shipments currently in transit, unfulfillable inventory (damaged or unsellable units), and reserved inventory.
Reserved inventory refers to units allocated to pending customer orders. Mastering this screen allows you to maintain optimal inventory levels that maximize sales while minimizing storage fees. Price management tools within this section enable you to adjust your pricing quickly. You can respond to market conditions or competitive pressure.
Understanding Fees and Profit Margins
You can manually change prices for individual products or set minimum and maximum price thresholds. This is helpful if you’re using automated repricing software. For sellers sharing Buy Box with other authorized sellers, strategic pricing adjustments can significantly impact your share of sales. Understanding Amazon’s fee structure for each product empowers you to make informed business decisions.
You can determine which products to emphasize, which to discount, and which might need discontinuation if margins become too thin. Drilling down into individual SKU details reveals day-by-day sales data. This allows you to identify trends, evaluate promotional effectiveness, and make accurate forecasting decisions. You can even enter your cost of goods sold directly into Amazon’s system, enabling automatic profit calculations that help you understand true margins after all expenses.
Essential Amazon Seller Tools and Features
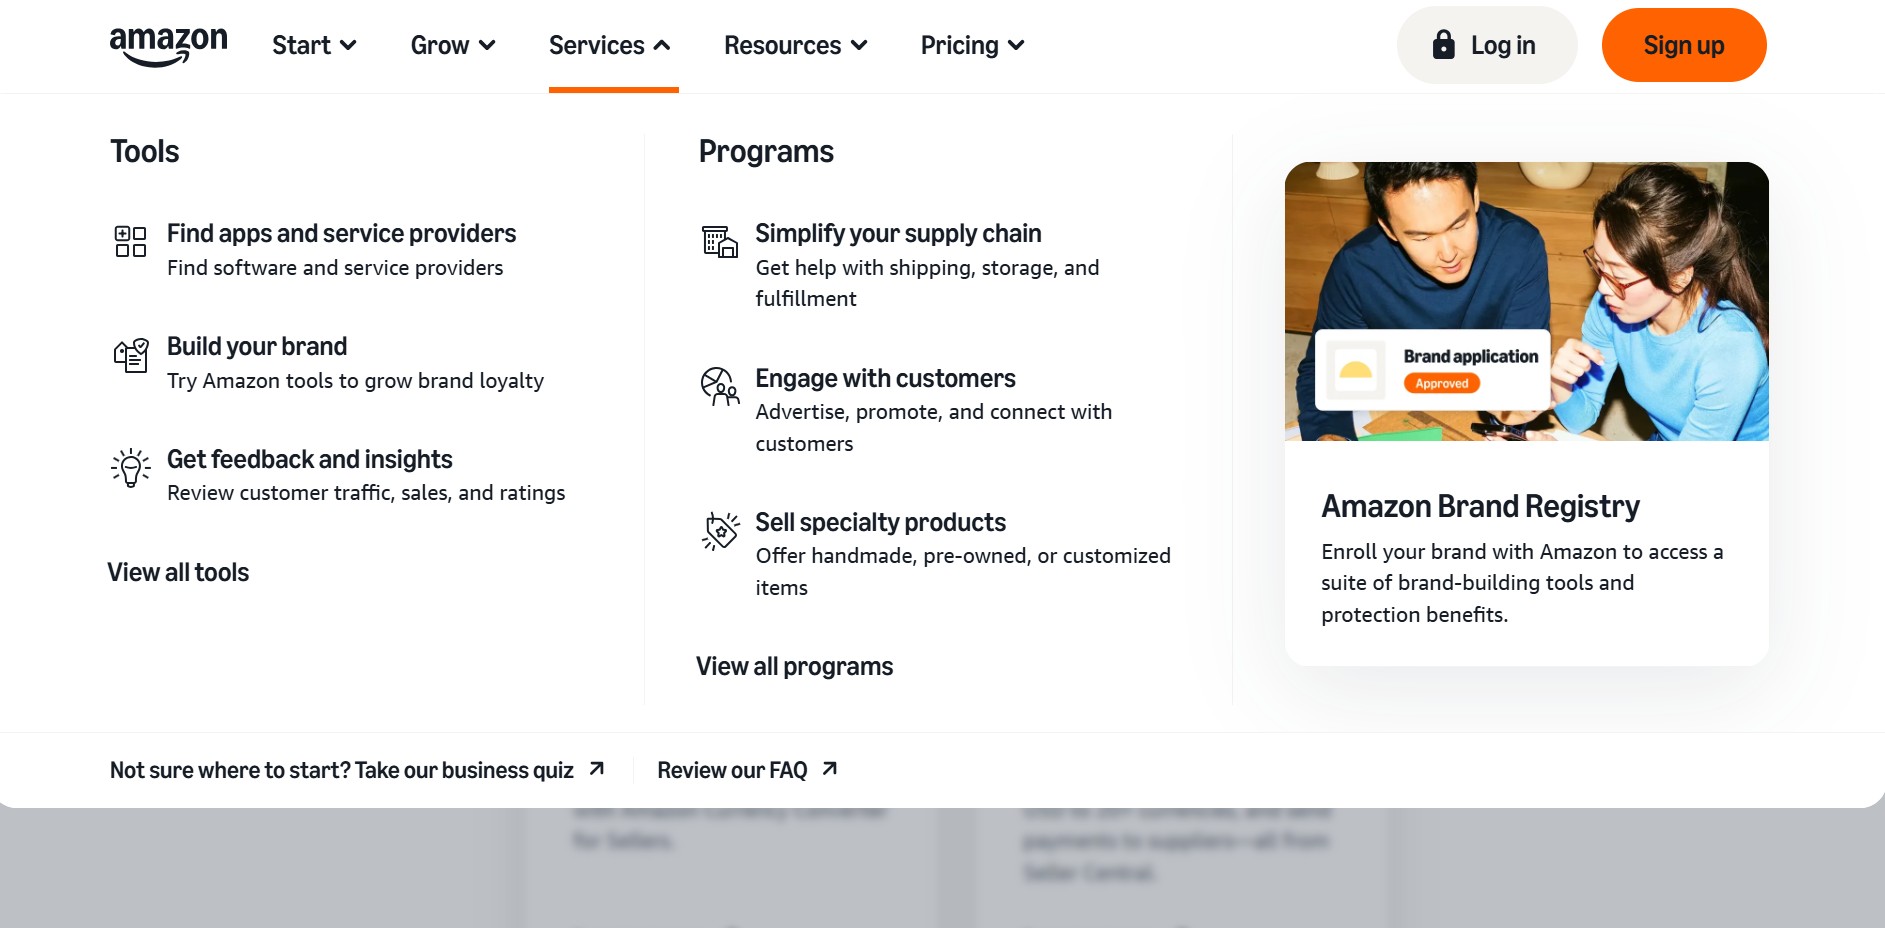
Amazon provides an extensive toolkit of features designed to help sellers increase visibility, drive sales, and build their brands. Yet many sellers barely scratch the surface of what’s available. The Campaign Manager serves as your headquarters for PPC advertising. This is where you’ll create and manage sponsored product campaigns, sponsored brand campaigns, and sponsored display ads.
While advertising deserves its own comprehensive guide, understanding that this powerful tool exists is your first step. A+ Content Manager unlocks the ability to enhance your product pages with rich media content. This includes comparison charts, lifestyle images, enhanced text placements, and brand storytelling modules. This premium content appears below your standard product description and has been proven to increase conversion rates significantly.
Review Generation and Promotional Features
The Vine Program offers an invaluable opportunity to generate authentic customer reviews during your product’s launch phase. By enrolling eligible products in Vine and paying a fee (currently $200 for products under $10,000 in sales), Amazon sends your product to trusted reviewers. These early reviews establish social proof and credibility that dramatically improves conversion rates.
Deals, coupons, and Prime discounts represent additional promotional tools that can spike sales velocity and improve your organic ranking. Setting up Subscribe & Save discounts encourages recurring purchases by offering customers 10% off when they opt into automatic deliveries. Your brand Store provides a dedicated storefront showcasing your entire product catalog in a customizable, branded environment. Growth Opportunities within Seller Central provides AI-driven recommendations for actions you should take to optimize your performance.
Reviews, Feedback, and Customer Relations

Customer reviews and seller feedback represent the lifeblood of credibility on Amazon. They directly influence both your conversion rate and your algorithmic ranking. Managing these reviews proactively rather than passively accepting whatever comes your way can make the difference between a thriving listing and a struggling one.
Amazon provides tools for monitoring reviews, requesting removal of feedback that violates guidelines, and responding to customer concerns professionally. Not all negative reviews warrant intervention. However, reviews that violate Amazon’s community guidelines can often be removed through proper channels. This includes reviews containing profanity, personal information, or complaints about shipping speed when fulfilled by Amazon.
Encouraging Authentic Positive Reviews
Understanding which reviews are eligible for removal and how to navigate the appeal process empowers you to maintain your product’s reputation. Similarly, seller feedback that references FBA delivery issues should be flagged. These reflect on Amazon’s performance rather than yours. Proactive strategies for encouraging positive reviews include providing exceptional product quality that exceeds expectations.
Include thoughtful packaging inserts with clear instructions or recipes. However, never explicitly request reviews, which violates Amazon’s terms. Use Amazon’s automated “Request a Review” button to solicit feedback from satisfied customers. The long-term impact of maintaining high ratings extends far beyond simple social proof. Amazon’s algorithm favors products with strong review profiles, ranking them higher in search results and awarding them more Buy Box time.
Your Path Forward: From Overwhelm to Amazon Success

Creating your first Amazon product listing might have seemed impossibly complex before reading this guide. But by now you should recognize that the process, while detailed, is entirely manageable when broken into logical steps. Every successful Amazon seller started exactly where you are right now. They were staring at Seller Central for the first time, unsure which buttons to click or forms to complete.
The difference between those who succeed and those who give up isn’t talent or luck. It’s simply the willingness to learn the system, follow proven processes, and take consistent action. The systematic approach outlined throughout this guide provides a roadmap from initial setup through listing creation and ongoing optimization.
Taking Action with Expert Guidance
However, reading about these processes and actually implementing them while building a sustainable business are two entirely different challenges. This is precisely why the Passion Product Formula exists. It provides not just information but comprehensive mentorship, step-by-step guidance, and direct support from experienced sellers.
Rather than learning through expensive trial and error, you can accelerate your journey by learning from those who’ve already built thriving Amazon businesses. The Amazon program offers personalized mentorship with limited spots available. This ensures each participant receives the attention and support necessary for success. Your Amazon seller journey truly starts the moment you decide to stop consuming information and start implementing. Take action on what you’ve learned here, commit to continuous improvement, and consider joining the Passion Product Formula program.
Frequently Asked Questions (FAQs)
How long does it take to create an Amazon product listing from start to finish?
For a first-time seller, creating a complete Amazon product listing typically takes 2-4 hours. This is when you’re learning the system and want to be thorough. This includes researching keywords, writing optimized copy, formatting bullet points, uploading images, and completing all compliance information. However, once you’ve created a few listings and understand the workflow, you can complete the process in 30-60 minutes. The key is not to rush through your first listing. Use it as a learning opportunity to understand each section thoroughly.
Do I really need to purchase a UPC code from GS1, or can I use cheaper alternatives?
While Amazon does allow FN SKU codes that bypass the UPC requirement in some categories, purchasing legitimate UPC codes from GS1 is strongly recommended. This is especially important for serious sellers building long-term brands. Cheap UPC codes from resellers or third-party marketplaces often cause problems. These include listing suspensions, inability to enroll in Brand Registry, and compatibility issues if you ever want to sell through other channels. The $25 investment in a proper GS1 UPC code pays for itself many times over. It prevents future headaches and maintains your account’s good standing with Amazon.
What should I do if my listing gets rejected or suppressed after submission?
If Amazon rejects or suppresses your listing, they’ll provide specific reasons in your Seller Central account. Check the “Fix Stranded Inventory” section or look for email notifications. Common issues include non-compliant images, missing required product information, category restrictions, or suspected intellectual property violations. Address each issue systematically by reviewing Amazon’s specific requirements for your product category. Make necessary corrections and resubmit. If you’re stuck, Amazon’s Seller Support can provide clarification on rejection reasons, though responses vary in quality. Most listing issues are resolvable within 24-48 hours once you understand what Amazon needs corrected.
Can I change my Amazon product listing after it goes live?
Absolutely! In fact, optimizing your listing based on performance data represents an ongoing process for successful sellers. You can edit your title, bullet points, description, images, price, and most other elements at any time. Simply use the “Manage Inventory” screen. However, some changes particularly to main images or titles can temporarily impact your search ranking. This happens as Amazon’s algorithm re-indexes your listing. Additionally, certain restricted attributes like brand name or category may require approval from Seller Support to modify. The best practice is launching with the strongest possible listing, then making incremental improvements based on conversion data and customer feedback.
How important are product images compared to other listing elements?
Product images are arguably the single most important element of your Amazon product listing. They often account for 60-80% of your conversion rate impact. Customers can’t physically examine your product, so they rely entirely on images to evaluate quality, size, features, and whether the product meets their needs. While well-optimized titles improve your searchability and compelling bullet points help persuade shoppers, poor images will tank your conversion rate. This happens regardless of how well-written your copy is. Invest in professional-quality images through services like FBA Creatives. Include a variety of angles, lifestyle shots, and infographic-style images that communicate benefits visually.
What’s the difference between Amazon SEO and regular Google SEO?
While both involve keyword optimization, Amazon’s A9 algorithm prioritizes different factors than Google’s search algorithm. Amazon is a product search engine focused on converting searches into purchases. It heavily weights conversion rate, sales velocity, and customer satisfaction signals alongside keyword relevance. This means that while keyword placement in titles, bullets, and descriptions matters, other factors are equally important. Your pricing competitiveness, review count and rating, Prime eligibility, and historical sales performance all significantly impact your ranking. Unlike Google SEO where backlinks matter tremendously, Amazon SEO focuses more on internal factors. These include click-through rate from search results and conversion rate once customers land on your page.
How many keywords should I include in my product listing?
Rather than targeting a specific number of keywords, focus on incorporating all relevant search terms naturally throughout your title, bullet points, and description. Avoid keyword stuffing at all costs. Amazon’s algorithm analyzes the entire text of your listing, so the same keyword appearing multiple times doesn’t help. In fact, it can hurt readability and conversion. Use keyword research tools like Helium 10 to identify 30-50 relevant keywords. Then prioritize the highest-volume, most relevant terms for your title and bullets. Secondary keywords can be woven into your description and backend search terms. The goal is comprehensive keyword coverage that feels natural to readers while maximizing your search visibility.
Should I lower my price to compete with established sellers in my category?
Competing solely on price, especially when launching, rarely leads to sustainable success. It often results in unprofitable sales that damage your business long-term. Instead of racing to the bottom on price, differentiate through superior images, compelling copy, bundle configurations, or unique features. These justify a premium price point. Many successful Amazon sellers actually price higher than competitors while maintaining strong sales. They achieve this through better listing optimization and brand positioning. That said, your pricing does need to be within a reasonable range of market expectations. Find the balance between competitive pricing and healthy profit margins, then focus on optimizing conversion through better marketing rather than constant price reductions.


