
The moment has finally arrived for your shipment. Your first product is ready, sitting in boxes, waiting to begin its journey to Amazon’s fulfillment centers. Many new sellers feel overwhelmed at this crucial step. They’re unsure of how to navigate Amazon’s systems and requirements. The good news? Shipping to Amazon FBA is surprisingly straightforward once you understand the process.
Throughout this guide, we’ll walk you through every step of sending your product to Amazon’s warehouse. You’ll learn everything from logging into Seller Central to tracking your shipment’s arrival. Moreover, we’ll highlight the common mistakes that trip up new sellers. This helps you avoid costly errors before they happen. By following this proven system, you’ll have your products delivered to Amazon in less than 5 minutes of actual work.
As you’ll discover through Mindy V’s inspiring story, success on Amazon starts with getting the fundamentals right. Furthermore, programs like the Passion Product Formula can accelerate your learning curve. They provide expert guidance at every stage of your Amazon journey. Let’s dive into the exact process that successful sellers use to ship their products efficiently and correctly.
- Meet Mindy V: From Struggling Single Mom to Shark Tank Success
- Before You Start: Critical Prerequisites
- Accessing Your Inventory Dashboard
- Setting Your Ship-From Address (CRITICAL STEP)
- Understanding Marketplace Destinations
- Creating Your Case Pack Template
- Prep Requirements for Different Product Types
- FNSKU Labels Explained
- Box Labels vs. Shipping Labels
- Determining Your Shipment Quantity
- Small Parcel Delivery
- Less Than Truckload (LTL)
- Cost Comparison and Confirming Shipment
- Printing and Applying Labels Correctly
- Getting Your Boxes to Amazon
- Tracking Your Shipment Status
- Common Mistakes That Cost You Time and Money
- Your Amazon FBA Success Starts With This Foundation
- Frequently Asked Questions
Meet Mindy V: From Struggling Single Mom to Shark Tank Success

Mindy V’s journey into Amazon FBA started from a place many entrepreneurs know well. She desired financial freedom while balancing family responsibilities. As a single mom, she wanted to be her own boss and create a better life for her daughter. Instead of just dreaming about it, she identified a real problem that needed solving.
A few years ago, Mindy’s daughter struggled significantly with potty training. While researching solutions, Mindy discovered a gap in the market. There were no products offering kids tangible, exciting rewards for their potty training successes. This personal frustration became her breakthrough moment. Consequently, she invented Potty Time Adventures. It’s a potty training kit that gives children prize rewards for every successful deposit.
What’s remarkable about Mindy’s story is the speed of execution. Within just one month of having this idea, Potty Time Adventures was in production. This rapid timeline exemplifies a core principle of the Passion Product Formula. It combines personal passion with market demand to create products people genuinely need. Rather than spending months on analysis paralysis, Mindy took action.
Her success didn’t stop at launching the product. The idea that saved her as a single mom eventually caught the attention of Shark Tank producers. This led to a national television appearance. Today, Potty Time Adventures continues selling successfully on Amazon. It proves that the right product combined with proper execution can transform your life. Just like Mindy, you can turn your product idea into reality by mastering the fundamentals.
Before You Start: Critical Prerequisites

Before you begin the shipping process, you need to ensure several essential elements are in place. First and foremost, your product must be manufactured and ready to ship. Additionally, you should have already created your Amazon Seller Central account. Your product listing should be completed as well. These prerequisites might seem obvious, but rushing through them leads to complications later.
One critical element that many sellers overlook is understanding their ship-from address. You might be shipping from your home, a warehouse, or directly from your manufacturer. Regardless, this address must be accurate in Amazon’s system. An incorrect address can derail your entire shipment. It causes delays, lost inventory, and unnecessary headaches. Trust the advice of experienced sellers who’ve learned this lesson the hard way.
Furthermore, you should have a clear understanding of your product’s specifications. Know the dimensions, weight, and packaging details. Amazon has strict requirements for case packs. Knowing these details beforehand prevents last-minute scrambling. Taking the time to gather this information now will make the actual shipping process incredibly smooth.
Finally, consider whether you’ll be applying your own FNSKU labels. Alternatively, you might have your manufacturer handle this step. This decision impacts both your timeline and costs. It’s worth considering carefully before you start the shipping workflow. With these prerequisites handled, you’re ready to navigate Amazon Seller Central with confidence.
Accessing Your Inventory Dashboard
The first step in shipping your product is logging into Amazon Seller Central. This is your command center for managing your Amazon business. Once you’ve logged in, navigate to the “Manage Inventory” section. This displays all your active listings. The dashboard gives you a comprehensive view of your products, their status, and available actions.
Next, scroll through your inventory to locate the specific product you want to send. You’re looking for the product heading to Amazon’s fulfillment centers. Once you’ve found it, look for the small dropdown menu next to the “Edit” button. You’ll find it on the right side of the screen. This dropdown contains various actions you can take for that particular product listing.
From this dropdown menu, select “Send/Replenish Inventory.” This option launches the FBA shipping workflow. It guides you through each required step. Amazon has designed this process to be intuitive. It walks you through every necessary detail to ensure your shipment arrives correctly.
As you’ll see throughout this tutorial, Amazon’s interface does much of the heavy lifting for you. The system prompts you for specific information at each stage. This reduces the chance of errors. Nevertheless, paying close attention to each screen is important. It prevents the common mistakes that frustrate new sellers and delay their inventory from becoming available for sale.
Setting Your Ship-From Address (CRITICAL STEP)
Here’s where many new Amazon sellers make their biggest mistake. Pay extremely close attention to this section. When the shipping workflow begins, Amazon will ask you to confirm your ship-from address. This address represents where your packages will physically leave from. Getting it wrong creates serious problems for your shipment.
If the displayed address isn’t correct, you must change it immediately. Don’t proceed further without fixing this. Click on the option to modify the address, and enter the accurate information. For instance, you might be shipping directly from your manufacturer’s warehouse in China or domestically. In that case, you need to input their address instead of your home address. This accuracy ensures Amazon can properly track your shipment and anticipate arrival times.
Why does this matter so much? An incorrect ship-from address can cause Amazon to reject your shipment entirely. It may delay processing or even lose track of your inventory. Moreover, if there are any issues during transit, Amazon needs the correct origin address to investigate. Experienced sellers have learned this lesson through costly mistakes. Benefit from their experience by double-checking this detail.
Once you’ve verified the ship-from address is absolutely correct, you can confidently move forward. This small act of diligence saves you enormous headaches later. It ensures your products flow smoothly into Amazon’s fulfillment network. You’ll avoid unexpected complications or delays.
Understanding Marketplace Destinations

After confirming your ship-from address, you’ll see the marketplace destination section. This indicates where Amazon will ultimately send your inventory. For most US-based sellers, this will show United States marketplaces. However, Amazon has recently introduced an exciting feature that dramatically simplifies international shipping.
Amazon now handles shipments directly from China to the United States. They use their partnered logistics network for this service. Instead of coordinating with multiple freight forwarders and carriers, you can set up the entire shipment through Seller Central. This streamlined approach saves time and reduces complexity. It often provides better rates than arranging shipping independently.
To use this feature, simply change the ship-from address to your manufacturer’s location in China when prompted. Amazon’s system will then offer you options to have them pick up the inventory directly. They’ll collect it from your manufacturer and deliver it to US fulfillment centers. This end-to-end solution eliminates many of the traditional headaches associated with international shipping.
Whether you’re shipping domestically or internationally, understanding these marketplace destination options helps you choose the most efficient path. As your business grows, you may even expand to multiple marketplaces. This knowledge becomes increasingly valuable for managing complex, multi-region operations.
Creating Your Case Pack Template
Now you’ll create a case pack template. This is essentially a saved profile for how your product is packaged for shipping. Amazon asks you to give this template a name for future reference. For example, if you’re shipping Potty Time Adventures, you might name it “Potty Time Test.” Choose something descriptive that helps you identify it later.
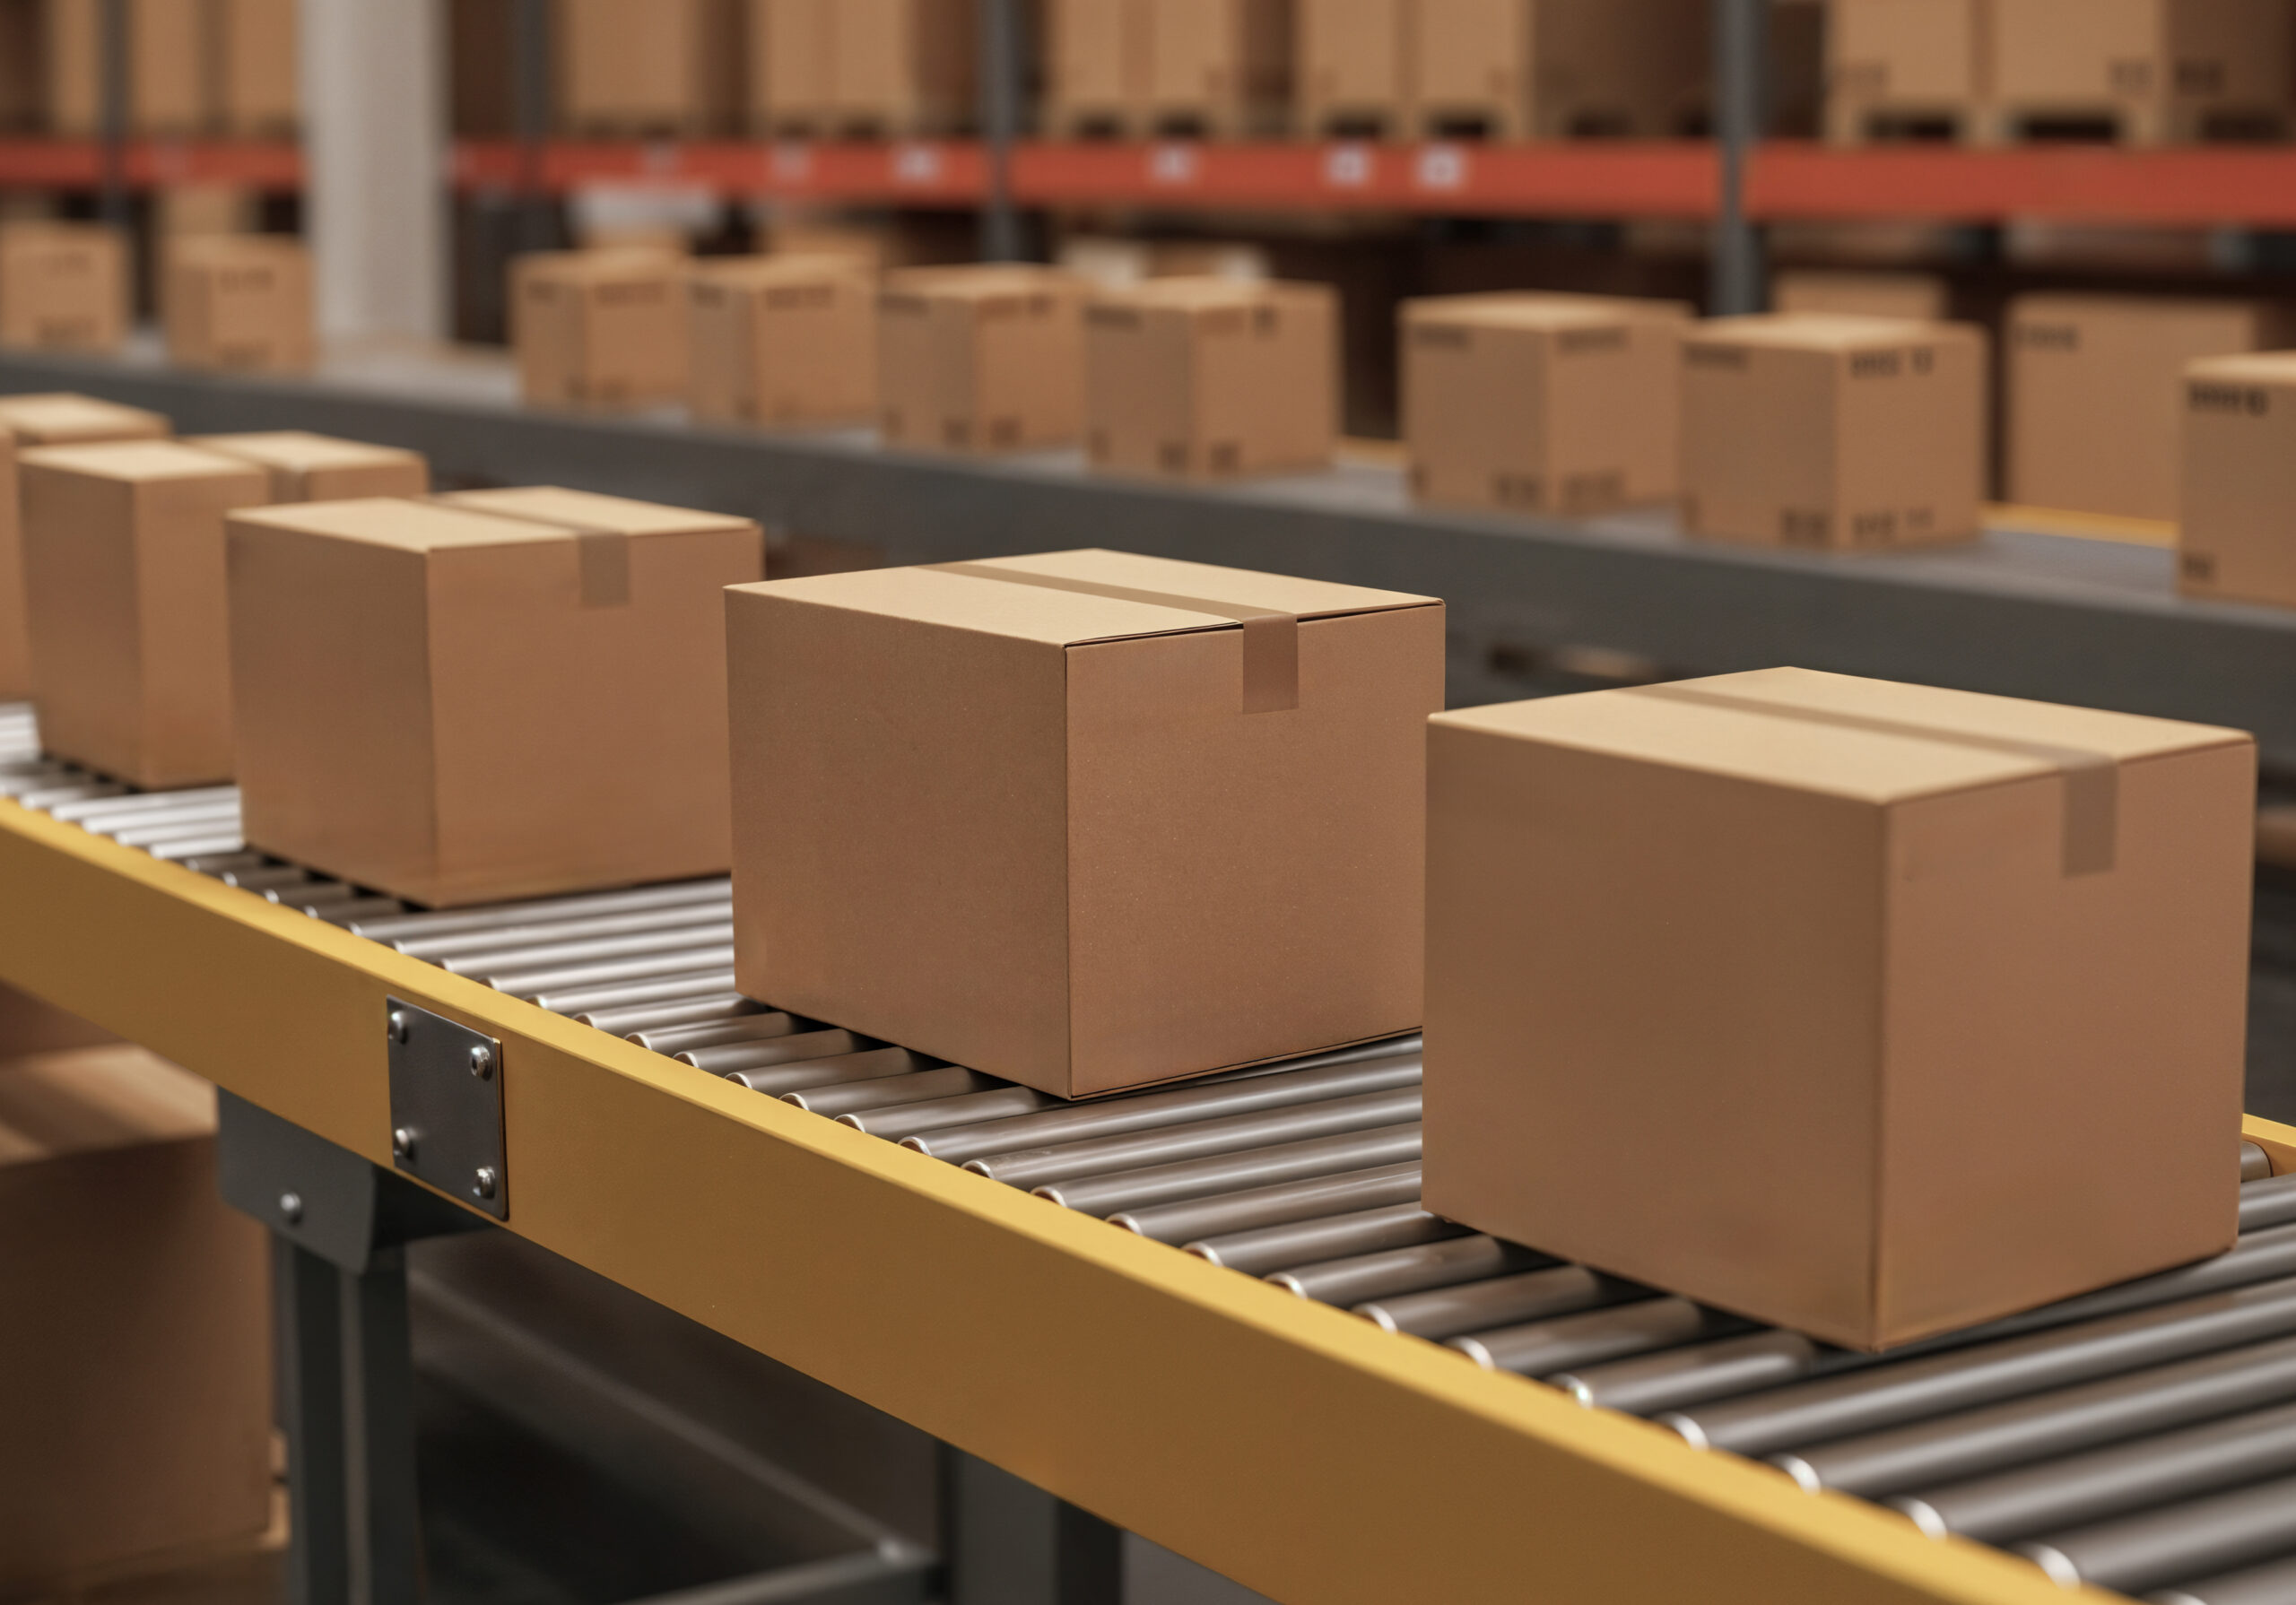
This step is crucial because Amazon’s warehouses have very specific requirements. These apply to the cases (boxes) containing your products. Understanding these requirements prevents your shipment from being rejected. It also helps you avoid additional fees. The two primary requirements are straightforward but non-negotiable. No single side of your box can exceed 25 inches. Additionally, the total weight cannot surpass 50 pounds.
These limitations exist because of how Amazon’s warehouse systems and employees handle incoming inventory. Boxes exceeding these dimensions don’t fit on conveyor systems properly. Meanwhile, those over the weight limit create safety concerns for warehouse workers. Violating these requirements can result in your shipment being refused. You might also face additional processing fees.
When entering your case pack information, you’ll specify the dimensions and weight of each box. For instance, Potty Time Adventures cases measure 13.5 inches by 12.6 inches by 19.8 inches. They weigh approximately 14.4 pounds. Each case contains 12 individual units. Recording this information accurately ensures Amazon’s system can properly plan for your inventory. It helps them receive and store it correctly, ultimately getting your products available for sale faster.
Prep Requirements for Different Product Types

After setting up your case pack template, Amazon will ask about prep requirements. This applies specifically to your product. For most standard products, you’ll simply select “No extra prep needed.” This applies to items that don’t require special handling or preparation. However, it’s essential to double-check this selection. Don’t assume your product falls into this category.
Certain product categories require additional preparation before Amazon will accept them. These include baby products, adult items, fragile goods, and liquid products. They often need extra prep work to meet safety and handling standards. These requirements protect both consumers and Amazon’s warehouse operations from potential issues.
For example, Potty Time Adventures doesn’t require any extra prep. It’s a safe, solid product without additional loose parts. There are no special handling needs. The product arrives in its retail packaging, properly secured, and ready to be stored and shipped to customers. Therefore, Mindy can select “No extra prep needed” and move forward confidently.
If your product does require extra prep, Amazon will outline the specific requirements. This might include bubble wrapping, bagging, or special labeling. You can either handle this prep yourself or have your manufacturer do it. Alternatively, you can pay Amazon to prep your items, though this adds per-unit costs. Once you’ve confirmed the prep requirements, click “Save.” This locks in your case pack template and allows you to proceed to the next crucial step.
FNSKU Labels Explained
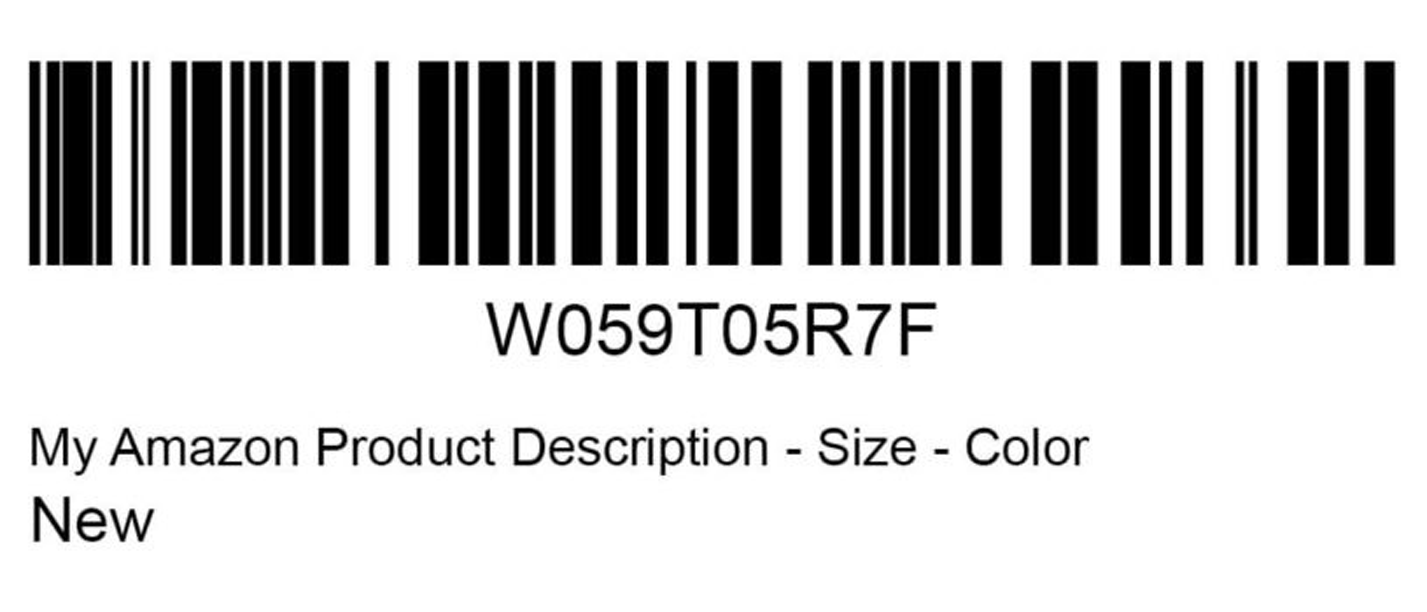
Understanding Amazon’s labeling system is absolutely critical to successfully shipping your products. The most important label you’ll encounter is the FNSKU label. FNSKU stands for Fulfillment Network Stock Keeping Unit. This barcode goes on every individual unit you sell through Amazon FBA. It allows Amazon to track your specific inventory throughout their entire fulfillment network.
Think of the FNSKU as your product’s unique fingerprint in Amazon’s system. Even if other sellers offer the same product, your FNSKU distinguishes your inventory from theirs. This differentiation is crucial for tracking, returns, and ensuring you get credited properly for your sales.
You have three options for getting FNSKU labels on your products. First, you can print stickers yourself and manually apply them to each unit before shipping. Second, you can have your manufacturer print the FNSKU directly onto your product packaging. This is the smartest approach. Third, you can pay Amazon to label your products at 50 cents per unit. This quickly becomes expensive and eats into your profit margins.
The most cost-effective strategy is having your manufacturer print the FNSKU directly on the product packaging during production. This approach saves you both time and money. It ensures professional, durable labels that won’t peel off during handling. For instance, Potty Time Adventures has the FNSKU printed directly on each box. This eliminates the need for additional sticker application. This one decision can save hundreds or thousands of dollars as your business scales.
Box Labels vs. Shipping Labels

Beyond individual product labels, you’ll need to understand two types of labels that go on your shipping boxes. Many new sellers get confused here, so let’s clarify the distinction. These two label types serve completely different purposes. You need both for successful delivery.
The first label type is the UPS shipping label (or whichever carrier you choose). This label allows the shipping company to scan, track, and route your package. It guides delivery from your location to Amazon’s fulfillment center. Without this label, UPS has no way to know where your package should go. They also can’t properly charge for the service.
The second label type is the Amazon FBA Box ID label. This label allows Amazon to track your boxes within their warehouse system once they arrive. Amazon’s receiving department scans these labels to associate your physical boxes with your shipment. This happens in their computer system, ensuring proper inventory crediting.
Both labels are essential. They must be clearly visible on the outside of each box. When you print and apply these labels, make sure they’re flat, readable, and not covered by tape or other materials. Poor label placement causes delays in receiving your inventory. Warehouse workers must stop and manually handle problem boxes. Taking an extra moment to apply labels correctly ensures your inventory becomes available for sale as quickly as possible.
Determining Your Shipment Quantity
Once your labels are configured, you’ll need to tell Amazon exactly how many boxes you’re sending. These are called case packs. This step is straightforward but requires basic multiplication to calculate your total unit count. Amazon needs to know both the number of cases and the total number of individual units. This helps them properly receive your inventory.
For this example, let’s say you’re sending in 10 cases of your product. If each case contains 12 units, that means you’re sending a total of 120 individual units. The calculation is simple: 10 cases × 12 units per case = 120 units. You’ll enter the number of cases. Amazon’s system automatically calculates the total units based on your case pack template.
Accuracy here is crucial. Amazon’s receiving department expects exactly what you’ve declared in the system. If you say you’re sending 10 cases but actually send 12, it creates confusion and delays. Conversely, if you declare 10 cases but only send 8, Amazon flags the discrepancy. They may not make your inventory available until the issue is resolved.
After entering your quantity, click “Confirm and Continue” to proceed to the shipping options. This confirmation locks in your shipment details. It creates a record in Amazon’s system that warehouse staff will reference when your boxes arrive. From this point forward, any changes to quantity require creating a new shipment plan.
Small Parcel Delivery

When Amazon presents you with shipping options, you’ll see two primary choices. The first option is small parcel delivery. This is ideal for newer sellers just getting started with their first few shipments. This method uses standard package delivery services like UPS, FedEx, or USPS. These carriers transport your boxes individually to Amazon’s fulfillment centers.
Small parcel delivery works best when you’re shipping a relatively small number of boxes. Regular package carriers can handle these easily. Specifically, if you’re sending fewer than 5-6 boxes, small parcel almost always makes the most sense. You have two convenient options. Either drop off your boxes at a UPS store or other carrier location. Alternatively, schedule a pickup at your address.
One of the biggest advantages of using small parcel delivery through Amazon’s system is the negotiated shipping rates. Amazon has established partnerships with major carriers. They’ve secured discounts that individual sellers could never obtain on their own. These rates are significantly cheaper than walking into a UPS store and paying retail prices for the same service.
When you select small parcel delivery, Amazon will display the total shipping cost right in the interface. For instance, the system might show that shipping your 10 boxes will cost a specific amount. This uses their negotiated UPS rates. These savings add up quickly, especially as you scale your business and ship more frequently. Amazon’s integrated shipping is one of the platform’s most valuable benefits for sellers.
Less Than Truckload (LTL)
The second shipping option is called Less Than Truckload or LTL. This is designed for larger shipments sent on pallets. As your business grows and you start ordering products in larger quantities, you’ll eventually transition. You’ll move from shipping individual boxes to shipping entire pallets. These pallets contain hundreds or thousands of units.
LTL shipping works differently from small parcel delivery. Instead of dropping boxes at a carrier location, a freight truck comes directly to your address. It might also go to your manufacturer’s warehouse. The truck picks up your palletized shipment. It then transports your pallet to Amazon’s fulfillment center. Specialized receiving equipment handles the large quantity of inventory there.
This shipping method becomes cost-effective once you’re shipping enough volume to fill a pallet. You might even ship multiple pallets. While the upfront cost might seem higher than small parcel, the per-unit shipping cost is actually much lower. This becomes clear when calculated across all your units. Additionally, LTL shipping reduces the labor involved. You’re not individually labeling and preparing dozens of separate boxes.
When you’re just starting out with your first shipment, you’ll almost certainly use small parcel delivery. You won’t have enough inventory to justify LTL yet. However, keep this option in mind for the future. As your sales grow and you place larger reorders, transitioning to LTL shipping will save both time and money. It streamlines your fulfillment process significantly.
Cost Comparison and Confirming Shipment
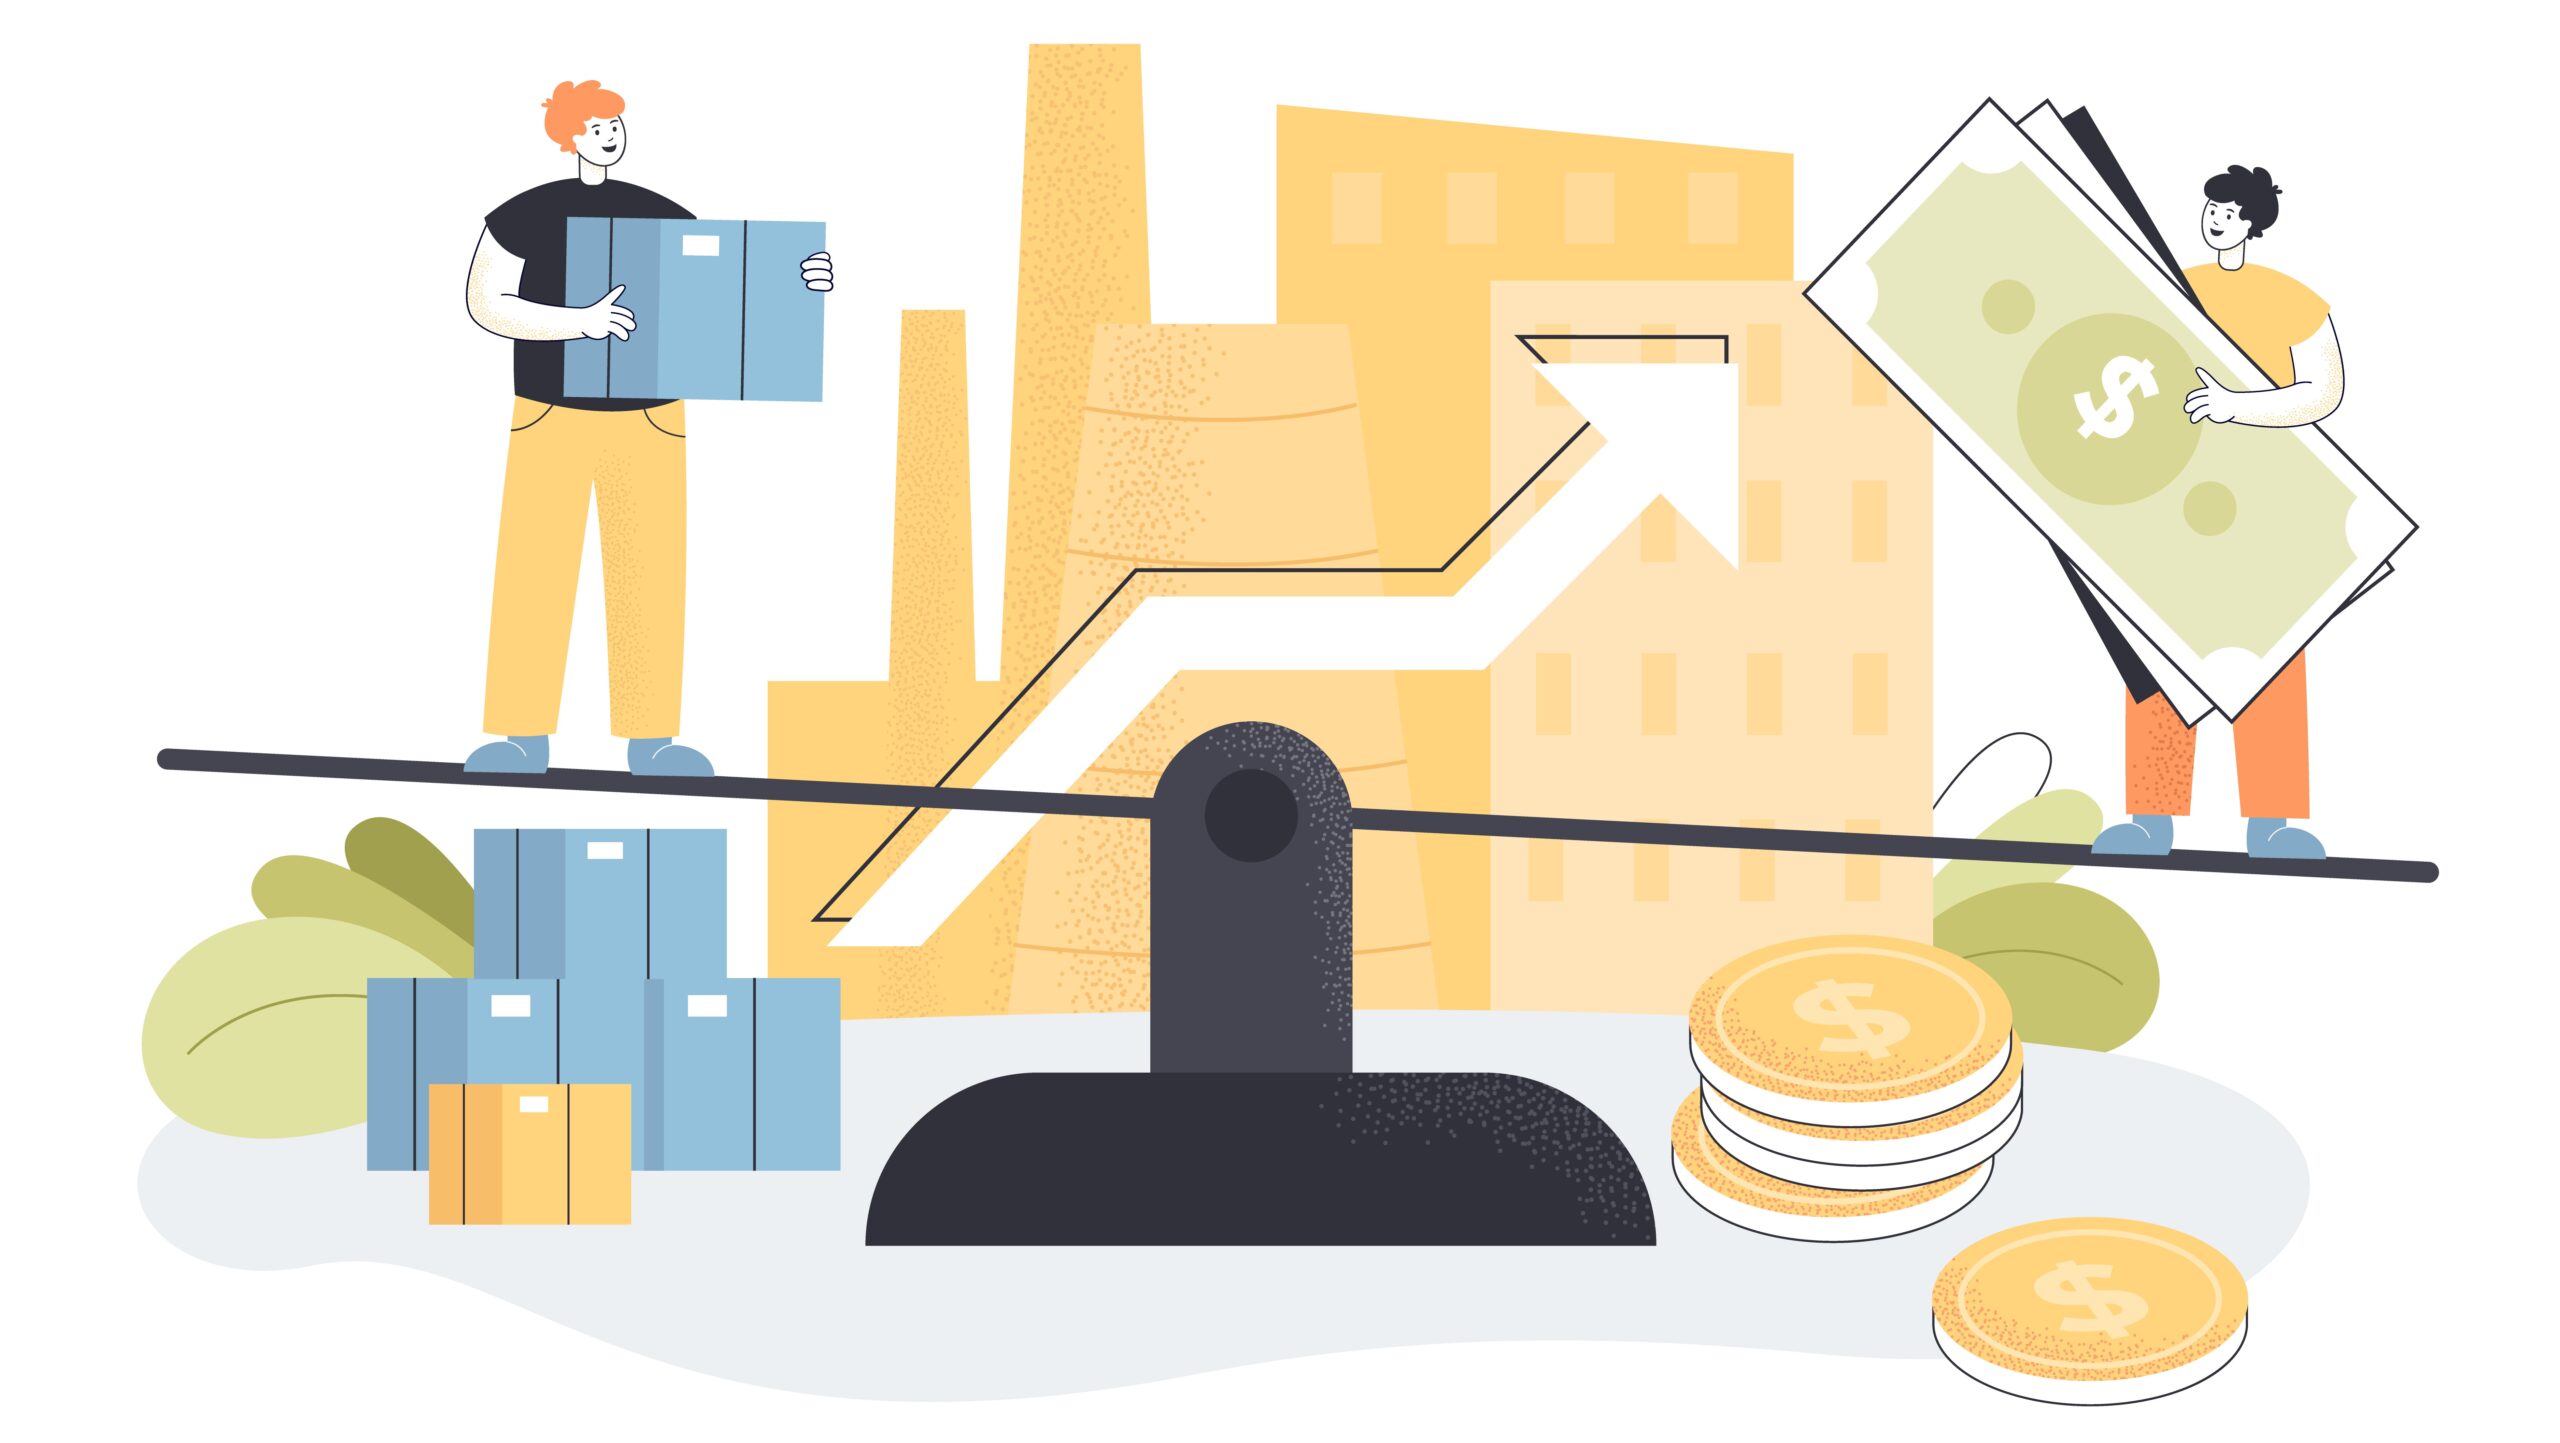
Before finalizing your shipment, Amazon displays the total shipping cost. This is based on your selected method and destination fulfillment center. This transparency allows you to see exactly what you’ll pay before committing to the shipment. Moreover, comparing this cost to retail shipping rates reveals the substantial savings. Amazon provides these through their carrier partnerships.
For example, imagine walking into a UPS store with 10 boxes. Each box weighs 14.4 pounds. The retail shipping cost would be considerably higher than what Amazon charges. They use their negotiated rates. These savings become even more significant as you scale your business and ship regularly. Essentially, Amazon’s buying power works in your favor. It reduces one of your major operational expenses.
Once you’ve reviewed the shipping charges and confirmed they align with your expectations, take action. Click “Accept Charges and Confirm Shipping.” This finalizes your shipment plan and generates the necessary labels for your boxes. The system locks in your shipping details. You’ll receive all the information needed to prepare your boxes for transit.
At this stage, your shipment exists in Amazon’s system. The fulfillment center expects your inventory. You’re ready to move into the physical preparation phase. The behind-the-scenes work is complete. Now you just need to print labels, apply them correctly, and get your boxes to the carrier. Within days, your products will arrive at Amazon’s warehouse and become available for customers to purchase.
Printing and Applying Labels Correctly

After confirming your shipment, Amazon provides downloadable label files. These contain both the UPS shipping labels and the Amazon FBA Box ID labels. You’ll need to print these labels for each case you’re shipping. The printing process is straightforward. However, you have a couple of options depending on your equipment and preferences.
Ideally, you’ll print these labels on sticker paper (also called label paper). This paper has an adhesive backing that sticks directly to your boxes. This method creates clean, professional-looking labels. They stay securely attached throughout transit. Alternatively, if you don’t have sticker paper, you can print on regular paper. Then use clear packing tape to affix the labels to your boxes.
When applying the labels to your boxes, placement and visibility are crucial. Each label should be positioned on a flat surface. It needs to be easily scanned without boxes being moved or rotated. Furthermore, ensure the entire label is clearly visible. Don’t let it get obscured by tape, especially over the barcode portions. Warehouse scanners need clean reads of these barcodes. This allows them to process your shipment efficiently.
Before sealing and labeling each box, double-check that the weight and dimensions match what you entered. Verify this in Amazon’s system. Additionally, verify one final time that your ship-from and ship-to addresses are correct. These final quality checks prevent issues that could delay your inventory. Once your labels are properly applied and your boxes are sealed, you’re ready. Hand them over to UPS for delivery to Amazon’s fulfillment network.
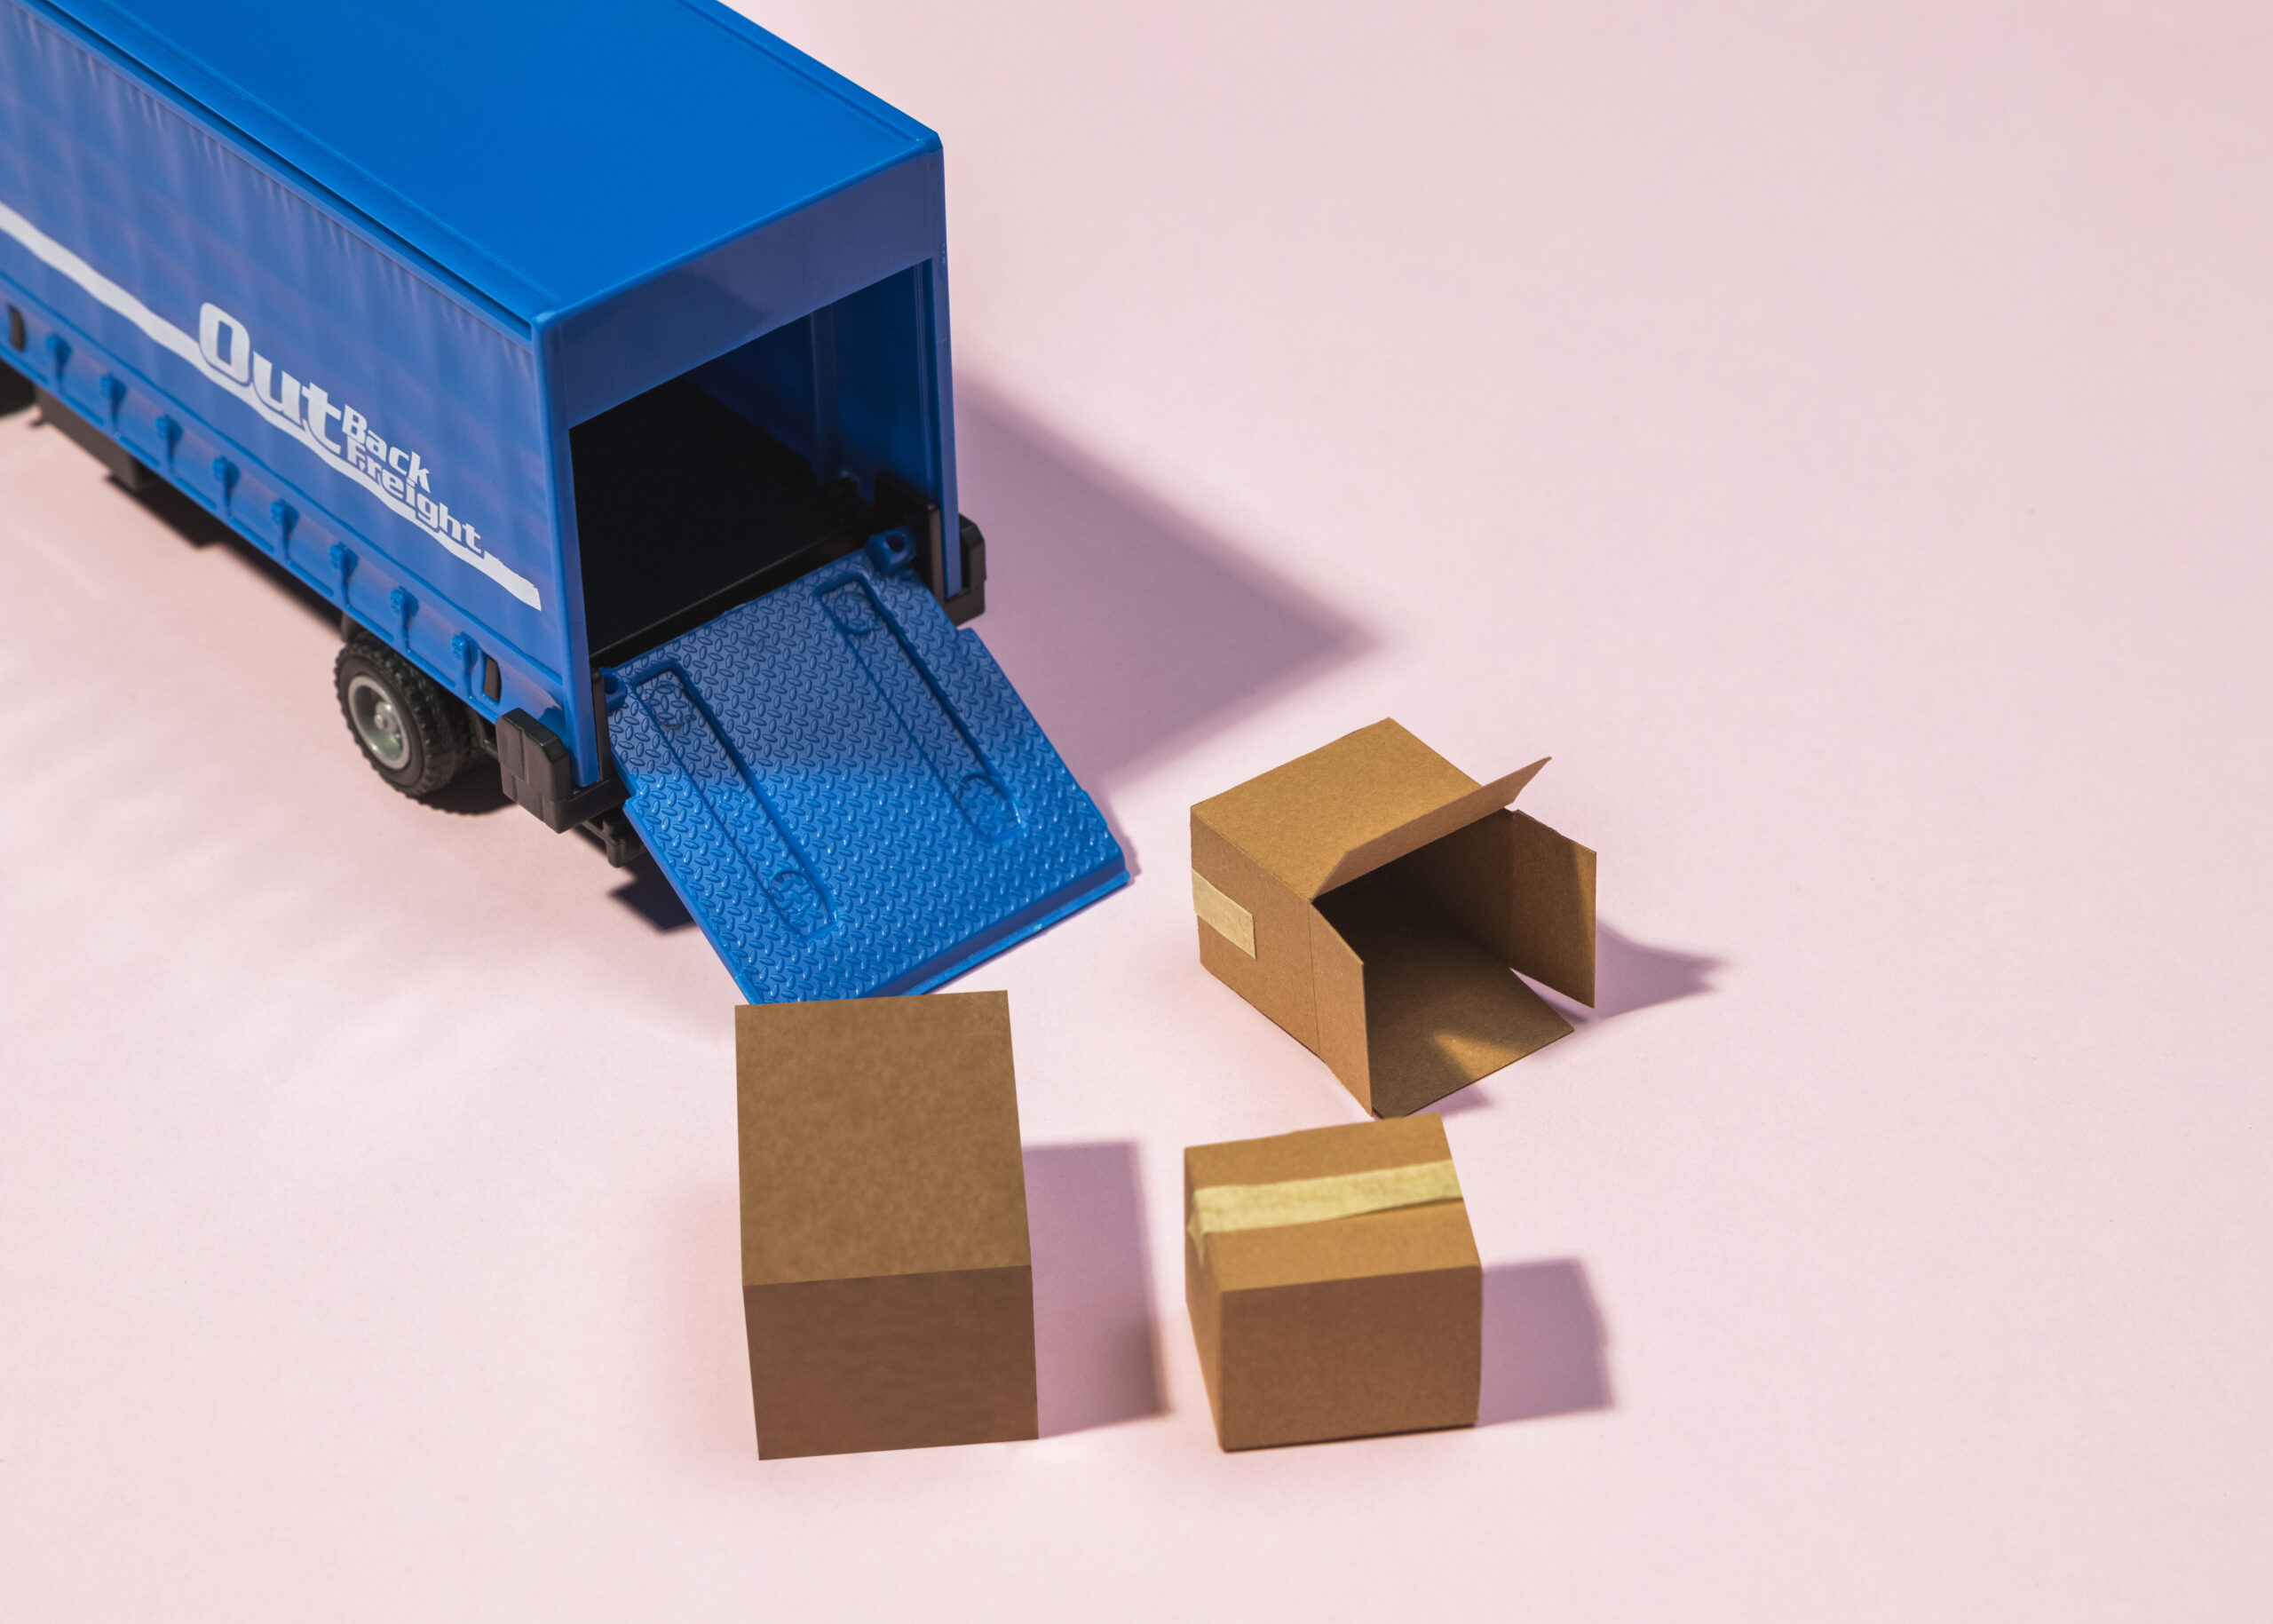
Getting Your Boxes to Amazon
If you selected small parcel delivery, you now have a simple choice. Drop off your boxes at a UPS location or schedule a pickup. For smaller shipments, dropping boxes at a UPS store is often the fastest option. It can also be a UPS drop-off point. You can locate the nearest UPS location through their website or app. Simply bring your labeled boxes during business hours.
Alternatively, you can schedule a UPS pickup. Do this directly through Amazon’s interface or the UPS website. This option is particularly convenient if you’re shipping multiple boxes. It’s also helpful if the nearest drop-off location isn’t easily accessible. The driver will come to your specified address. They’ll scan your packages and take them for delivery to Amazon’s fulfillment center.
For LTL shipments, Amazon coordinates the truck pickup for you. You’ll receive notification of when the freight truck will arrive at your location. You’ll need to have your pallets ready for loading. The freight company handles the heavy lifting. They load your palletized inventory onto the truck for transport to Amazon.
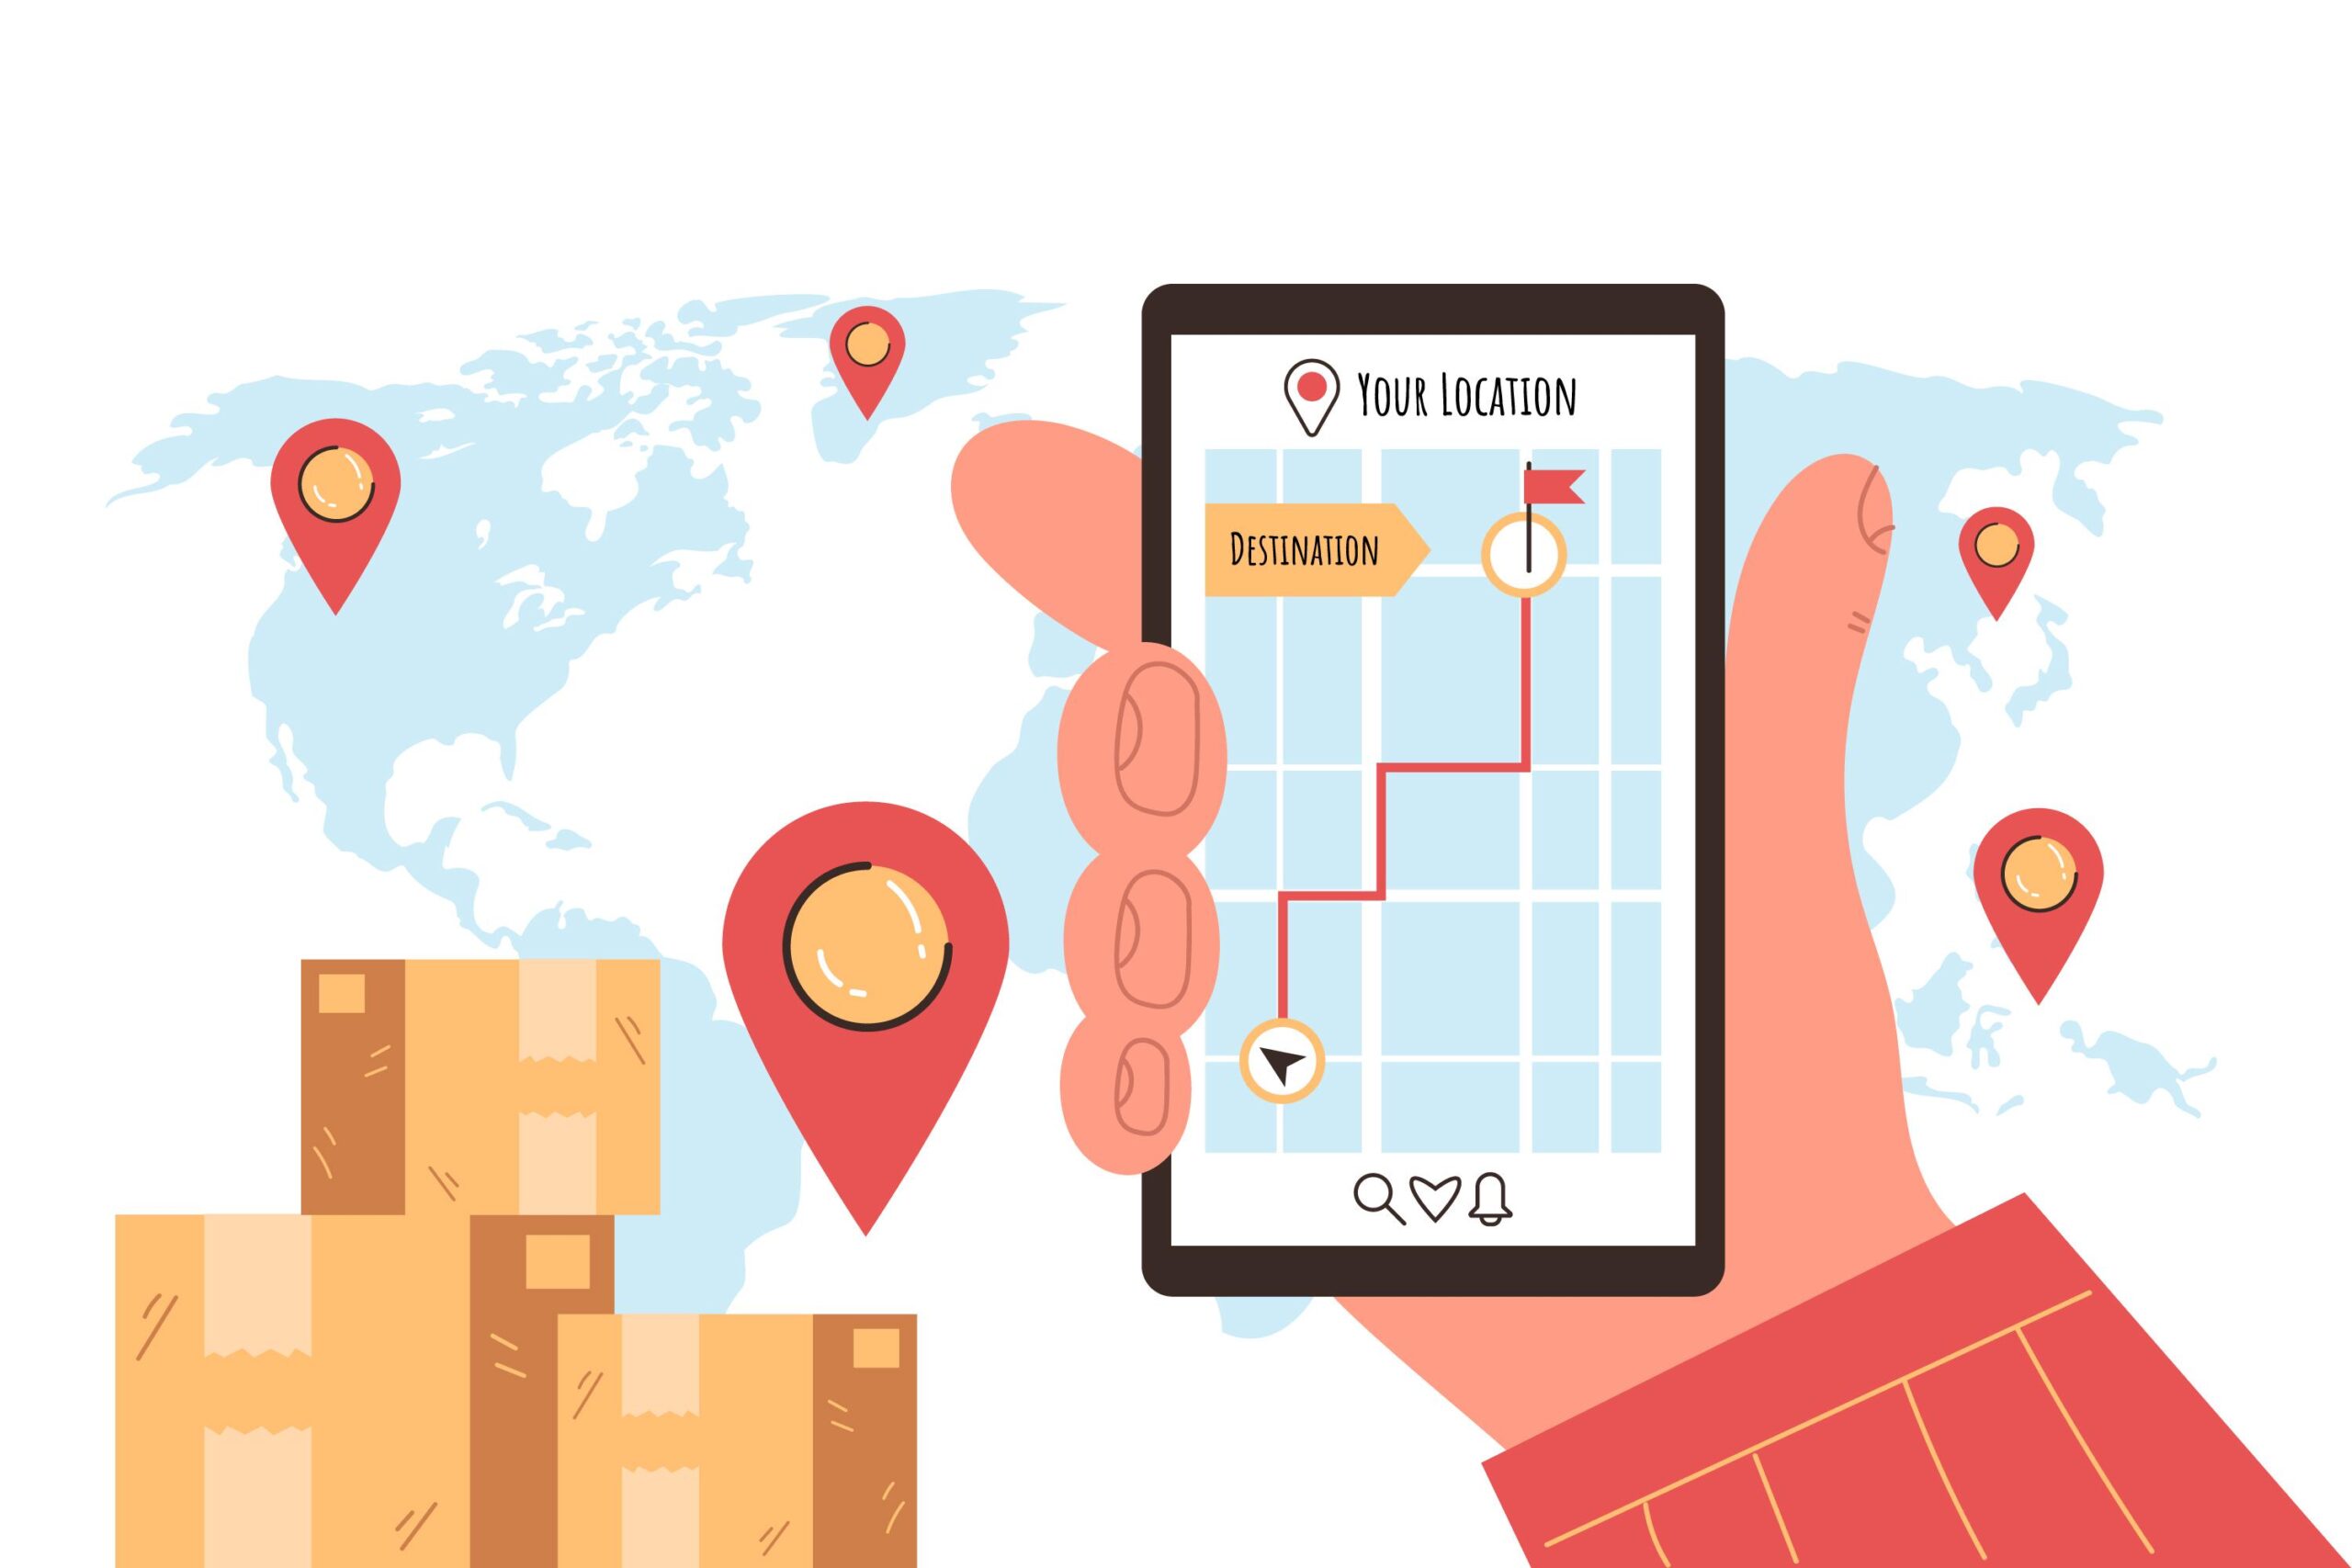
Regardless of which method you choose, once your boxes leave your possession, they’re in Amazon’s logistics network. The shipping company transports them to the designated fulfillment center. Amazon’s receiving team processes them there and makes your inventory available for sale. Your job at this point is simply to track the shipment. Watch for it to become active in your inventory.
Tracking Your Shipment Status

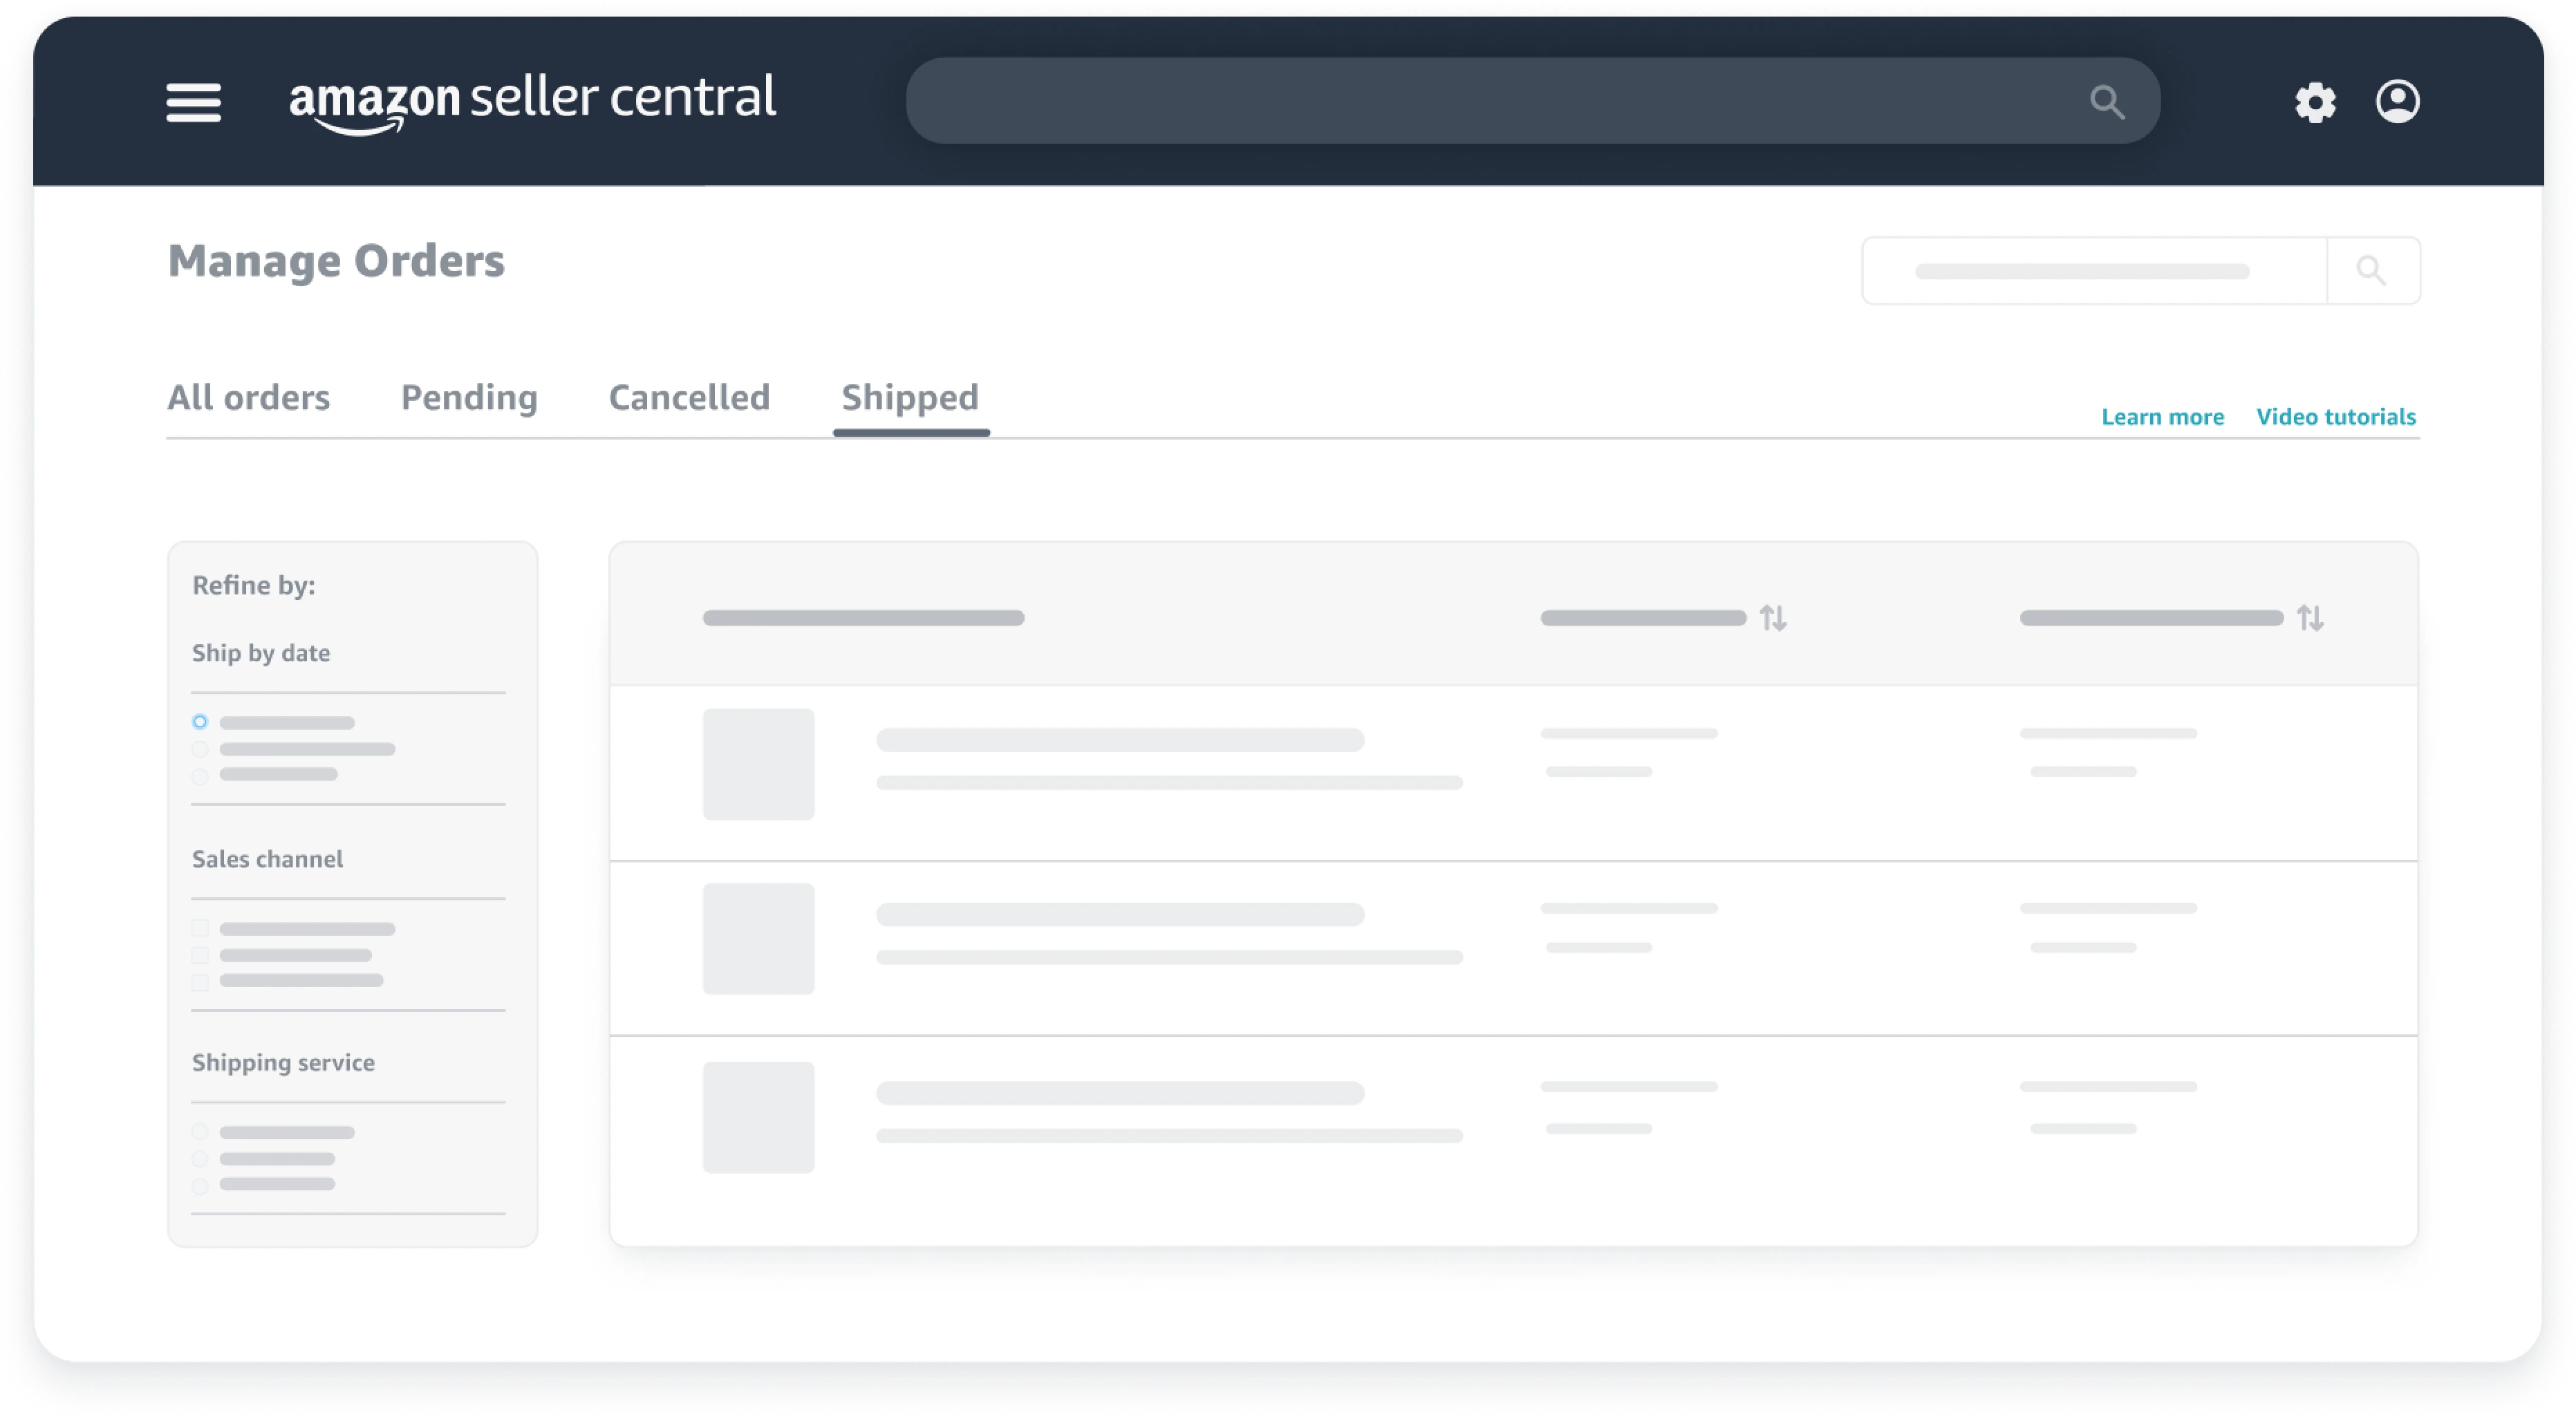
After your products leave for Amazon’s warehouse, you can monitor their progress through Amazon Seller Central. This tracking capability gives you visibility into where your inventory is. You’ll also know when it should become available for sale. Understanding how to access this information helps you plan your business operations. It also helps you set realistic customer expectations.
To view your shipment status, click the three horizontal lines in the upper left corner of Seller Central. This is the hamburger menu. From this menu, navigate to “Inventory” and then select “Shipments.” This section displays a comprehensive list of all shipments you’ve sent to Amazon. It includes current, past, and pending shipments.
For each shipment, you can click “Track Shipment” to see detailed information about its status. The tracking page shows when the shipment was sent. It also shows when it arrived at Amazon’s facility and the current processing stage. You’ll see updates as Amazon receives, inspects, and distributes your inventory. They spread it across their fulfillment network.
When the status changes to “Delivered,” your boxes have physically arrived at Amazon’s warehouse. However, “delivered” doesn’t mean your inventory is immediately available for sale. Amazon still needs to check in the boxes. They verify quantities and distribute units to appropriate storage locations. Typically, this receiving process takes anywhere from a few hours to a few days. The timing depends on the fulfillment center’s current volume. Once complete, your products become live and ready to fulfill customer orders.
Common Mistakes That Cost You Time and Money

Throughout this guide, we’ve emphasized several critical steps. However, it’s worth reviewing the most common mistakes that trip up new Amazon sellers. Learning from others’ errors saves you the frustration and expense of making them yourself. These pitfalls are entirely avoidable with careful attention to detail.
The single biggest mistake is entering an incorrect ship-from address. We’ve mentioned this multiple times because it’s that important. When Amazon expects inventory from one location but receives it from another, the system flags it as irregular. This potentially delays or rejects your entire shipment. Similarly, entering incorrect box dimensions or weights can result in additional fees. Your shipment might even be refused when the actual boxes don’t match your declared specifications.
Another common error involves label application. This includes using unclear labels, covering barcodes with tape, or placing labels where they can’t be easily scanned. Additionally, many new sellers skip checking prep requirements. They assume their product doesn’t need special handling. Then Amazon rejects their inventory. Each of these mistakes adds days or weeks to getting your products available for sale.
Finally, choosing the wrong shipping method for your volume wastes money. Sending one box via LTL is inefficient and expensive. Trying to send 50 boxes via small parcel creates logistical headaches. Understanding your options and selecting appropriately based on your shipment size optimizes both cost and efficiency. By avoiding these common pitfalls, you ensure your first shipment flows smoothly. Every subsequent shipment will too, from your location to Amazon’s warehouse to customers’ doorsteps.
Your Amazon FBA Success Starts With This Foundation

Now you understand the complete process for shipping your first product to Amazon’s fulfillment centers. This process genuinely takes less than 5 minutes once you know the system. What initially seemed complicated and intimidating is actually a straightforward workflow. Amazon has streamlined it for sellers at every experience level. With each shipment you send, the process becomes even faster and more intuitive.
Mindy V’s journey from struggling single mom to Shark Tank entrepreneur demonstrates what’s possible. You need to combine a passion-driven product idea with proper execution. Her success didn’t happen by accident. It resulted from understanding fundamentals like proper fulfillment. She learned from experienced mentors and took consistent action. You have access to the same tools and knowledge that propelled her business forward.
The difference between sellers who struggle and those who thrive often comes down to having the right guidance at crucial moments. Programs like Travis’s Passion Product Formula provide comprehensive Amazon FBA training. You get step-by-step instructions for every aspect of building your business. Furthermore, weekly Q&A calls mean you can ask questions and get expert answers at every stage. This prevents costly mistakes before they happen.
If you’re ready to accelerate your Amazon FBA learning and build a business around products you’re passionate about, the Passion Product Formula offers the complete roadmap you need. For those not quite ready to commit to the full program, Travis also provides a free 10-hour Amazon FBA course. It covers essential fundamentals. Either way, you’re now equipped with the knowledge to ship your first product successfully. Begin your journey toward financial freedom through Amazon FBA.
Frequently Asked Questions
How long does it take for my inventory to become available after shipping to Amazon?
After your shipment arrives at Amazon’s fulfillment center, the receiving process typically takes 1-5 business days. Your status will show “Delivered” at this point. Amazon must check in your boxes and verify quantities. They also scan your FNSKU labels and distribute inventory to appropriate storage locations. During busy seasons like Q4, this process may take slightly longer. You can monitor the progress in the Shipments section of Seller Central.
Can I split my shipment across multiple fulfillment centers?
Yes, Amazon may distribute your inventory across multiple fulfillment centers. They base this on their algorithm for optimal placement. This distribution helps Amazon deliver products faster to customers across different regions. You don’t need to do anything special. Amazon handles this automatically. However, if you prefer to send everything to one location initially, you can disable the Inventory Placement Service. Note that distributed inventory may result in lower fees.
What happens if I make a mistake on my shipment plan?
If you catch the error before shipping, you can abandon the shipment plan in Seller Central. Then create a new one with correct information. However, once your boxes are in transit, corrections become more complicated. Minor discrepancies in quantity are usually resolved during Amazon’s receiving process. Major errors present bigger problems. These include wrong products or incorrect addresses. They may result in your shipment being refused or additional fees being charged. This is why double-checking everything before shipping is crucial.
Do I need to use Amazon’s partnered carrier rates, or can I arrange my own shipping?
You can arrange your own shipping if you prefer. However, Amazon’s partnered carrier rates are almost always more competitive. They beat the retail rates you’d pay independently. If you have existing relationships with freight companies that offer better rates, you can select “Other” as your carrier. Then provide tracking information manually. However, most sellers find Amazon’s integrated shipping both cheaper and more convenient.
How much does it cost to have Amazon label my products instead of doing it myself?
Amazon charges $0.50 per unit for FBA Label Service. With this service, they apply FNSKU labels to your products. While this might seem convenient, the costs add up quickly. For a shipment of 120 units, you’d pay $60 just for labeling. Having your manufacturer print FNSKU labels directly on products during production typically costs pennies per unit. It’s often included in your manufacturing cost. This saves significant money over time.
What’s the difference between FNSKU and UPC/EAN barcodes?
UPC or EAN barcodes are universal product codes. They identify products across all retail channels. FNSKU barcodes are Amazon-specific codes. They track your individual inventory within Amazon’s fulfillment network. Your product needs both. You need the UPC/EAN for the product listing itself. You also need the FNSKU so Amazon knows which units belong to you specifically. The FNSKU label typically goes over the existing UPC barcode on your product.
Can I send products directly from my manufacturer in China to Amazon?
Absolutely. Amazon’s Global Logistics program allows you to set your manufacturer’s address in China as the ship-from location. Amazon then coordinates pickup, international shipping, customs clearance, and delivery to US fulfillment centers. This eliminates the need to ship products to yourself first. It saves both time and money. Many successful sellers never physically touch their inventory. They ship directly from manufacturer to Amazon.
What happens if my shipment arrives damaged or with missing boxes?
Amazon documents any damage or discrepancies during the receiving process. If boxes arrive damaged, Amazon photographs the damage. They note it in your shipment details. For missing boxes, the discrepancy is flagged. You may need to file a claim with the carrier. This is why proper packaging and clear labeling are essential. They create documentation trails that protect you if issues arise during transit.


