
Getting your product into the Amazon FBA warehouse is the last step between you and your first sale. Your product is manufactured. Your listing is live. Now only the shipment itself stands in the way.
At first glance, the shipping process inside Seller Central looks intimidating. There are templates, prep categories, placement options, two different label types, and a handful of terms that Amazon never bothers to define. But here’s the good news. Once you understand what each screen is actually asking for, the whole thing turns into a simple sequence of forms you fill out in about twenty minutes.
Throughout this guide, I’m also going to cover six mistakes I watch new sellers make over and over. These mistakes cost real money. One of them cost me $5,000 in lost sales. Another almost cost me $10,000 in a single pallet. Each one takes about thirty seconds to avoid once you know it exists.
I’ve been selling on Amazon for over ten years, and I’ve built multiple seven-figure products, including Ascend and Carnivore Electrolytes. Every example in this article comes from real shipments I’ve sent in myself. Before you can ship anything, though, you need two things in place first.
- Getting Your Seller Account and Listing Ready
- Choosing Your Ship From Address
- Selling From Outside the United States
- Building Your Case Pack Template
- Prepping and Labeling Your Units
- Picking Your Shipment Method and Shipping Option
- Understanding Placement Options
- Printing and Checking Your Box Labels
- Tracking Your Shipment After It Ships
- Keeping Your Paperwork
- Timing and Inventory Levels
- Your Next Move
- Frequently Asked Questions
Getting Your Seller Account and Listing Ready
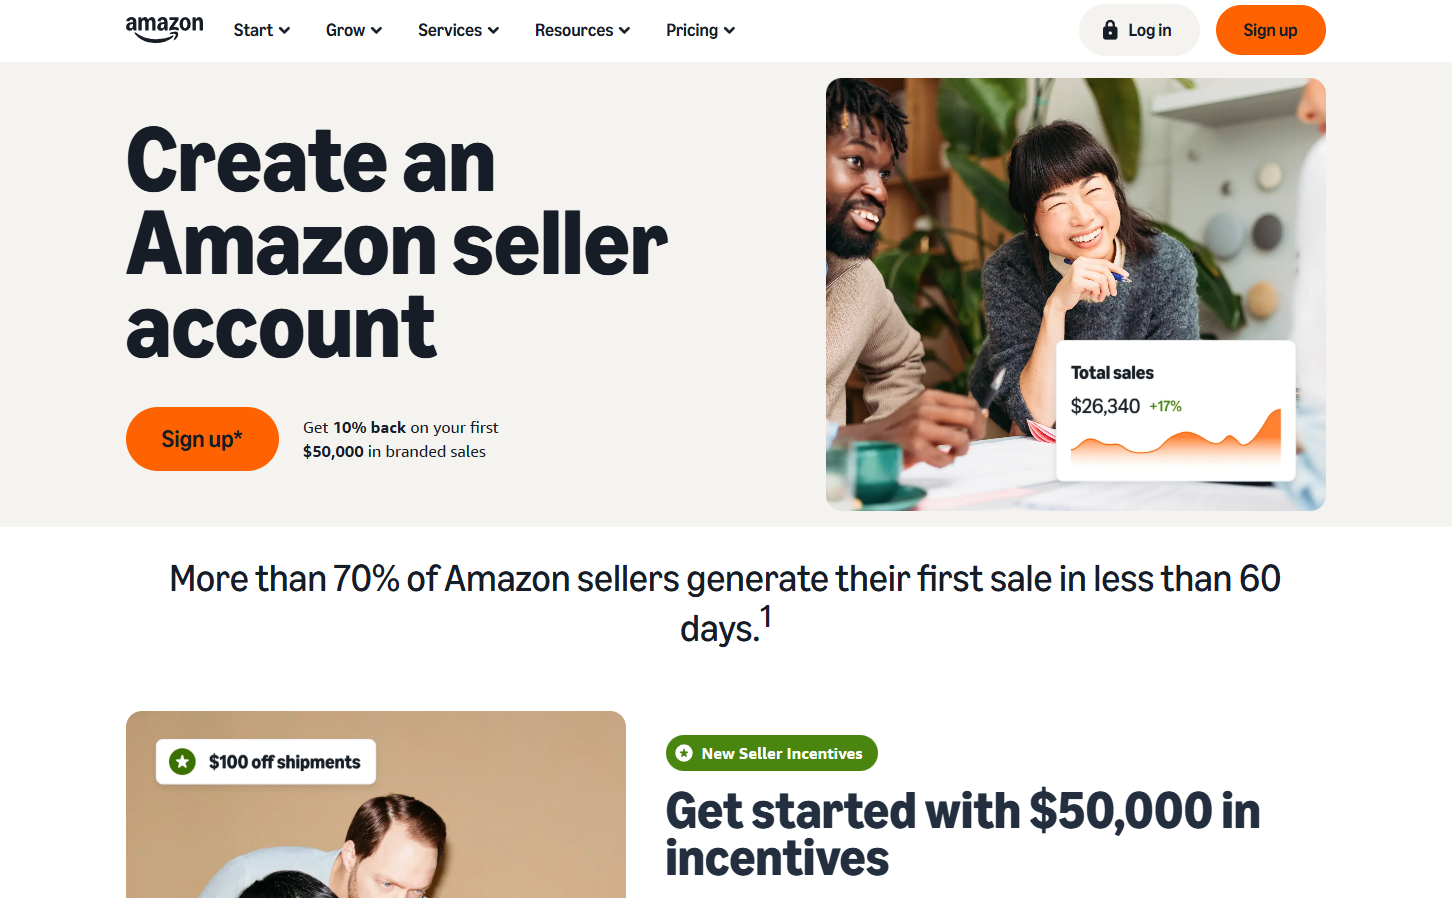
Start by heading to sell.amazon.com and signing up for a Seller Central account. Once Amazon approves you, log in and get familiar with the dashboard. This is where every part of your Amazon business will live from here on out.
Next, confirm that your product is already listed. Click into Products, then into Manage Products. Your catalog appears here. If your product shows up in this tab with an active listing, you’re ready to ship and if it doesn’t, you have two paths forward depending on your situation.
If someone else already sells the exact same item on Amazon, click Add a Product, then Search, then type the listing title and select the exact item you want to sell. From there, click Copy Listing and fill out a little information about the specific product you’re shipping in. However, if nobody sells your product yet, which is the case for most private label and passion product sellers, you’ll click Blank Form and then Start. Amazon will then walk you through building the listing from scratch.
One more thing to check before you move on. Find your product in Manage Products, click the small dropdown arrow next to the Edit button, and look for Send Inventory. If that option doesn’t appear, your listing is currently set to Fulfilled by Merchant. Simply click Switch to FBA and the option will show up. Once you see Send Inventory, click it, and the shipping workflow begins.
Choosing Your Ship From Address

Here’s the first mistake, and honestly, it’s the easiest one on this entire list to catch. Most new sellers blow right past the ship from address without reading it. Amazon defaults to whatever personal address you used when you registered, and plenty of sellers never notice.
Why does this matter so much? Because Amazon uses your ship from address to decide which fulfillment center receives your inventory. I made this exact mistake once, Amazon routed my shipment to the wrong side of the country, and the delay cost me roughly $5,000 in lost sales. Ten seconds of double-checking would have prevented all of it.
Changing the address takes almost no effort. Click the address field, select Add Contact, and enter the correct one. If your manufacturer is shipping directly to Amazon, use the manufacturer’s address. If your inventory comes to your house first so you can inspect it before it goes out, then your personal address is exactly right. Just make sure the address reflects where the boxes physically start their journey.
Now here’s a hack that saves overseas sellers real money. If your manufacturer sits in China and you’re shipping directly from them into Amazon, consider using a West Coast ship from address, California for instance. Amazon will then assign a California fulfillment center, which sits far closer to your factory than an Amazon FBA warehouse in New York or the Midwest. Otherwise, your freight lands at a West Coast port anyway and you pay additional trucking fees to haul it across the entire country. Technically this sits in a gray area with Amazon’s rules, so use your own judgment, though nearly every serious seller I know does it. While you’re on this screen, also confirm your marketplace destination matches where you actually sell, whether that’s the United States, Canada, the UK, or the EU.
Selling From Outside the United States
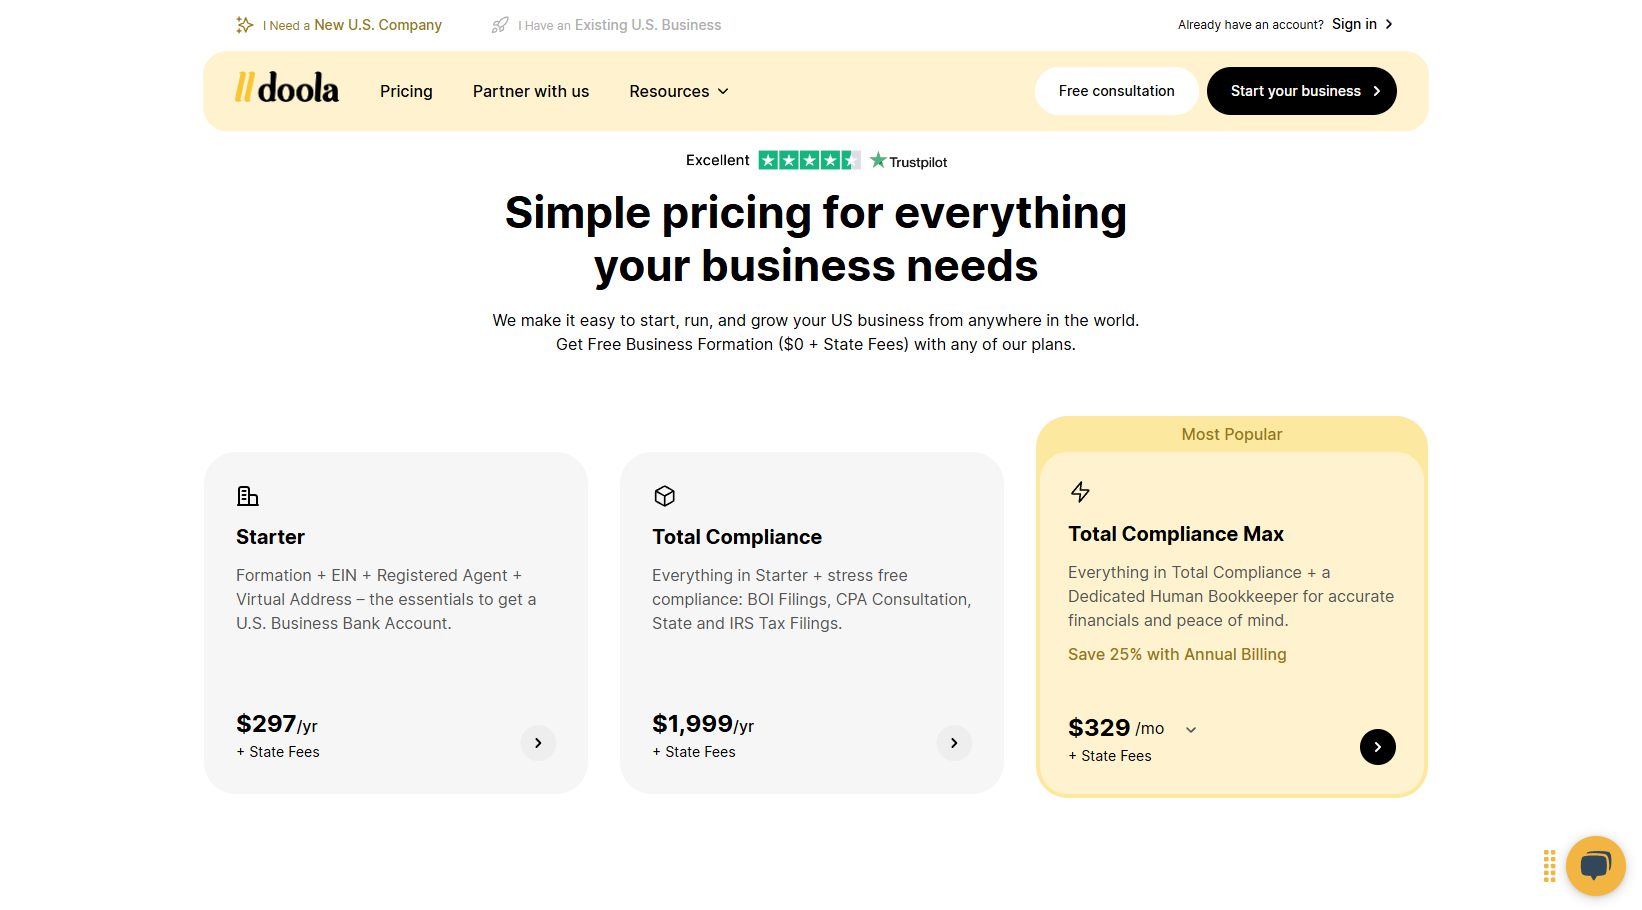
Since we’re on the subject of overseas sellers, this is a good moment to cover something that trips up a lot of international entrepreneurs. If you’re watching from outside the US and you want to sell on Amazon US, you absolutely can. However, you need three things in place first: a US LLC, an EIN, and a US bank account so Amazon has somewhere to actually send your money.
Each one carries its own process, and each one has its own way of going sideways. The EIN in particular can take 8 to 11 weeks if you file it yourself, which is often longer than the entire product manufacturing timeline. Miss a filing deadline down the road and the penalties get expensive fast.
Fortunately, you can hand the whole thing off. doola sets all three up for you. You pick your LLC and your state, add EIN and banking, and they handle the paperwork end to end. Your EIN typically comes back in 1 to 2 weeks instead of months, your US bank account gets opened, and you’re ready to receive payouts from Amazon. They also handle your annual filings so nothing slips through the cracks. Head to doola.com and use code travis10 for 10% off, or book a free demo first.
Building Your Case Pack Template
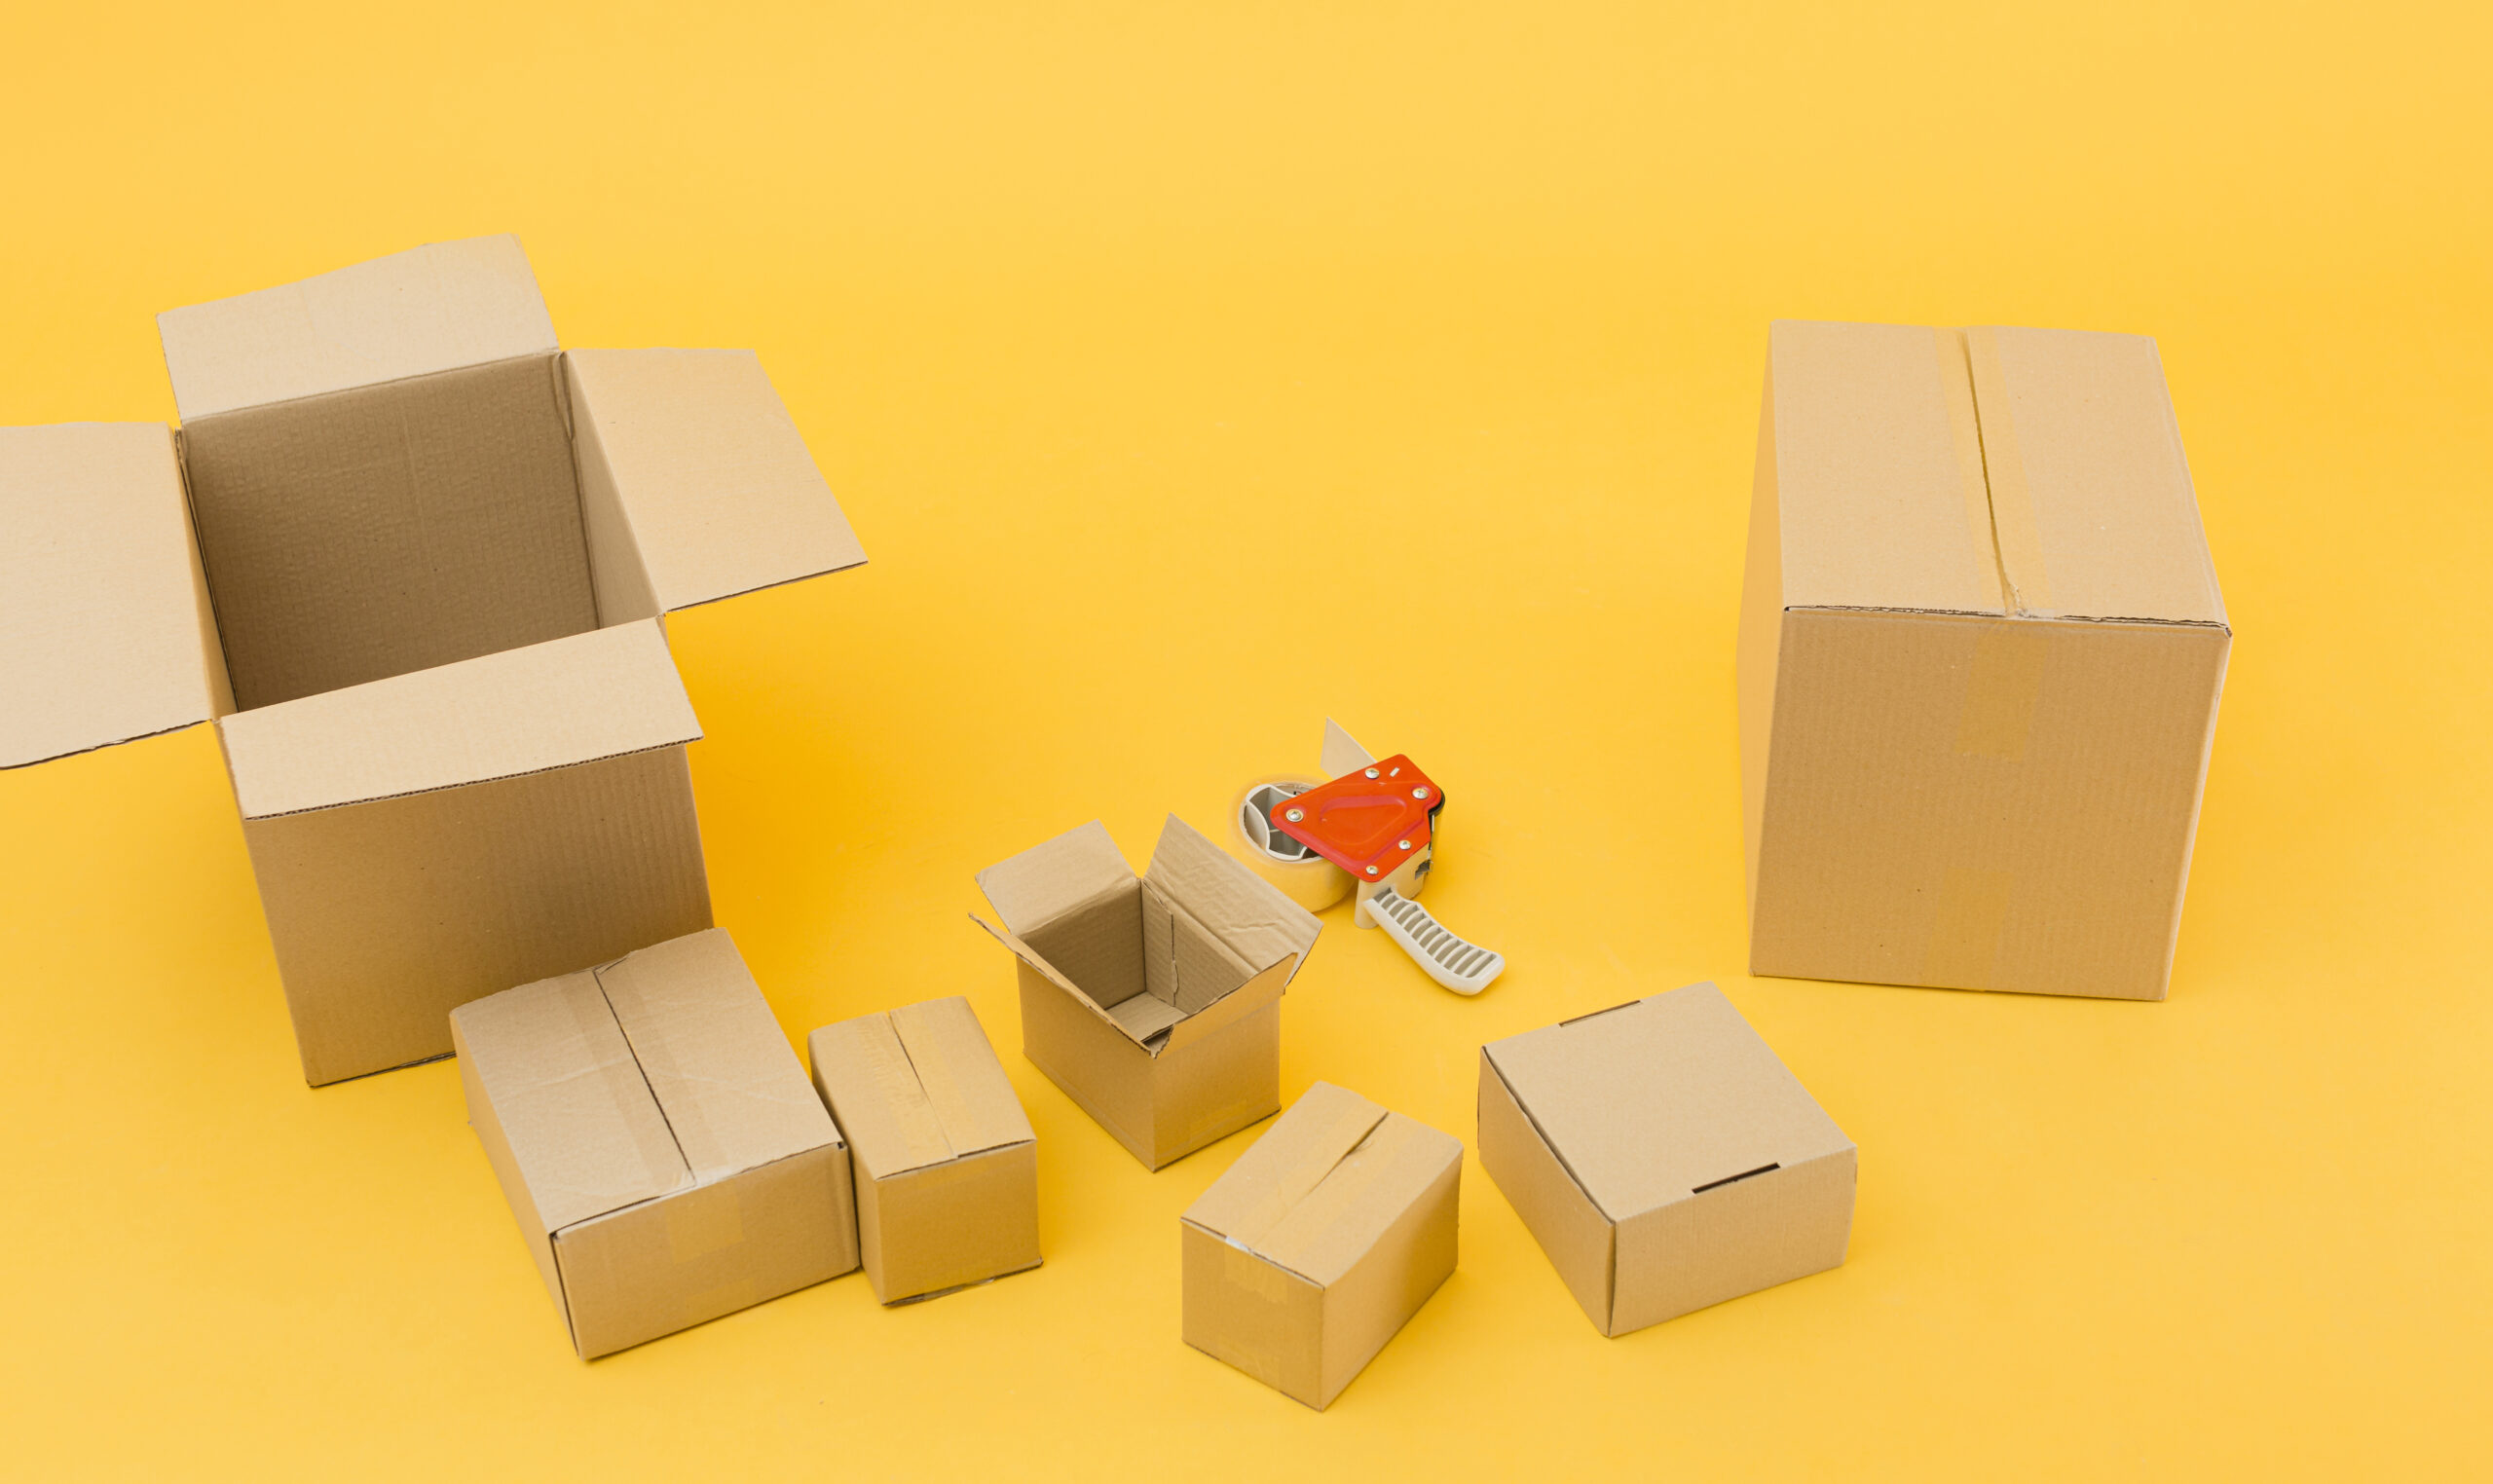
Scroll down and you’ll hit the case pack template. This term confuses more new sellers than almost anything else in Seller Central, so let’s define it clearly. A case pack is simply the outer box that holds multiple units of your product. It is not the individual unit, and it is not a pallet. With Ascend, we don’t ship units one at a time. We pack roughly 50 units into one big box, and that box is the case.
Amazon asks for a template because you’ll almost certainly ship the same configuration every time you restock. Build it once, reuse it forever.
Amazon’s Size and Weight Requirements
Before you fill anything out, though, keep two hard requirements in mind. No side of your case can exceed 25 inches, and no case can weigh more than 50 pounds once it’s fully packed. Amazon publishes additional recommendations on their site, and it’s worth skimming them before you commit to a box size.
If your product didn’t arrive in shippable boxes, you’ll need to buy some. Your local Walmart works in a pinch, Amazon works too, and uline.com is my favorite source when you want bulk pricing. Measure and weigh a fully packed case before you touch Seller Central, because guessing here creates label problems later.
Filling In Your Template Details
Now start filling in the fields. Give the template a name, something like “Ascend Test.” Enter your units per box, which for us is 50. Add your dimensions, which for our case is 8.5 inches by 12.5 inches by 12 inches. Finally, enter the case weight, which for us comes out to 11 pounds.
Choosing Your Prep Category
Below that sits the prep category. For most products, no prep is needed. Still, open the dropdown and read through it. Amazon flags adult items, baby products, fragile glass, and liquids for special handling, and getting this wrong creates delays at check-in. Since Ascend is a straightforward product, we select no prep needed and save. From there, we tell Amazon we’re sending nine cases at 50 units each, which totals 450 units, then we click Ready to Send.
Get a Plan Before You Ship

Before you go further, I want to mention something that helps a lot of people at this exact stage. I’m currently giving away free one-on-one calls with myself and my top coaches. On that call, we’ll look at your specific situation and map out a plan for getting your product live and profitable. It’s built around the Passion Product Formula, the same system I used to build Ascend and Carnivore Electrolytes. Members get weekly small group coaching calls, one-on-one calls with seven-figure sellers, and over 140 step-by-step screen recorded lessons that go far deeper than any video can. There’s a link to book below, and it costs nothing.
Prepping and Labeling Your Units
Prep requirements shift from category to category, so rather than guessing, look up the specific rules for your product type. Amazon publishes clear documentation on this, and I’ve linked to it below. Sellers who skip this step often get their shipments flagged, which turns a two-week check-in into a two-month headache.
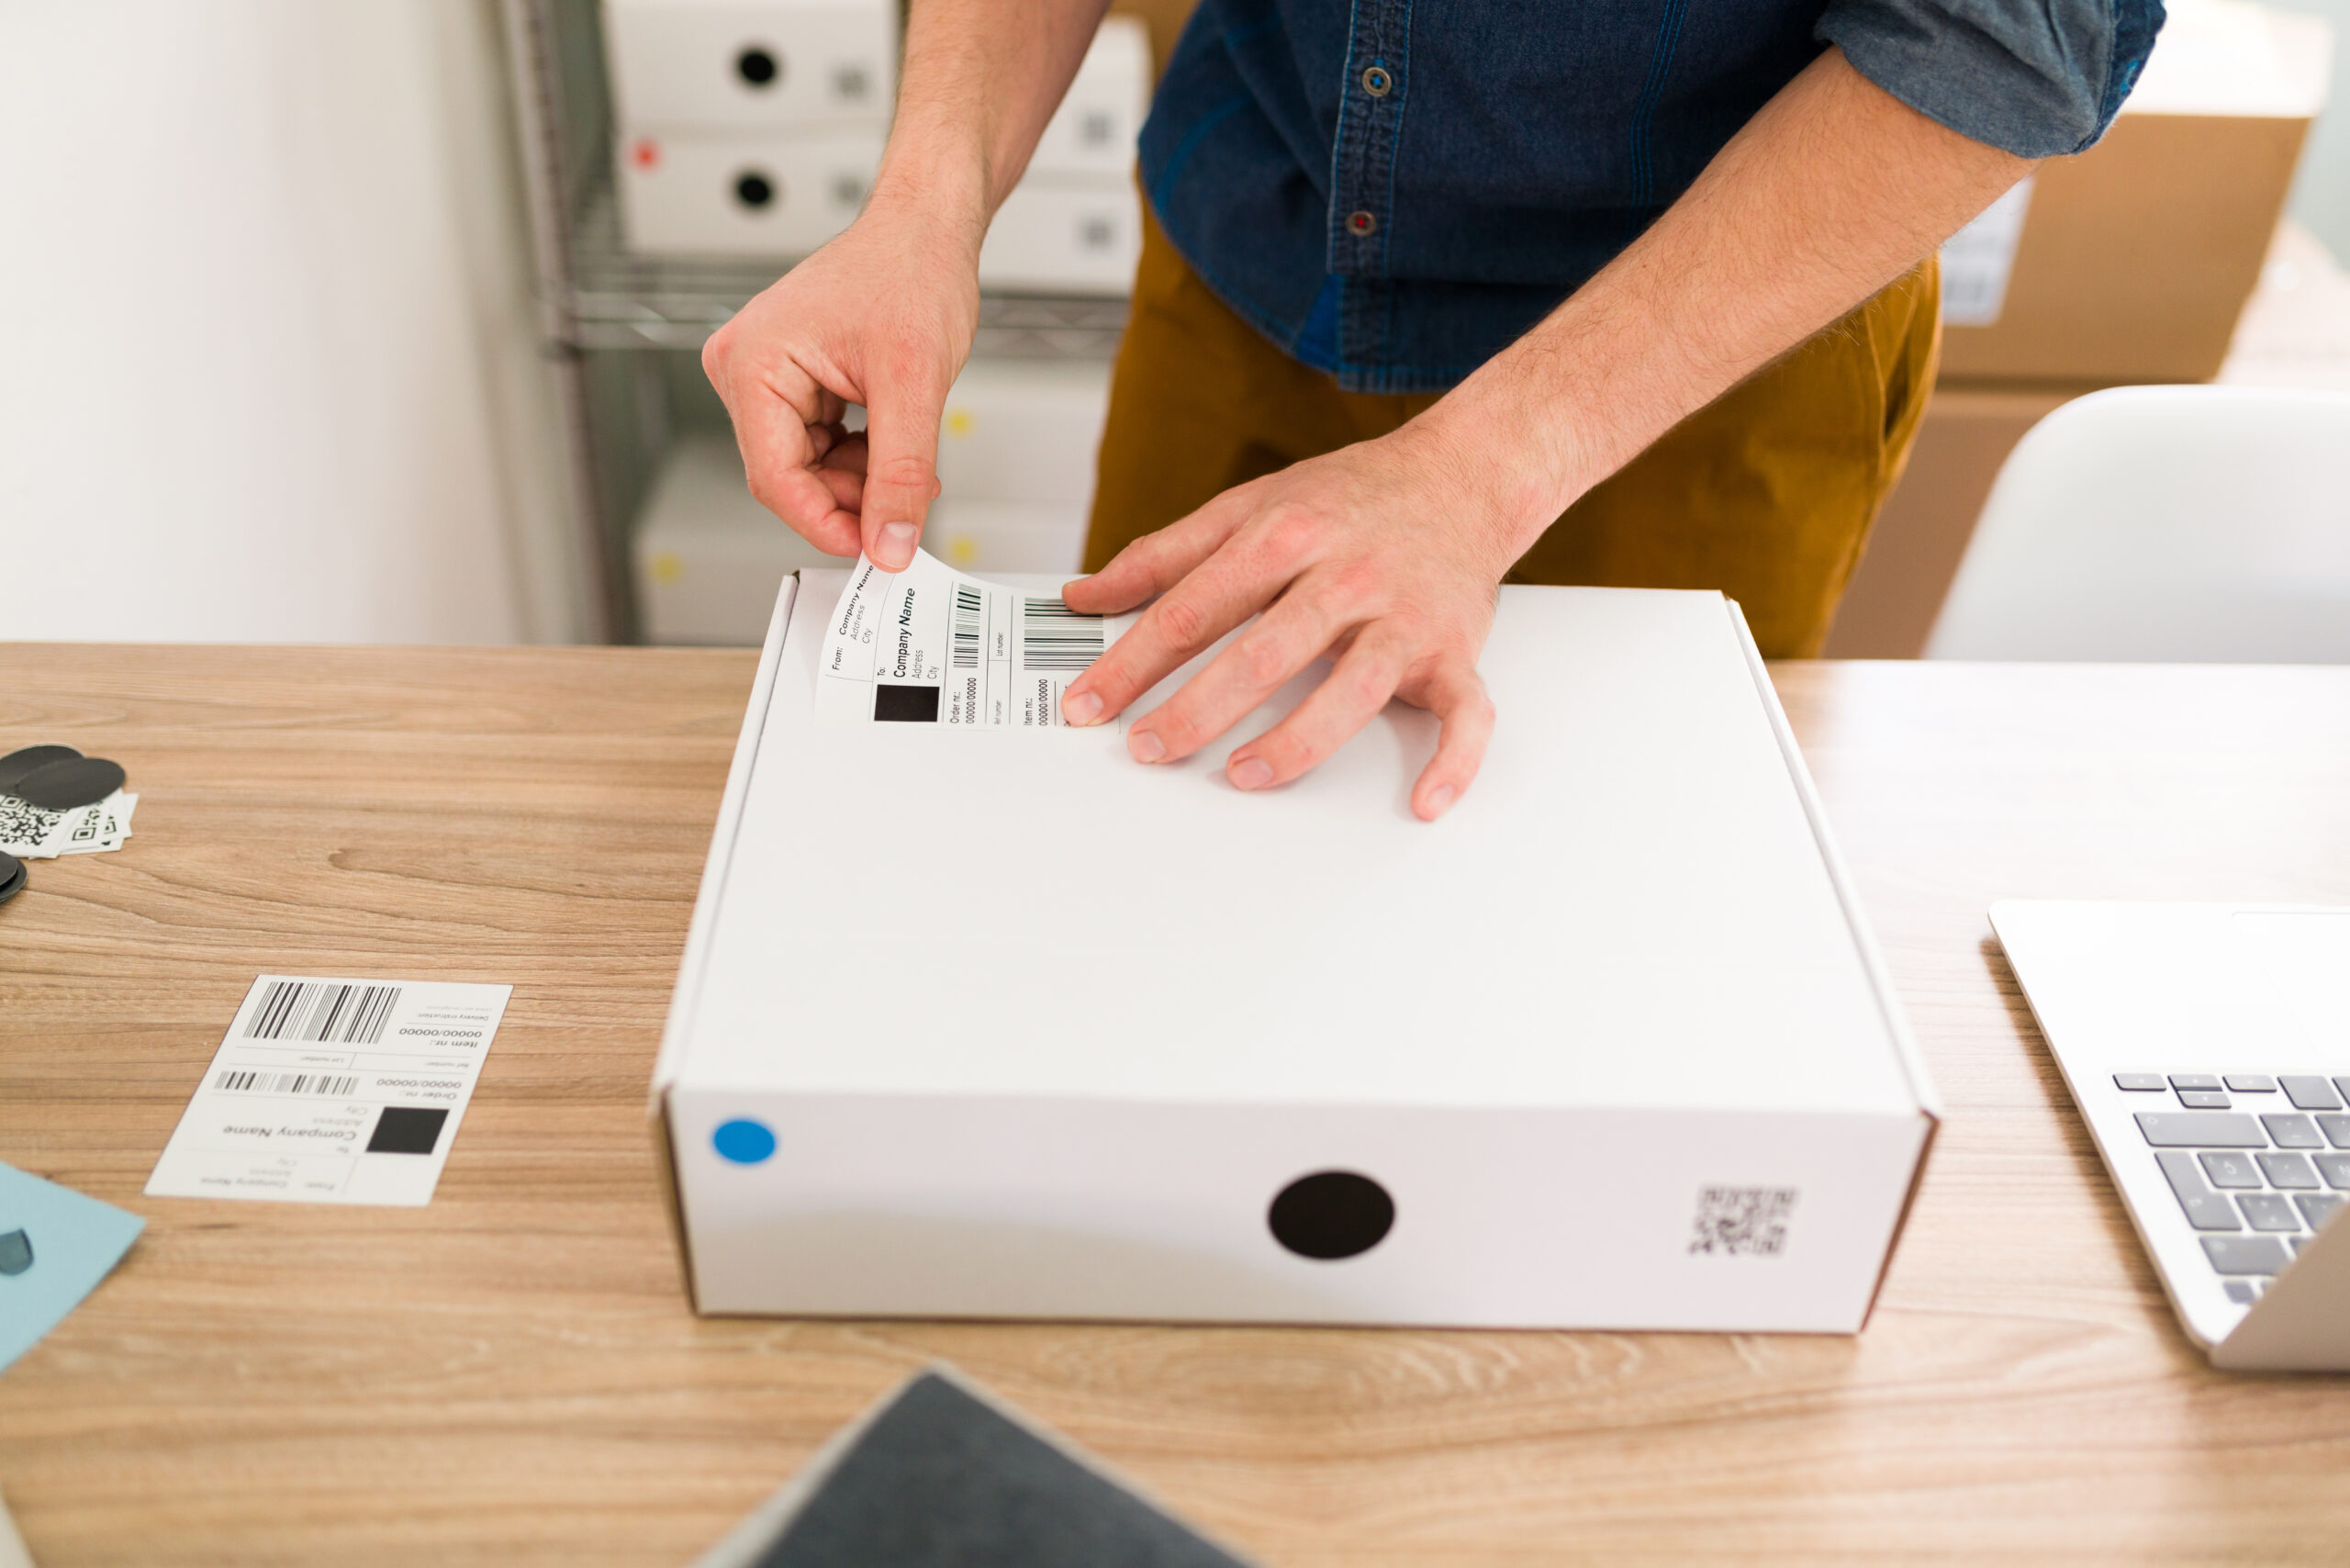
Next comes labeling, and specifically labeling your individual units. Labeling means adding your FNSKU to every single product you send in. FNSKU stands for fulfillment network stock keeping unit, and it’s how Amazon tracks whose inventory is whose inside the Amazon FBA warehouse. Importantly, this is not the same thing as a UPC code. A UPC, or universal product code, identifies the product itself, and every product sold anywhere has one.
Here’s the clearest way to understand the difference. Imagine I buy a tub of electrolytes and decide to sell it on Amazon. Then you buy the exact same brand and tub and decide to sell it too. Both tubs carry the identical UPC. However, Amazon assigns us different FNSKUs, so the Amazon FBA warehouse knows which units belong to me and which belong to you. If you’re doing retail arbitrage or wholesale, you’ll place your FNSKU sticker directly over the existing UPC. On the other hand, if you’re building your own private label or passion product, you can print the FNSKU directly onto your packaging at the factory and skip stickers entirely.
To generate labels, click Print FNSKU Labels, enter how many units you need, and print. You’ll get a sheet of barcodes that you can run on sticker paper through any printer, then apply by hand. It works, but it takes real time since you’re doing every unit individually. That’s exactly why we had our manufacturer print the FNSKU directly onto Ascend. Whatever you do, avoid letting Amazon label for you. They charge 50 cents per unit, which on a 450 unit shipment adds up to $225 for something your factory will handle for free.
Picking Your Shipment Method and Shipping Option

Once your template saves, Amazon asks you to choose between two shipment methods. The first is Amazon Fulfillment Center. The second is Amazon Warehousing and Distribution, or AWD. Amazon will actively recommend AWD right there on the screen, but for most sellers, especially on a first shipment, Fulfillment Center is the correct choice. AWD is a bulk long-term storage program built for sellers sending in huge pallet quantities who want Amazon to feed inventory into the network gradually. It saves money at scale, though it routes you into a completely different and more complicated process. Fulfillment Center also gets your product checked in and sellable faster.
After that, select your ship date. Then Amazon presents two shipping options: Small Parcel Delivery and Less Than Truckload. Choose Small Parcel Delivery if you’re packing units into boxes and either dropping them at UPS or having a UPS truck collect them. That covers the vast majority of first shipments. Choose Less Than Truckload if you’re sending full pallets, in which case a truck comes to your home or your manufacturer’s facility. If you go that route, confirm ahead of time that your manufacturer will accept a truck pickup and knows how to palletize and shrink wrap properly. Most factories handle this routinely.
Now here’s another mistake worth flagging. Plenty of sellers stay on Small Parcel Delivery long after their volume outgrows it. Less Than Truckload is how I shipped Carnivore Electrolytes once we scaled, sending thousands of units at a time. A truck with a liftgate would pull up to my house and take the entire pallet. Making that switch cut our shipping cost roughly in half.
Something else worth knowing is that shipping into Amazon is surprisingly cheap, because you get to use Amazon’s negotiated UPS rates. Our nine cases came in under $100 total. Sending those same nine boxes at the same weight to a friend in another city would have run several hundred dollars. You can click through to use DHL, FedEx, USPS, or another carrier instead, but expect to pay meaningfully more, so I don’t recommend it. Keep in mind that if you select Less Than Truckload, UPS drops out of the picture entirely and Amazon connects you with a local trucking company instead.
Understanding Placement Options

Next you’ll hit a step Amazon added relatively recently called placement options, and this one directly affects your wallet. Slow down here for a minute.
Amazon offers you a few choices. Amazon Optimize splits your boxes across several Amazon FBA warehouse around the country. Minimal Splits sends everything to just one or two locations. Naturally, minimal splits sounds simpler and therefore cheaper, which is exactly where sellers get caught.
Here’s the catch. When you choose minimal splits, Amazon charges you an inbound placement fee, essentially a per-unit charge for the convenience of consolidating. With Amazon Optimize, that fee disappears completely. So don’t assume simplifying saves money. Instead, just read the total cost column sitting right there on the screen. On our Ascend shipment, Amazon Optimize came in cheapest by a wide margin, while the minimal splits options jumped well past $100 and in one case past $200.
For us, that made the decision obvious. We selected Amazon Optimize, which means our nine boxes get divided into a few separate shipments heading to different Amazon FBA warehouse. Practically speaking, that just means printing a few more labels. Given the savings, it’s an easy trade. From there, click Accept Charges and Confirm Shipping, and your first shipment officially exists.
Printing and Checking Your Box Labels
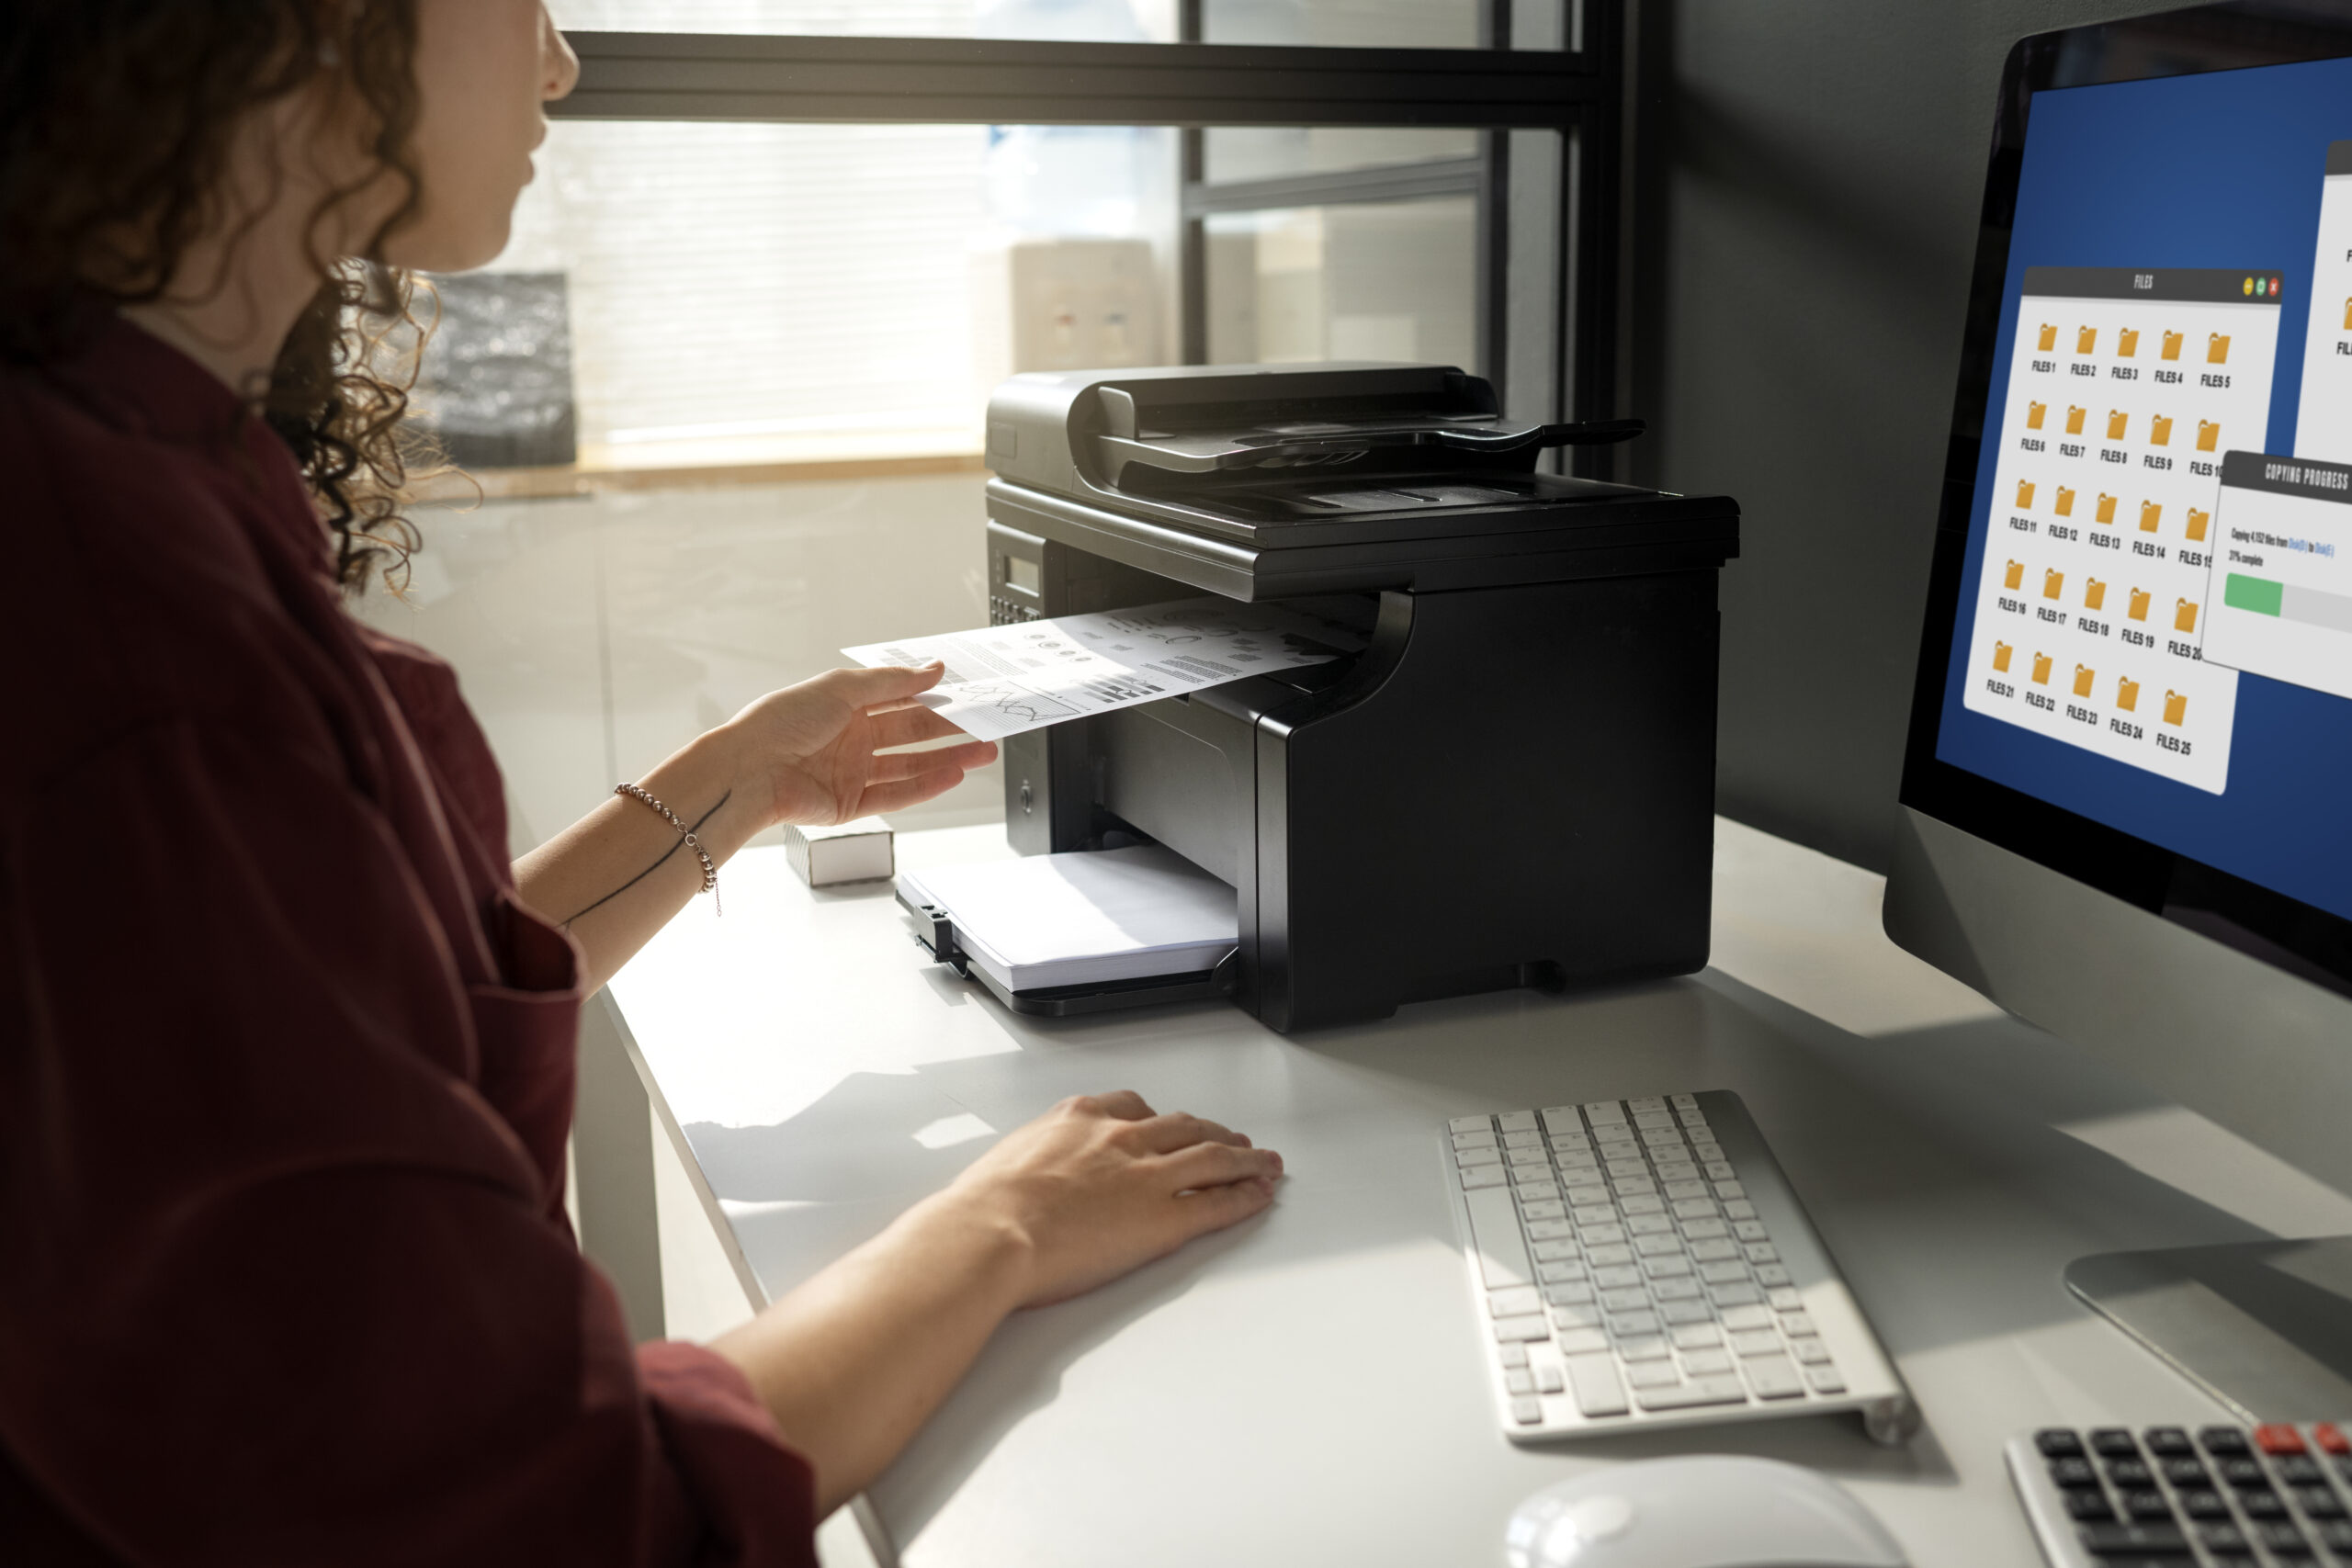
Now you’ll print your box labels, and you get two per box. The first is the UPS label, which lets UPS scan and track your package in transit. The second is the Amazon FBA box ID label, which the Amazon FBA warehouse scans to know exactly where your boxes sit inside their facility. Every time your package moves, they scan it again.
That second label deserves extra care. Never place tape over the scannable portion. When Amazon can’t scan a box, bad things follow. They may lose your inventory, refuse the shipment outright, or charge you fees to sort it out manually. A strip of tape in the wrong place genuinely creates that much trouble.
Before you print, verify four details. Confirm the weight is accurate for each individual case. Confirm the dimensions are accurate too, since incorrect dimensions can trigger extra charges from UPS. Check that your ship from address is correct. Finally, make sure the ship to address on your shipping label matches the ship to address on the box label.
In our case, Amazon generated nine pages, one for each case we’re sending. Interestingly, the ship to addresses across those pages differ, because Amazon Optimize split our boxes across multiple fulfillment centers. That’s expected, not an error. You can print these onto sticker paper, or use regular paper and tape them to your cases. Either approach works fine.
If you’re dealing with something more complex, like coordinating an LTL pickup, palletizing correctly, or shipping internationally, that’s precisely where having a coach who has already done it saves you weeks. The Passion Product Formula includes one-on-one access to seven-figure sellers who can look at your exact situation. You can book a free call using the link below.
Tracking Your Shipment After It Ships

Once your boxes leave, head to Supply Chain, then Manage Shipments. This dashboard shows the live status of everything you’ve sent in, and checking it regularly protects you from problems that are much harder to fix later.
Let me walk you through a real Ascend timeline so you know what normal looks like. Shipment created January 14. In transit shortly after. Received on January 25. Then it took from January 25 all the way to February 11 for Amazon to finish checking it in and close the shipment. That final message read “no shipping problems found,” which is exactly what you want.
The status labels themselves confuse a lot of new sellers, so here’s what each one actually means. In transit means your boxes are on the way. Delivered means the carrier dropped them off, but nobody at Amazon has acknowledged or counted them yet. Receiving means Amazon has started opening cases and scanning individual units. Closed means everything is accounted for and your inventory is live.
Two tabs deserve your attention. Contents compares the units you declared against the units the Amazon FBA warehouse actually received. Ideally it says your shipment was received in full with no discrepancies. Sometimes it doesn’t, and it’ll tell you they received 400 when you declared 405. Problems shows shipment-level delays, box-level issues like missing or damaged boxes, and product-level discrepancies. If Amazon loses inventory, you can upload documentation, follow up, and they will pay you full price for the missing units. Sellers who can’t prove what they shipped, however, usually get nothing. This happens even to experienced sellers, and it happened to me recently when Amazon mixed up two Ascend shipments. After some back and forth, we got it fully corrected.
Keeping Your Paperwork

Save every receipt and every document, even the ones that look meaningless. This sounds like tedious advice until the day it saves you thousands of dollars.
If you’re shipping a pallet, you’ll need to visit the individual shipment summary and print the BOL, which stands for bill of lading. You hand this to the truck driver when he arrives, and it verifies he’s collecting the correct pallet. Show up without it and you’ll get charged a fee. The driver will also hand you a pickup receipt in return. Put that receipt somewhere safe immediately.
Here’s why. I once shipped an entire pallet, and Amazon claimed they never received it. Meanwhile, I had misplaced my receipt. That mistake was on track to cost me over $10,000. Fortunately, Amazon located the pallet a couple of months later and added every unit to my inventory, but I spent those months with no proof and no recourse.
Your bill of lading also lists which trucking company is coming, and I strongly recommend calling them the day before pickup. Tell them if the address is residential, because they’ll need to send a smaller truck. Tell them you don’t have a forklift, because they’ll need a truck with a liftgate, which is the platform on the back that raises and lowers pallets. If you’re shipping from a Amazon FBA warehouse instead, call and confirm whether they have a loading dock or a forklift. Finally, pin down the pickup window so you or someone from your manufacturer is physically there to load.
Timing and Inventory Levels
Now for the last mistake, and it’s the one that quietly kills the most momentum. Sellers consistently mistime their shipments. As a general rule, ship your products in at minimum three weeks before you plan to start selling, and even that cuts it close. Six weeks is a realistic ceiling, and holiday season stretches longer.
The trap works like this. A seller looks at their dashboard, sees two weeks of inventory left, and figures that’s plenty of runway to get a restock checked in. It isn’t. Amazon doesn’t rush or prioritize your shipment just because you’re about to sell out. One hack that helps is splitting your restock, sending half now and the other half a few days later. That way a single lost shipment never takes you to zero.
On the flip side, sending too much creates its own problem. Amazon charges monthly storage fees on everything sitting in their Amazon FBA warehouse, and once inventory passes the six month mark, long-term storage fees kick in on top of that. Money tied up in slow-moving stock is money you can’t spend on ads or your next product.
Running out, though, is far worse. Every day you’re out of stock, Amazon counts it as zero sales. Your rank drops. When you come back in stock, you’ll often find yourself off page one, which means dramatically fewer sales, and I’ve watched sellers in competitive markets never fully recover. Therefore, aim for three to six months of inventory sitting in the Amazon FBA warehouse, and start your next shipment when you hit the two to three month mark. That range keeps you in stock without paying long-term storage fees.
Your Next Move

You now know the entire process end to end. Set up your account and listing. Verify your ship from address. Build a case pack template that meets Amazon’s size and weight rules. Label your units with your FNSKU, ideally printed at the factory. Choose Fulfillment Center and the right shipping option. Compare placement costs instead of assuming. Print and double-check both box labels. Track the shipment until it closes. Keep every receipt. Time your restocks with real buffer.
You also know the six mistakes that quietly drain new sellers, which honestly puts you ahead of most people who ship their first pallet on hope alone. Every one of those mistakes cost me money before I learned it. You get to skip that part.
That said, shipping is only one component of the machine. Product selection, listing quality, launch strategy, and advertising all have to work together, and if any single piece breaks, the sales never show up regardless of how perfectly your boxes arrive. That’s exactly what the Passion Product Formula solves. It’s the complete system for finding a product people actually want, launching it correctly, and scaling past six figures.
If you’re serious about building this, book a free one-on-one call with me or one of my seven-figure coaches using the link below. We’ll review your specific situation and show you what to do next. You’ll also get access to 140 plus step-by-step lessons, weekly group coaching, one-on-one calls, and a private community of active sellers. Slots are limited, so grab one while it’s open.
Frequently Asked Questions
How long does it take Amazon to check in an FBA shipment? Plan on anywhere from a few days to six weeks from the moment your boxes leave. Delivery itself is usually fast, but check-in is the slow part, and Amazon doesn’t expedite it for any reason. Ship at least three weeks before you need the inventory live, and add extra buffer during Q4.
Can I ship directly from my manufacturer in China to Amazon FBA? Yes, and many sellers do exactly that. Just make sure your ship from address reflects the manufacturer’s location, and consider whether a West Coast address gets you a closer fulfillment center. Also confirm your factory can apply FNSKU labels and meet Amazon’s box requirements before the shipment leaves.
What is the difference between a UPC and an FNSKU? A UPC identifies the product itself, and every product sold anywhere carries one. An FNSKU identifies your specific inventory inside Amazon FBA warehouse. Two sellers offering the identical product share a UPC but receive different FNSKUs.
Do I have to use UPS to ship into the Amazon FBA warehouse? No, though UPS is almost always the cheapest option because you inherit Amazon’s negotiated rates. You can select DHL, FedEx, USPS, or another carrier, but expect to pay considerably more for the same shipment.
What happens if Amazon loses my inventory? Amazon will reimburse you at full price, provided you can prove what you shipped. Upload your documentation, open a case, and follow up until it’s resolved. Sellers without receipts or a bill of lading frequently walk away with nothing.
How much inventory should I send in my first shipment? Three to six months of projected sales is the sweet spot. Less than that risks a stockout that damages your rank, while more than that racks up storage fees and eventually long-term storage fees after six months.
Should I choose Amazon Optimize or minimal splits? Compare the total cost column before deciding. Minimal splits sounds simpler but triggers a per-unit inbound placement fee, while Amazon Optimize waives it. On most shipments, including ours, Optimize wins clearly even though it means printing extra labels.