
Your Amazon seller account is the foundation of your entire business. Every product you launch, every sale you make, and every payout you receive runs through it. For that reason, a clean setup on day one saves you weeks of frustration later. The good news is that the process is very learnable, and this guide walks you through every screen.
In this post, you will follow the exact steps from sell.amazon.com all the way to identity verification. Along the way, you will also learn the 5 most common reasons applications get denied, so you can sidestep each one. Amazon tends to ban first and ask questions later, so avoiding these mistakes matters more than most new sellers realize.
Here is the encouraging part. Every single person Travis has personally worked with eventually got approved. Some applications took longer than others, but the process works when you follow it carefully. Better still, this Amazon seller account will power a real business built on the Passion Product Formula, which we will cover at the end.

- Choosing Between the Professional and Individual Plan
- Creating Your Login the Professional Way
- Answering the Welcome Page Questions
- Telling Amazon What You Plan to Sell
- Gathering Your Documents Before Account Setup
- Primary Contact and Ownership Questions
- Store and Product Information
- Trademarks and Brand Registry
- Address Verification and Proof of Residence
- Adding Your Deposit Method
- Identity Verification
- What to Do While You Wait for Approval
- Your Seller Account Is Only the Beginning
- Frequently Asked Questions
Choosing Between the Professional and Individual Plan

First, head to sell.amazon.com and look for the sign up button. Before you click it, however, you need to know that Amazon offers two selling plans. The Professional plan costs $39.99 per month and includes a full set of tools for running a serious business. The Individual plan, on the other hand, is free to hold, but Amazon charges $0.99 for every item you sell.
Amazon does not exactly advertise the Individual option. In fact, you have to scroll to the very bottom of the page to find the link to sign up as an individual seller. This is a useful hack if you are just starting out and want to keep costs low while you build your first product.
So which plan should you choose? Use this simple rule of thumb. If you plan to sell 40 or more items per month, the Professional plan pays for itself. Beyond the math, the Professional plan also unlocks features like advertising and advanced reporting, which you will want once you launch.
Fortunately, there is no wrong first move here. You can upgrade from Individual to Professional at any time. That said, Travis recommends the Professional plan for most of his students, because it signals that you are building a real business from the start.
Creating Your Login the Professional Way
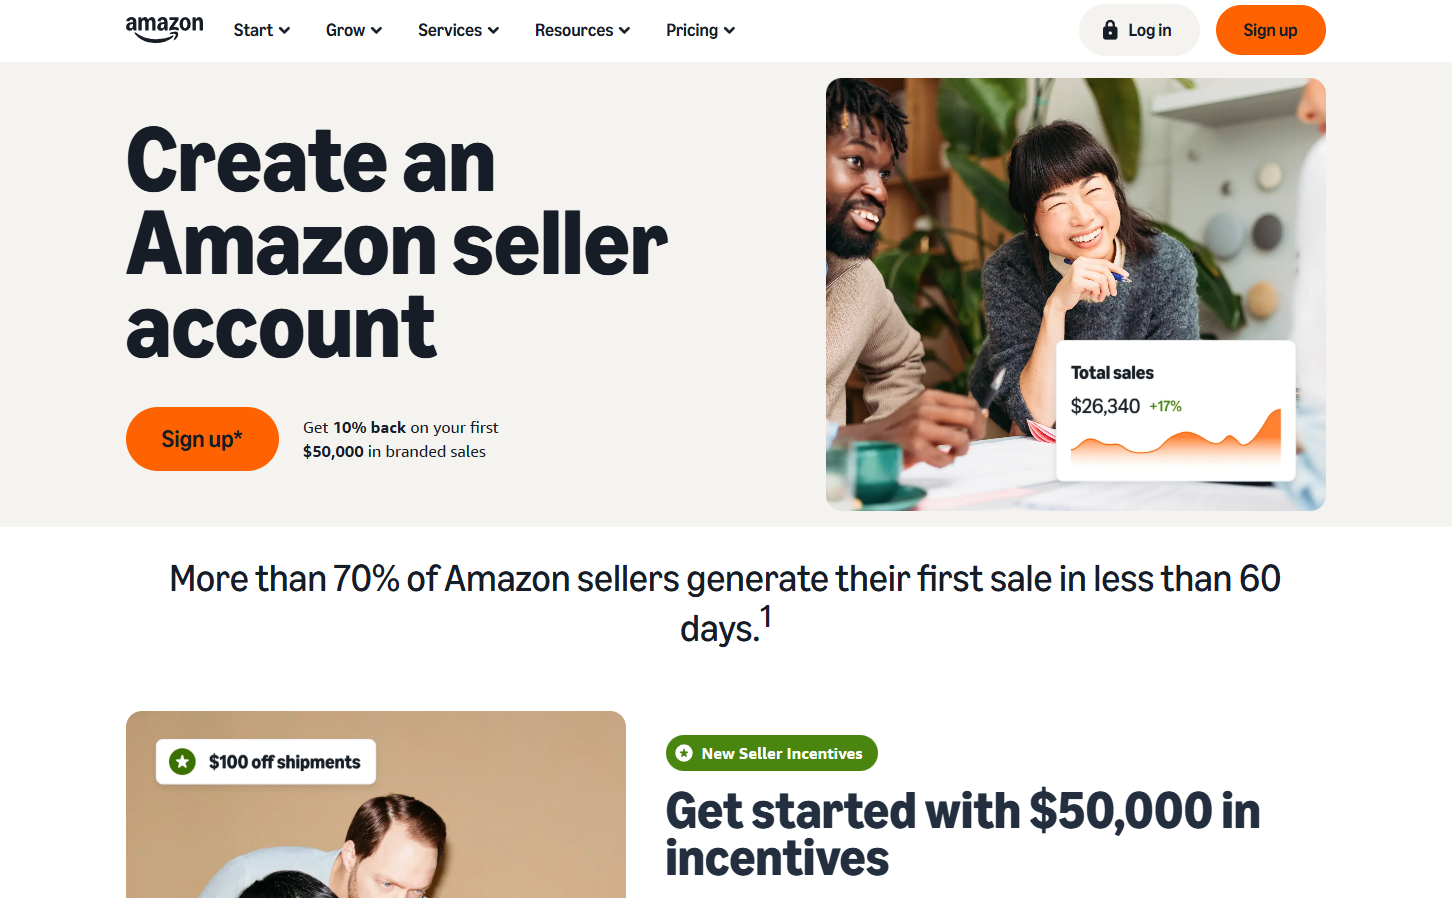
Once you click sign up, Amazon asks for your basic details and sends a verification code to your email. This part is quick, but one small choice here can affect your approval odds. Specifically, the email address you use matters more than you might think.
Many people sign up with a Gmail or Yahoo address, and often that works fine. However, a business email looks far more professional. It tells Amazon that you are a legitimate business owner who takes selling seriously. Since Amazon reviews thousands of applications, these small signals help you stand out.
This brings us to the first common denial reason: unprofessional or mismatched contact details. Amazon wants everything you submit to look consistent and credible. Therefore, if you have a business domain, use it from the very first screen.
Answering the Welcome Page Questions

After verifying your email, you land on the welcome page, and the real sign up process begins. Click get started, and Amazon will tell you that you are applying to sell in the US store. If you live outside the United States, do not panic. You can absolutely sell on Amazon US from almost anywhere in the world. In fact, about half of the students in the Passion Product Accelerator are international sellers.
Next, click agree and continue. Amazon then asks for the country where your business is located. If you have not registered a business yet, simply enter the country where you personally live. Then you will choose a business type: state-owned, publicly listed, privately owned, charity, or individual.
Here is a quick guide to that choice. If you have no formal business structure, you can select individual and use your Social Security number if you are a US citizen. Non-US sellers, however, should strongly consider setting up an LLC. An LLC, or limited liability company, protects your personal assets if anything goes wrong. Services like LegalZoom can set one up in any state, and many international sellers choose a Wyoming LLC. A DBA is a cheaper alternative, but it does not offer the same legal protection.
For most people following this guide, privately owned business is the right selection. After that, Amazon may ask for a brand name and a primary category. Both are optional and fully changeable later, so pick something reasonable and keep moving.
Telling Amazon What You Plan to Sell
Now Amazon wants to know what type of products you will sell, and you get four options. You can choose products branded by your business, products branded by another business, non-branded generic products, or no product yet. Your answer here shapes the onboarding roadmap Amazon builds for you.
The branded by another business option applies to wholesale and retail arbitrage sellers. Wholesale means buying products in bulk at a discount and reselling them for a higher price. Retail arbitrage means finding clearance deals in stores or online and flipping them on Amazon. Both models work for some people, but they come with thin margins and constant competition.
Instead, Travis recommends selecting branded by my business. This is the model he uses and teaches. To illustrate, he recently started an Amazon business in just 7 days. That business went on to generate over $1 million in sales, and he later sold it for $840,000. He calls this approach creating a passion product, or niche branding, and it is the most reliable path to a passive income business on Amazon.
Amazon will then ask about your selling experience and whether you plan to sell to businesses, schools, or governments. Answer these honestly rather than skipping them. If you say yes to business buyers, Amazon gives you tips on reaching them. Once you finish, Amazon prepares a personalized onboarding guide based on your answers.
Gathering Your Documents Before Account Setup

Before you click start Amazon seller account setup, Amazon shows you exactly what to have ready. You will need a valid government-issued ID or passport, a recent bank or credit card statement, a chargeable credit or debit card, and a mobile phone number. Gathering these in advance makes the rest of the process smooth.
If you have a passport, use it. A passport looks slightly more professional, and applicants who use one tend to get approved a bit more easily. Even so, a driver’s license or national ID works fine. Just make sure you can upload clear images of both the front and back.
Next, Amazon asks for your business information and registration details. Rather than typing everything by hand, upload a high-resolution document such as your business license. Amazon’s system validates it in seconds and pulls the relevant data automatically, which saves time and reduces typos.
Finally, you will enter your phone number so Amazon can text you a PIN. If you do not have a spare number, or you already used yours on another Amazon seller account, you can grab a free Google Voice number instead. Enter the code, click verify, and you are ready for the next section.
Primary Contact and Ownership Questions

The primary contact page asks for your personal information. Then Amazon asks whether the point of contact is the owner of the business. Since that person is you, click yes. This keeps everything consistent with the details you already provided.
After that, Amazon asks whether you are the legal representative of the business. This question exists mainly for people using a registered agent, for example international sellers who set up a US LLC through a service. If you own and run the business yourself, this does not apply, because you already confirmed ownership on the previous screen.
Next comes the sole beneficial owner question. In plain terms, Amazon wants to know whether you have partners or co-owners. If you are the only owner, click yes. If you have partners, click no, and Amazon will walk you through adding their information.
Then you reach the payment info page, where you enter your credit or debit card. Amazon uses this card to collect seller fees, so keep it active. You will also add a billing address, and this is where people get confused. Your billing address is simply where your card statements go. It is not the same as your registered business address, which comes later.
Store and Product Information
Now you will name your store. Do not overthink this step, because you can change it later. Still, Travis recommends picking something broad rather than product-specific. That way, if you launch additional products or run multiple brands under one Amazon seller account, your store name still fits. Your store name does not need to match your LLC, though keeping them close is a smart move.
Amazon then asks whether you have UPC codes for your products. A UPC is the barcode that appears on nearly every retail product. You need one for anything you sell on Amazon, and you can order them from gs1.org for around $30. Ideally, handle this before you reach this screen so nothing slows you down.
The next question covers diversity certifications. If you have one, click yes and enjoy the badge Amazon adds to your Amazon Seller account. If you do not, click no. This will not hurt your Amazon seller account in any way, and you can add a certification later if you qualify.
Lastly, Amazon asks whether you are the manufacturer, brand owner, agent, or representative for your products. In other words, do you own the brand? If you are building a private label or passion product, click yes. If you are doing wholesale or arbitrage, click no.
Trademarks and Brand Registry
This section contains one of the most important questions in the entire application: do you have an active registered trademark? At the time of the video, Travis did not have a trademark for his new brand, so he clicked no. You can do the same and add one later without any penalty.
However, you should plan to get a trademark as soon as possible. A registered trademark unlocks Amazon Brand Registry, and Brand Registry protects your business in several ways. Without it, anyone can edit your product listing, which can create serious problems. With it, your listing stays locked to your brand.
Brand Registry also unlocks enhanced brand content, sometimes called A+ Content. This lets you add images, videos, comparison charts, and richer descriptions to your product page. As a result, shoppers get more information, and more of them buy.
Keep in mind that trademarks often take around 6 months to process. Fortunately, Amazon recently changed its rules, and you can now enter Brand Registry as soon as you apply for a trademark. You no longer need final approval. For that reason, start the trademark process early.
Address Verification and Proof of Residence

Before moving on, Amazon shows a summary of everything you entered, along with a few more details to confirm. The first is your registered business address. Enter the address your business is registered to, and yes, your home address is fine if that is where your business lives. International sellers can hire a registered agent, which is inexpensive and provides a usable US address.
If Amazon asks for a separate address document, a bank statement works well. This leads to the second common denial reason: taking a photo of the document with your phone. Phone photos often look unprofessional and get flagged. Instead, log in to your bank’s website, download the official PDF statement, and upload that. It looks legitimate and rarely gets rejected.
Next, the primary contact section asks for proof of residence. Acceptable options include a utility bill, a rent receipt, or a bank statement. Be aware that Amazon sometimes follows up and specifically requests a utility bill to confirm your address is real.
If you do not have a utility bill, there are workarounds. Digital nomads, people living with their parents, and sellers in countries without traditional utility bills can submit a bill in someone else’s name along with that person’s ID. A lease or bank statement also works, as long as the address matches what you gave Amazon. Additionally, if your name does not appear on your business license, you will need a letter of authorization to prove your connection to the business.
Adding Your Deposit Method

Now for the exciting part: telling Amazon where to send your money. Select your bank’s location, then enter your account name, your 9-digit routing number, and your account number. If you are unsure where to find these, check the bottom of one of your checks.
This step contains the third common denial reason. The bank account you provide must be a real, legitimate account, and the name on it must match either your business name or your personal name exactly as you gave it to Amazon. Even a small mismatch can trigger a rejection, so double-check the spelling.
If you do not have a business bank account yet, opening one is easier than you might expect. Simply take your LLC or DBA paperwork to a local bank. US sellers can get a free business account through US Bank. International sellers can use Payoneer or WorldFirst to receive Amazon payouts.
Identity Verification
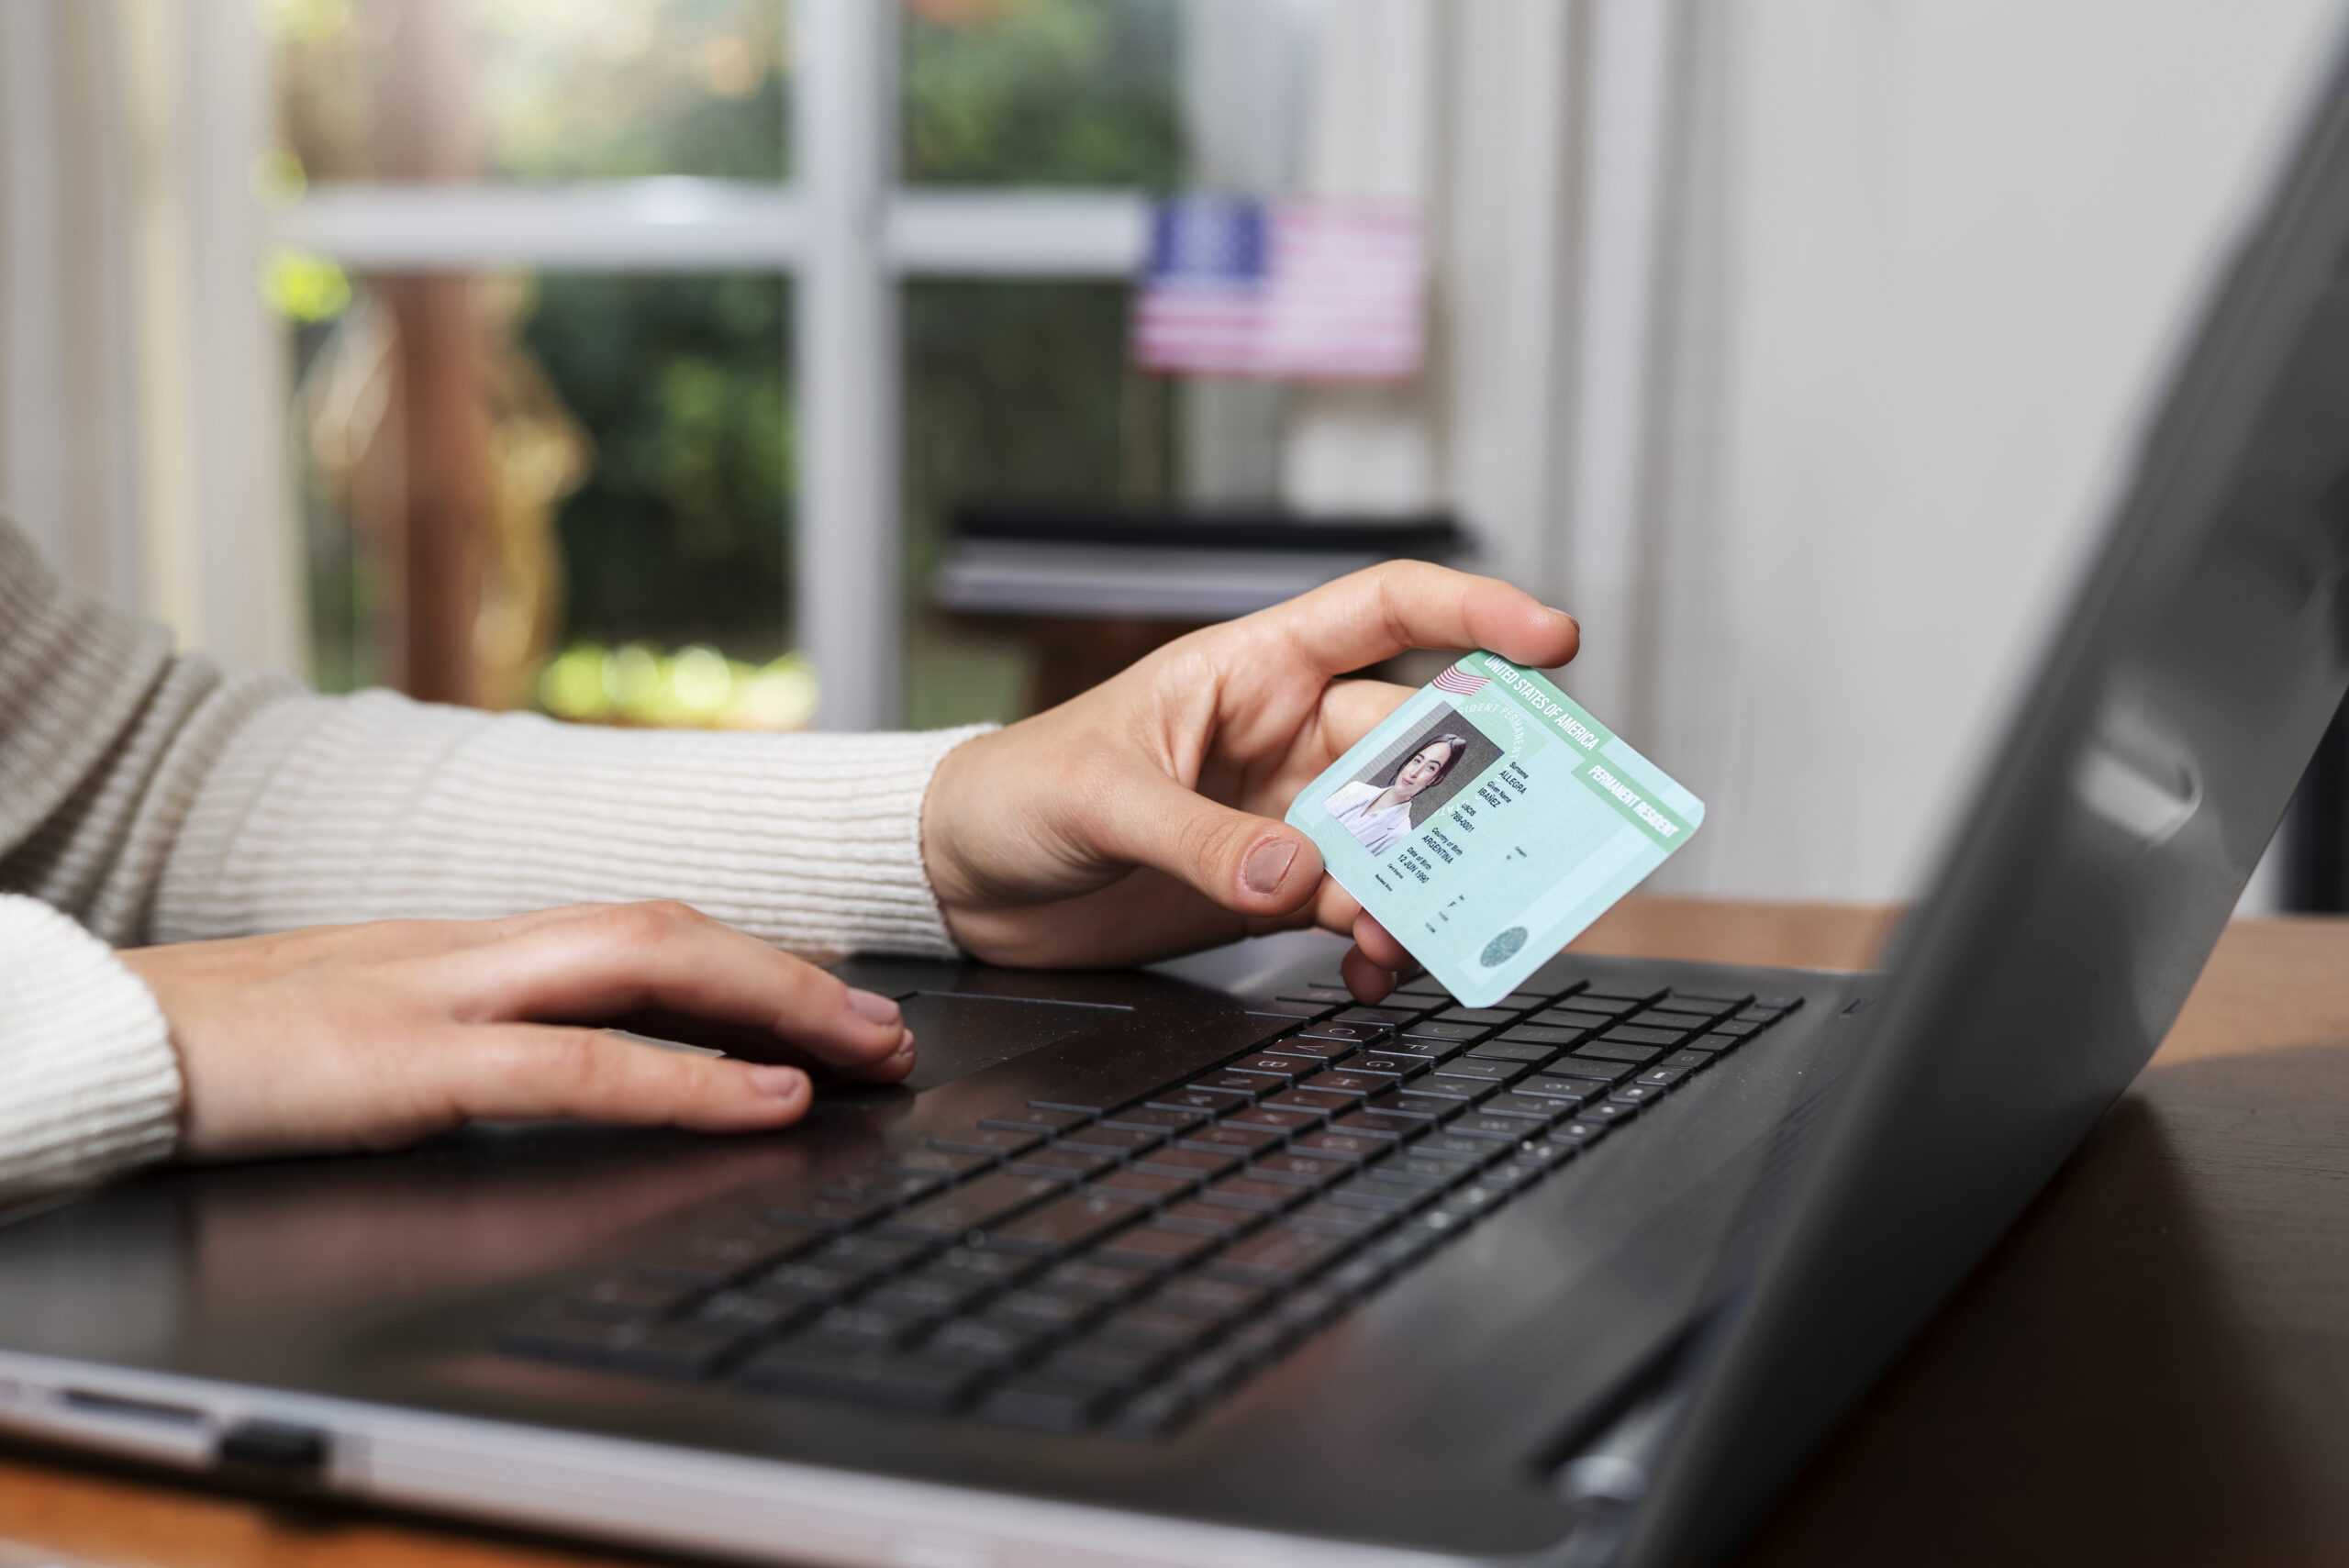
The final step is identity verification. You will confirm your ID type and the country that issued it. Then Amazon asks you to take a live photo of your passport or ID. Make sure you are in a well-lit space, because this is where many applicants get stuck.
That is the fourth common denial reason: blurry or dark photos. A poor image can drop your application into a review loop that adds days or weeks to the process. Take your time, check the photo, and only click use this photo when it looks sharp and clear.
Amazon processes your ID in a few seconds. After that, it asks you to take a photo of yourself. Follow the on-screen instructions, submit the photo, and you are done. From here, all you can do is wait for Amazon to review everything.
What to Do While You Wait for Approval

The wait period is still part of the sign up process, and how you handle it matters. If Amazon requests more documents or information, respond quickly and professionally. Your emails should contain zero typos and zero attitude. Treat every message like you are talking to a company you want to work for, because in a sense, you are.
Travis has seen sellers get frustrated with Amazon reps, and that frustration only creates more problems. Stay cordial, stay patient, and provide exactly what they ask for. Amazon is about to become a major source of income for you, so treat the relationship accordingly.
Once you are approved, resist the urge to change anything. This is the fifth common denial reason. Do not switch your bank account, update your address, or edit your details within the first month or two. Sudden changes right after approval make Amazon suspicious, and Amazon’s approach is often to ban first and ask questions later.
For that reason, get everything right from day one. Approvals sometimes come instantly and sometimes take a little longer. Either way, if you follow the steps above, you will get there.
Your Seller Account Is Only the Beginning

Setting up your Amazon seller account is a real milestone, but it is step one, not the finish line. The Amazon seller account is the foundation. What you build on top of it determines whether you create a side hustle or a business that pays you for years.
That is where the Passion Product Formula comes in. Instead of flipping other people’s inventory for thin margins, you create a niche branded product that you own. You control the listing, the brand, and the customer relationship. This is exactly how Travis built a 7-day business that grew past $1 million in sales and sold for $840,000.
Thousands of students have joined the Passion Product Accelerator, and Travis’s goal for every one of them is at least six figures in passive income within their first year or two. The program includes over 100 step-by-step screen-recorded videos, a personal success coach, weekly group coaching calls, one-on-one calls, a community of other sellers, and more than 20 checklists and documents. Setting up your Amazon seller account is one of the many areas where the team provides hands-on help.
Spaces are limited, and not everyone is a fit, so the first step is a completely free call with the team. On that call, they will map out a 6-month plan for your Amazon business. Click the link below to book your call, then grab the free 12-hour step-by-step Amazon FBA course to keep the momentum going.
Frequently Asked Questions
Can I sell on Amazon US if I live outside the United States?
Yes. Sellers from almost any country can sell in the US store. About half of the Passion Product Accelerator students are international. Many set up a Wyoming LLC and use a registered agent for a US address.
Should I choose the Individual or Professional plan?
If you expect to sell 40 or more items per month, the Professional plan at $39.99 saves you money. The Individual plan is free but charges $0.99 per sale. You can upgrade at any time.
Do I need an LLC to sell on Amazon?
No. US citizens can sign up as individuals using a Social Security number. However, an LLC protects your personal assets and looks more professional, so most serious sellers set one up.
Do I need a trademark before I sign up?
No. You can click no during sign up and add a trademark later. That said, a trademark unlocks Brand Registry, which protects your listing and enables A+ Content, so start the process early.
What is the most common reason applications get denied?
Document quality issues are near the top. Phone photos of statements, blurry ID images, and bank account names that do not match your application all cause problems. Download official PDFs and verify every detail before you submit.
How long does approval take?
Some sellers get approved almost immediately, while others wait days or weeks, especially if Amazon requests extra documents. Respond professionally and promptly, and the process moves faster.
Can I change my details after approval?
You can, but you should not for the first month or two. Changing your bank account or address right after approval can trigger a suspension. Get everything right before you submit.
If you’d rather have this as a Word doc with the heading styles already applied for WordPress, I can put it in one.