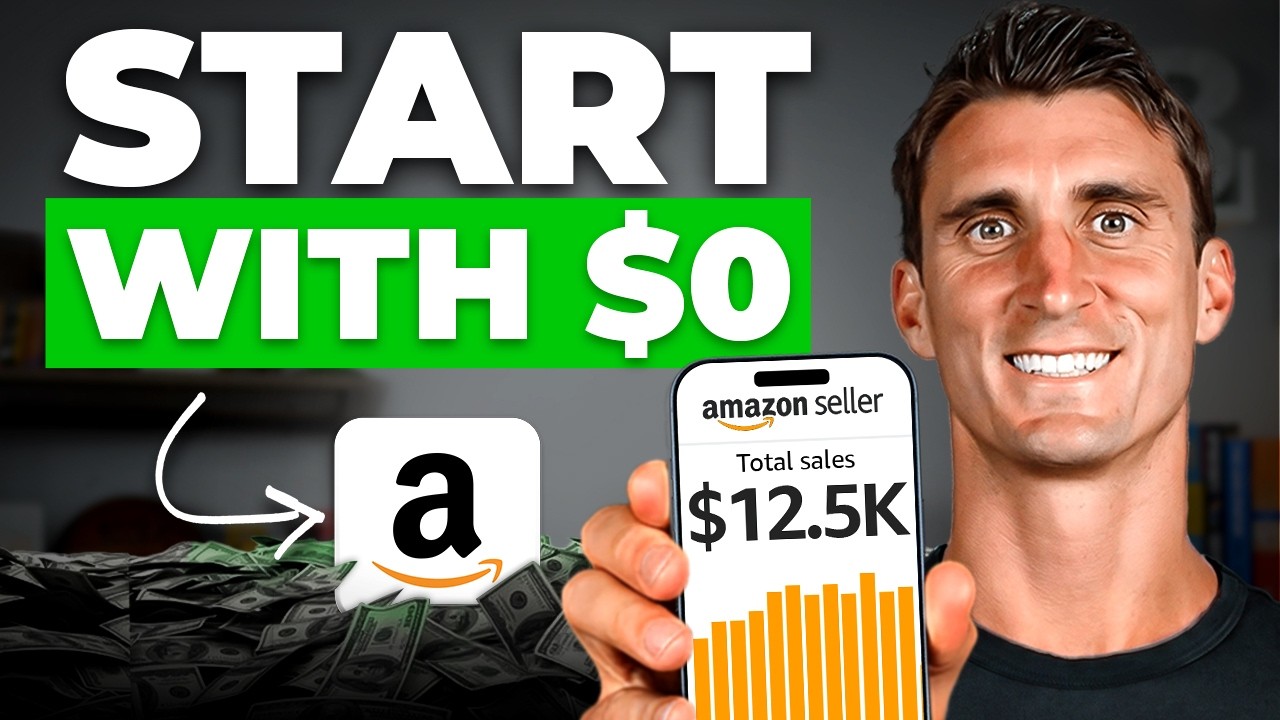
Before AJ built his Amazon FBA business, he lost his bartending job during the pandemic. He had no savings set aside, no design skills, and no inventory. Nevertheless, he started selling cocktail cards and turned it into more than $500,000 in sales during his first year.
He did it with exactly zero dollars of his own money.
That story sounds like an outlier, but the path he walked is repeatable, and this article maps every step of it. First, you will learn how to find a product using niche branding. Next, you will brand it and design packaging with AI. After that, you will find a manufacturer, raise the money to produce your first run, and set up your Amazon seller account. For each stage, you get the free option and the paid option, so you can choose based on your budget rather than guessing.
To be clear from the start: spending money speeds everything up. However, spending money is not what makes the business work. So where does it actually start?
- Why $0 Is a Starting Point, Not a Limitation
- Find a Product Using Niche Branding
- Build Your Brand and Packaging With AI
- Find a Manufacturer Without Spending Anything
- The Magic Move: Raise the Money Before You Spend It
- Set Up Your Amazon Seller Account
- The Honest Truth About Free vs. Paid
- Your $0 Amazon Business Starts This Week
- Frequently Asked Questions
Why $0 Is a Starting Point, Not a Limitation
Most people treat a lack of capital as a closed door. In reality, capital buys speed, not outcomes. A funded seller finds a product faster, gets a better logo sooner, and launches a few weeks earlier. Meanwhile, an unfunded seller reaches the same destination on a longer runway. The difference shows up on the calendar, not in the final result.
In fact, the constraint often produces a better business. When you cannot buy your way out of a weak idea, you have to choose a product people genuinely want. You research harder, you talk to actual customers, and you validate demand before you commit. Plenty of well-funded sellers skip that work entirely, order 1,000 units of something generic, and then wonder why nothing sells.
That validation-first mindset sits at the heart of the Passion Product Formula. Rather than chasing whatever the software says has high search volume and low competition, you start with something you actually care about. Then you niche it down to a specific person with a specific problem. Finally, you build a real brand around that person. AJ cared about cocktails, so he built for cocktail lovers. Consequently, he knew exactly what to make and exactly how to talk about it.
What You Do Need Instead of Money
Money is optional here, but three things are not. First, you need time, roughly five to ten focused hours a week. Second, you need consistency, because the free path rewards people who keep showing up after the initial excitement fades. Third, you need a willingness to learn in public, which means posting content, emailing suppliers, and asking questions before you feel ready.
Notably, all three are available to you today. Therefore, the only real barrier left is starting.
Find a Product Using Niche Branding
Niche branding is simple to explain and powerful in practice. Instead of selling to everyone, you find a specific group of people who share a specific problem that nobody is solving well. Then you create a unique product to solve it. Because the audience is narrow, your marketing gets sharper, your reviews get better, and your competition thins out dramatically.
AJ is the clearest example. He was a bartender who loved creating cocktails, so cocktail cards were not a random pick from a research tool. He understood the customer because he was the customer. As a result, he knew what belonged on the cards, how the packaging should feel, and which cocktail communities would care.
Another example proves the model works at a smaller scale too. One product in our portfolio is a dog brush, but not a general dog brush. It targets golden retriever owners specifically. That business launched for $750 and now generates roughly $5,000 in sales per month. Above all, notice what made it work: not a big budget, but a narrow, well-chosen audience.
Free Research Tools
Both Helium 10 and SmartScout offer free plans, which is more than enough to start validating ideas. Additionally, both offer a money-back window, so you can upgrade, explore the paid features for a few days, and get your money back if the tool is not for you. Discount codes for both sit in the description of the video linked above.
Paid tiers unlock deeper data and genuinely accelerate research. That said, the free plans reveal what matters most at this stage: whether people are already searching for a solution to the problem you want to solve.
The Free-Only Path
If you would rather spend nothing at all, Amazon FBA itself is a research tool. Start with the Best Sellers and Movers & Shakers pages in categories you care about. Then mine the reviews of existing products, especially the two- and three-star ones, because that is where customers tell you exactly what the current options get wrong.
Next, type your product idea into the Amazon search bar and study the autocomplete suggestions, since those reflect real search behavior. Finally, spend an hour in the Reddit and Facebook communities where your target customer already hangs out. Consequently, you will surface complaints and workarounds that no keyword tool will ever show you.
Build Your Brand and Packaging With AI

Once you have an idea, branding becomes the next perceived money wall. Fortunately, AI knocked that wall down. A logo and packaging concept that cost hundreds of dollars a few years ago now takes a single well-written prompt.
Here is a live example from the video. Take mouth tape for sleeping, then niche it down for women. Drop that description into ChatGPT, ask for a logo, and you get a usable mark in seconds. Then ask for packaging and branding concepts for the physical product, and you get a full design direction with color, typography, and layout.
The results are legitimately good, especially for a crowdfunding campaign or an early sample round. However, they are not the same as professional work, and pretending otherwise would not serve you.
Prompt Templates You Can Copy

For your logo: “Create a minimal logo for a brand called [NAME] that sells [PRODUCT] to [SPECIFIC CUSTOMER]. The feeling should be [THREE ADJECTIVES]. Use a limited color palette and make it legible at small sizes.”
For packaging: “Design retail packaging for [PRODUCT] aimed at [SPECIFIC CUSTOMER]. Show the front panel with the brand name, the main benefit, and one supporting feature. Match the visual style of [REFERENCE BRAND].”
For naming: “Give me 20 brand names for a company selling [PRODUCT] to [CUSTOMER]. Half should be single words, half should be two-word combinations. Avoid names already used in the category.”
For product visuals: “Create a photorealistic 3D render of [PRODUCT] on a clean white background, lit like an Amazon main image.” Because renders are free and unlimited, you can test several angles before you ever pay a photographer.
When to Upgrade to Professionals
Paid design produces better logos, better packaging, and better listing images. Better assets lead to higher conversion, and higher conversion leads to more sales. So once you have revenue to reinvest, design is one of the first places to put it.
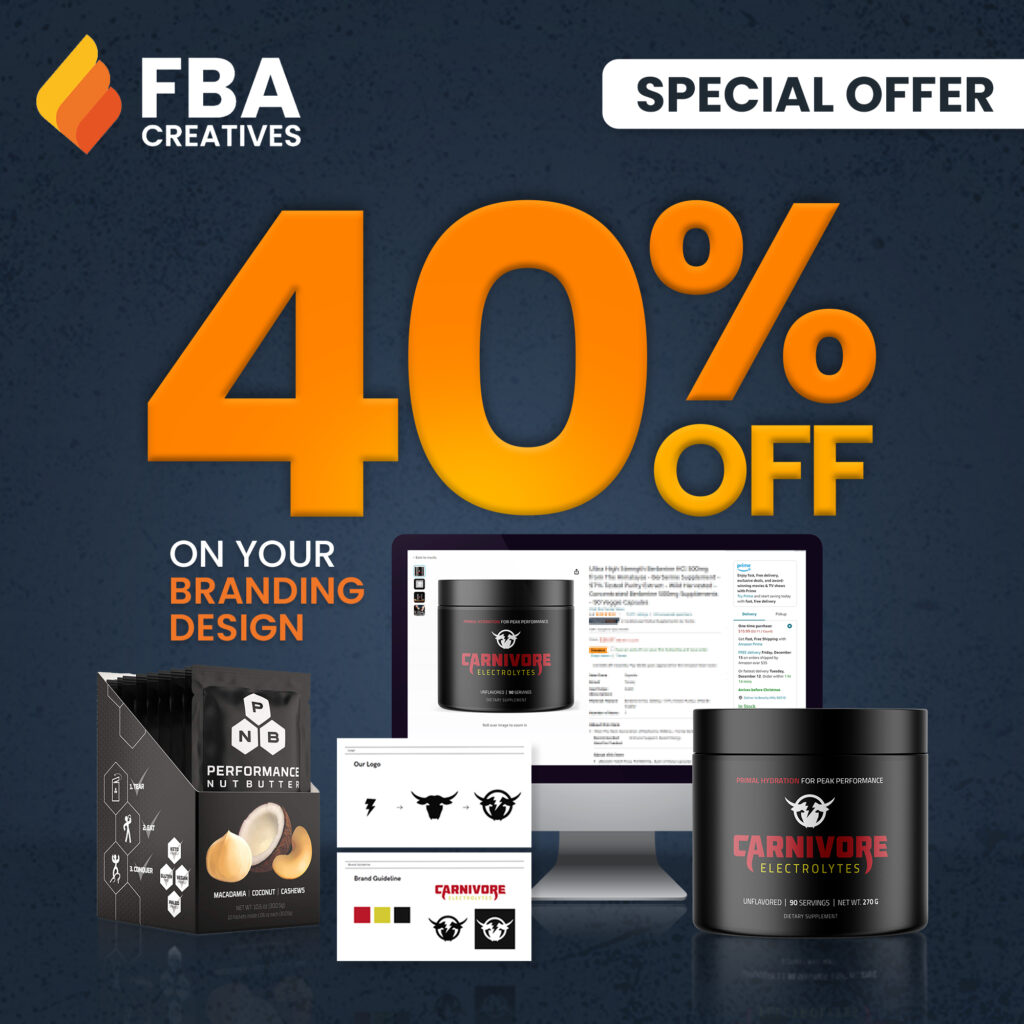
When you reach that point, FBA Creatives handles the full package: logo, brand identity, packaging, and your entire Amazon FBA product listing. It costs more than a ChatGPT subscription, obviously. In exchange, you get work built specifically for Amazon’s requirements by people who do this every day.
Writing Your Own Listing for Free
You can absolutely write your own listing, and thousands of sellers do. A strong listing needs a keyword-rich title, seven high-quality images, five benefit-led bullet points, and a description that addresses objections. Free step-by-step tutorials for each piece are already on the channel.
One important note for 2026: Amazon FBA changed its title requirements in late July, tightening character limits and introducing a new Item Highlights field. Therefore, follow current guidance rather than an older template you found in a course from two years ago. Getting this right the first time avoids a suppressed listing during your launch window.
Find a Manufacturer Without Spending Anything

Sourcing is the step people fear most and the step that genuinely costs nothing. You need a supplier, quotes, and eventually samples. Finding all of that requires an email address and some persistence.
Start with Alibaba.com, which remains the fastest way to reach hundreds of factories at once. Then try ThomasNet.com if you want domestic manufacturers, particularly for supplements, food, or anything with regulatory requirements. Plain Google search works surprisingly well too, especially when you search the technical name of your product plus “manufacturer” or “private label.”
In fact, almost nobody pays an agent to do this. Nearly every student we work with handles their own sourcing and does it well.
How to Write a First Outreach Message
Suppliers respond to specifics, so lead with them. Tell them what the product is, what material or specification you need, what quantity you are considering, and what you need from them. Then ask three direct questions: unit price at two or three quantity tiers, minimum order quantity, and production lead time.
Keep it short and professional. Additionally, message at least fifteen suppliers, because response rates hover well under half and quality varies enormously. The factory that replies within four hours with clear pricing is telling you something useful about how they will operate later.
Getting Samples on a Shoestring
Samples cost money, but far less than people expect. First, ask whether the supplier stocks a generic version of your product, since an off-the-shelf sample costs a fraction of a custom one. Second, negotiate: many factories credit the sample cost against your first order.
Third, narrow the field before you buy. Compare quotes, photos, and communication quality, then order samples from only your top two or three candidates. As a result, you spend perhaps $50 to $100 instead of several hundred, and you still get physical products in your hands.
Domestic vs. Overseas
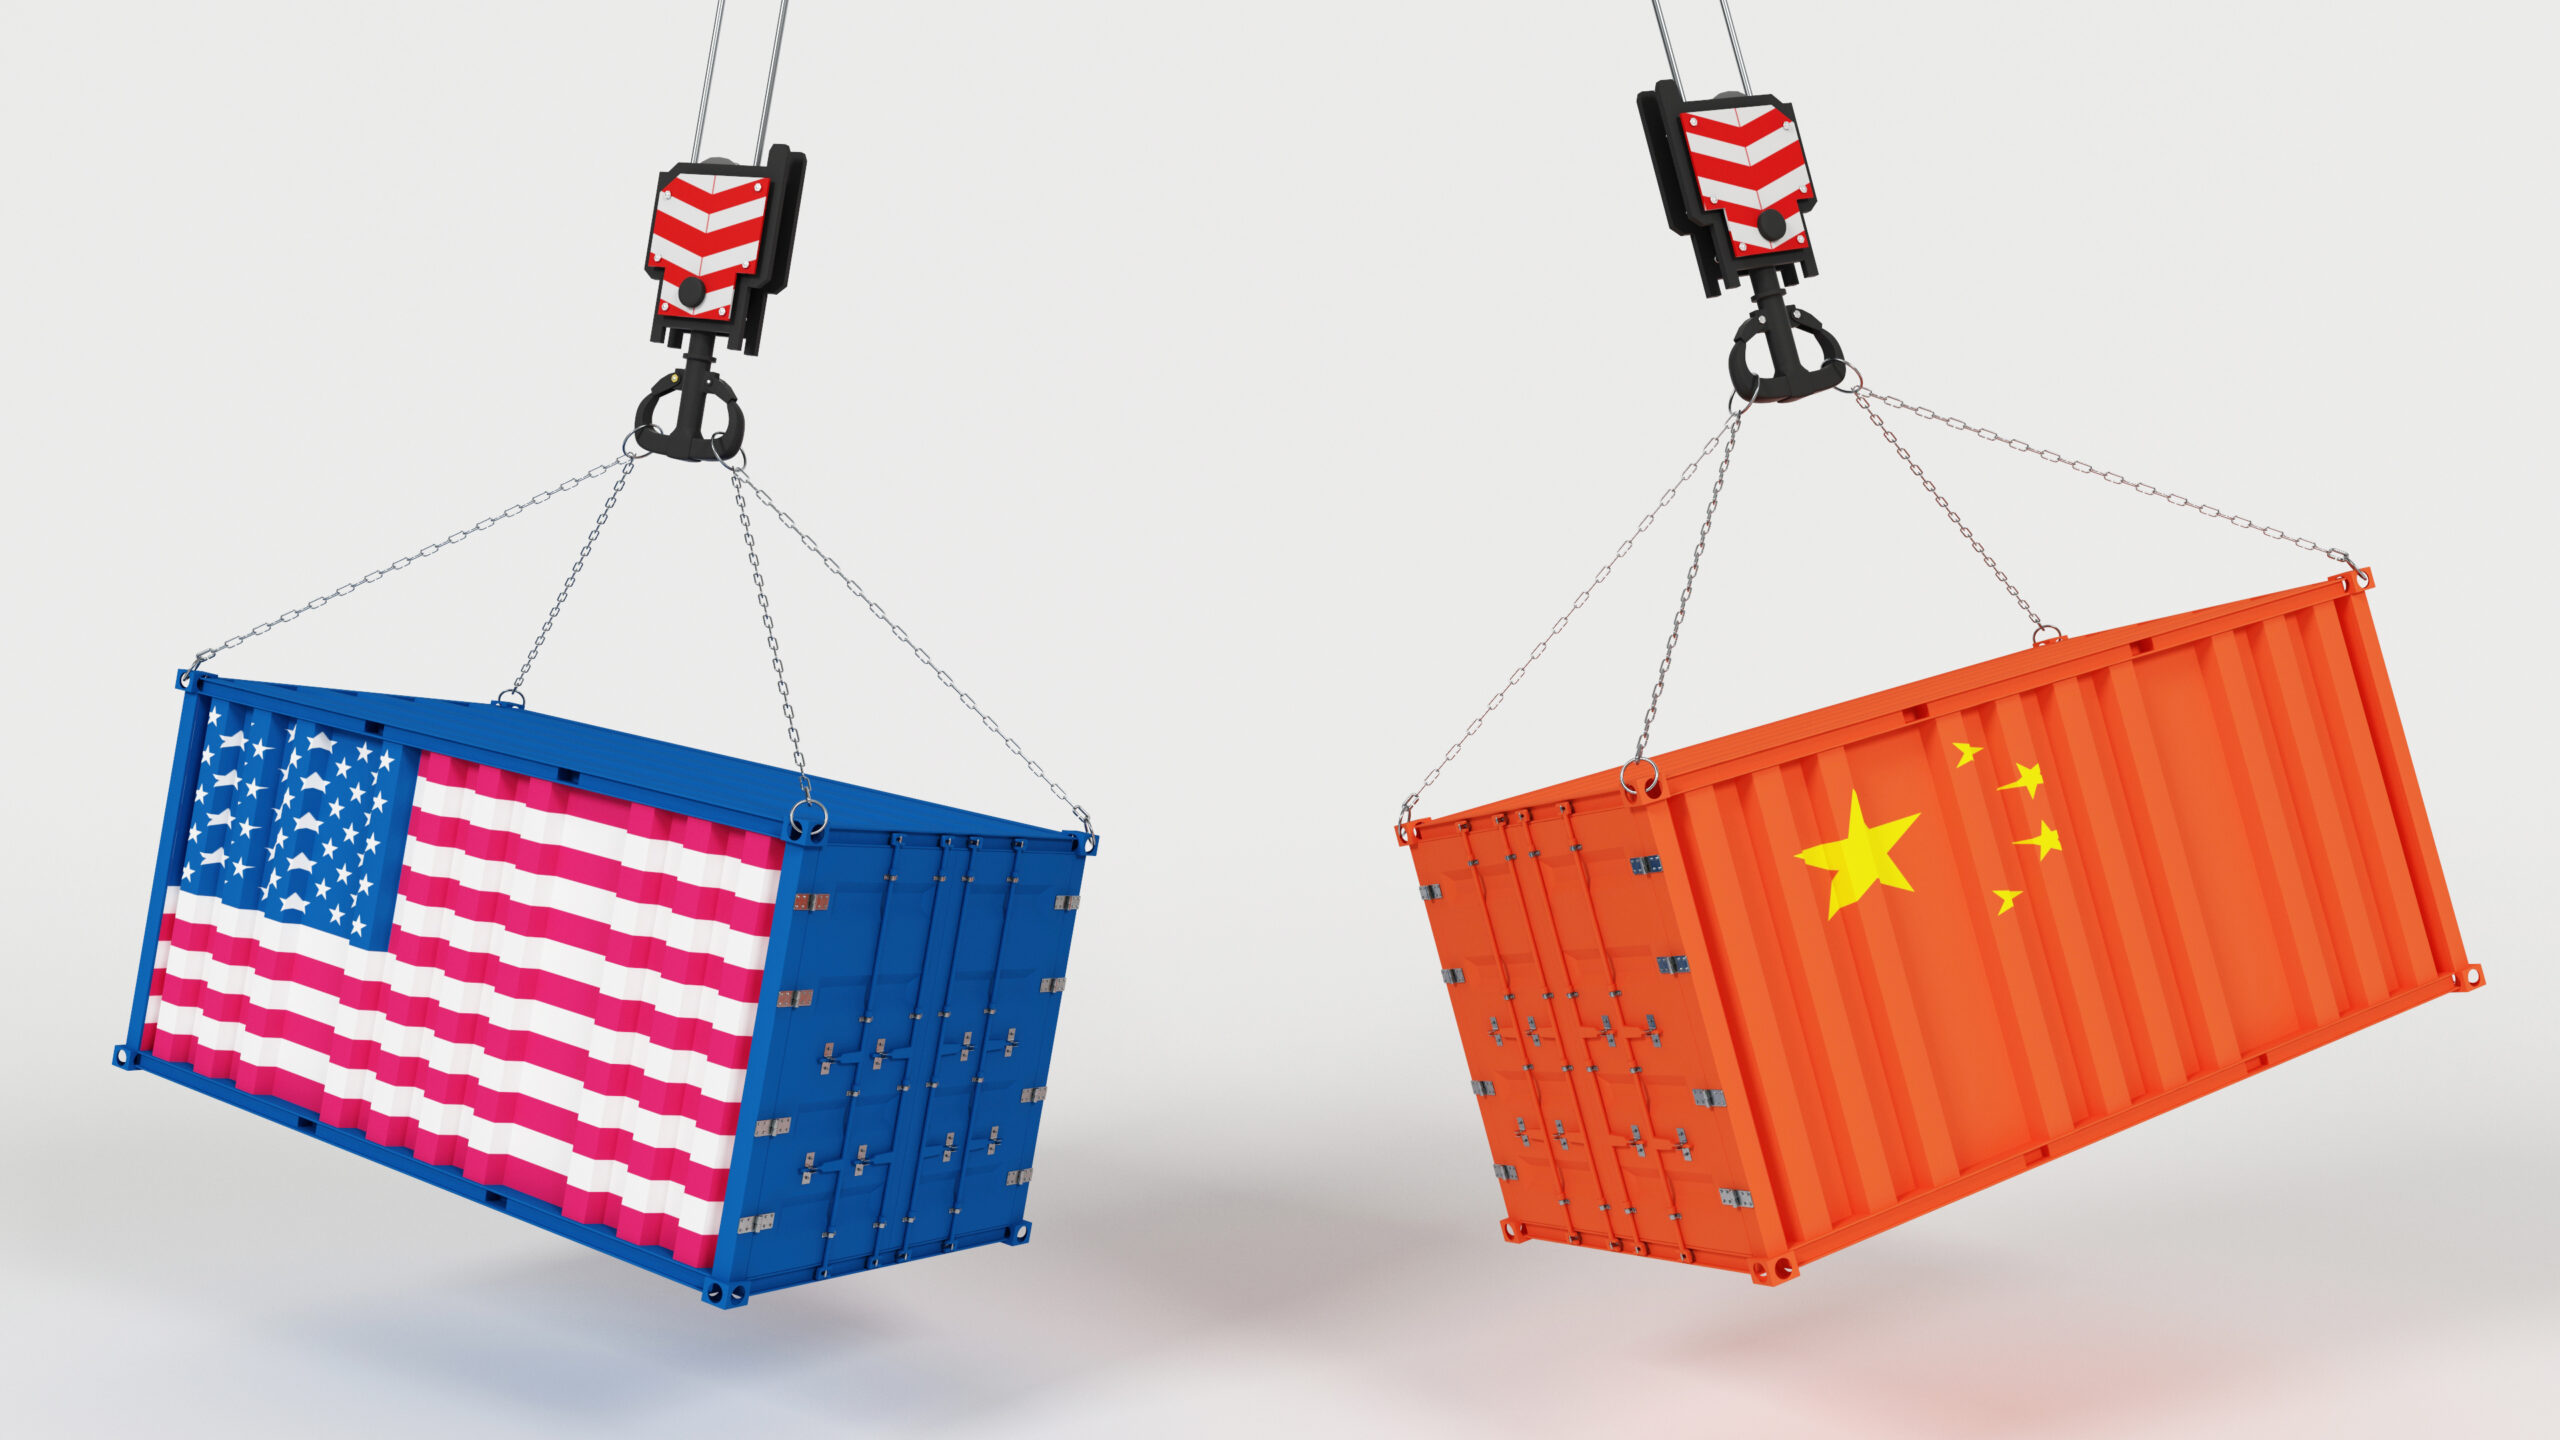
Overseas manufacturing, primarily in China, delivers lower unit costs and higher flexibility on customization. Domestic manufacturing costs more per unit but offers faster shipping, easier communication, simpler compliance, and a “Made in USA” claim that some niches value highly.
For a first product on a zero-dollar budget, overseas usually wins on cash efficiency. Nevertheless, if your product touches ingestible or regulated categories, the domestic route often saves you money and headaches later.
The Magic Move: Raise the Money Before You Spend It
Here is the insight that makes this whole article possible: you do not need money in order to raise money for your product.
Kickstarter and Indiegogo let you presell before a single unit exists. You show what you are making, explain who it is for, and collect payment from people who want it first. Then you use that money to fund production. Therefore, the classic chicken-and-egg problem simply dissolves.
AJ did exactly this. He had mockups, a logo, and some designs, all of which you can now create free with AI. Then he went to TikTok and started posting, talking about the product, filming and editing everything on his own phone. He spent nothing on ads. By the time his campaign closed, he had raised over $100,000 before putting any of his own money into the brand.
That crowdfunding money bought his first production run, and that production run became a business that crossed half a million dollars in year one.
More Proof It Repeats
AJ is not a lucky one-off. Travis raised $15,000 for Performance Nutter, his very first passion product, using the same approach. Jeremy, Andrew, and Brent each raised more than $10,000 on Kickstarter or Indiegogo afterward.
Different products, different niches, different years, same mechanic. Consequently, the pattern is worth trusting more than any single success story.
Your Free Pre-Launch Audience Playbook
Start posting sixty days before your campaign goes live. Build in public: share the problem you noticed, the research you did, the supplier samples that arrived, and the packaging concepts you rejected. Because founder content performs well on short-form platforms, you do not need production value, only honesty and consistency.
Post about the problem more than the product. Then, in every video, point people toward a free email list where they can get notified when the campaign launches. That list is your launch-day engine, since crowdfunding rewards campaigns that raise fast in the first 48 hours.
Aim for a founding-backer group of at least 200 emails before you launch. Additionally, message the most engaged commenters directly and ask what they would want the product to do. Those conversations improve the product and create your first evangelists at the same time.
Common Crowdfunding Mistakes to Avoid
The biggest mistake is launching cold. A campaign with no audience behind it stalls at a few hundred dollars, no matter how good the product looks. So build the audience first.
The second mistake is giving people no reason to care beyond the object itself. Backers fund stories, missions, and founders, not specifications. The third mistake is promising unrealistic delivery dates, because manufacturing delays are normal and disappointed backers leave permanent public comments. Above all, remember that a funding problem is really a marketing problem, and marketing can be free.
Set Up Your Amazon Seller Account
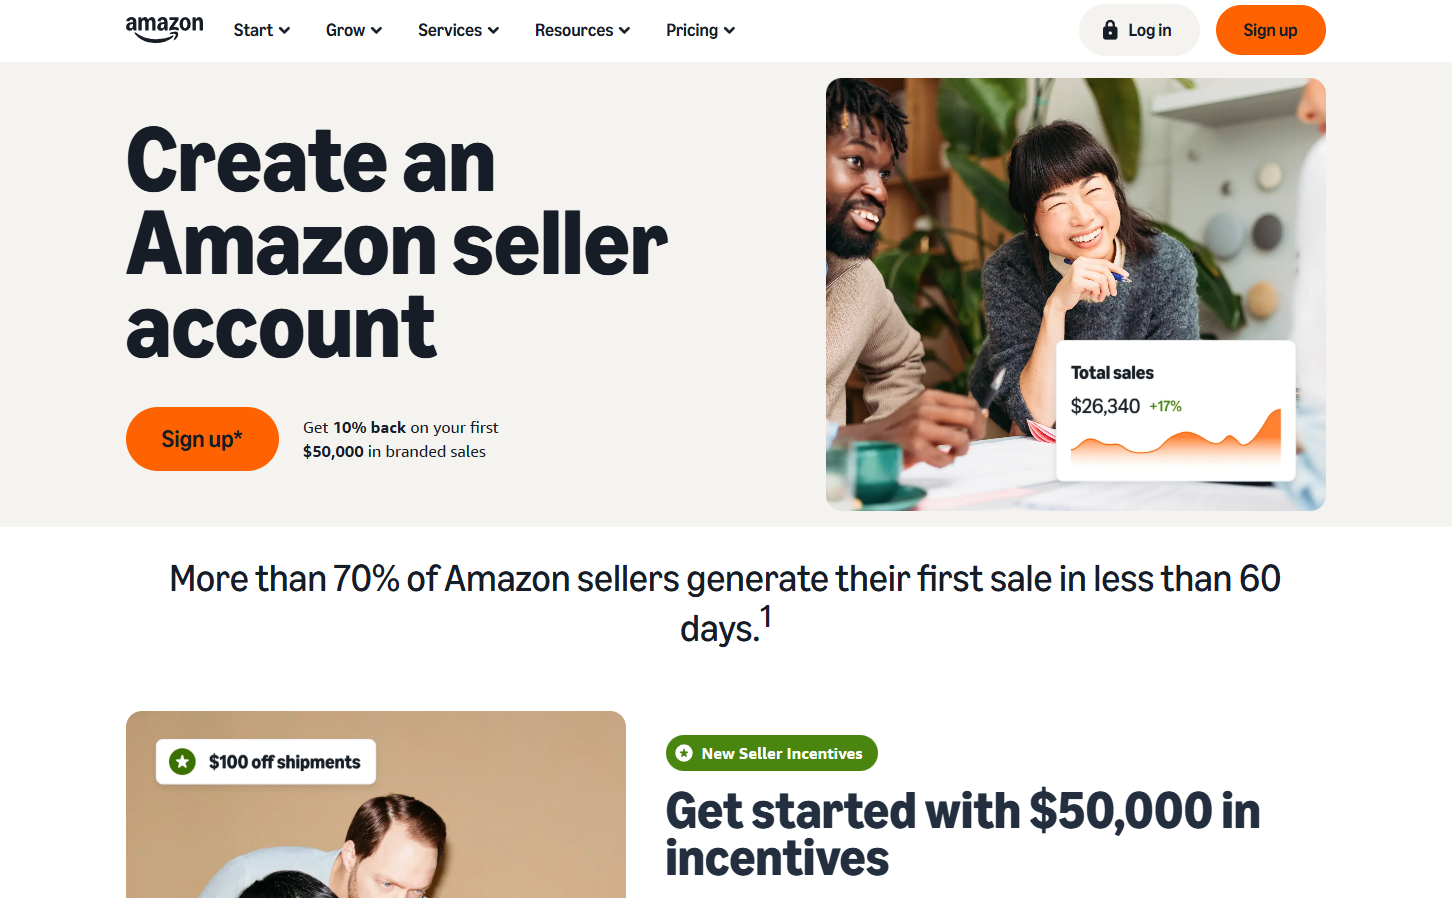
Once your product is in production, head to sell.amazon.com and register. Notably, registration itself costs nothing, and you can complete it in an afternoon.
Amazon offers two plans. The Individual plan is free but charges an additional $0.99 for every item you sell. The Professional plan costs $39.99 per month and unlocks advertising, bulk listing tools, and the Buy Box eligibility that serious sellers need.
The math is straightforward. Once you sell more than 40 units in a month, Professional becomes the cheaper option. Therefore, most sellers should start there.
That said, if money is genuinely tight and the monthly fee feels intimidating, start with Individual and upgrade the moment your volume justifies it. Removing your last excuse matters more than optimizing a $40 line item.
What to Prepare Before You Register
Have four things ready: a business or personal legal name and address, a bank account that accepts deposits, a credit or debit card, and your tax information. Additionally, Amazon FBA now verifies identity with a video call or document upload in most regions, so keep a valid government ID nearby.
Registration goes smoothly when your details match your bank and tax records exactly. Consequently, a careful ten minutes here saves a week of appeals later.
Simple Launch Levers That Cost Nothing
First, optimize your listing for the keywords your customers actually type, using the free research you already did. Second, use Amazon’s built-in “Request a Review” button consistently, because early reviews drive early ranking.
Third, and most importantly, send your crowdfunding backers and your social audience to your Amazon FBA listing during launch week. That external traffic converts unusually well, and Amazon FBA rewards products that sell quickly with better organic placement. As a result, the audience you built for free keeps paying you after the campaign ends.
The Honest Truth About Free vs. Paid
Admittedly, this is the section most “$0” articles skip, so here it is plainly. The free path works. Thousands of sellers have built real businesses on it, and everything in this article is genuinely free to execute.
Nevertheless, spending money compresses the timeline at every single stage. Paid research tools surface a viable product in days rather than weeks and paid designers produce assets that convert better from day one. Paid coaching removes the guesswork that causes most people to stall at month three.
There is also a pattern worth naming honestly. People who pay tend to pay attention. When someone puts money behind a decision, follow-through improves dramatically, and follow-through is what separates a launched product from a folder of half-finished research.
The Free Path
Start with the free 12-hour Amazon FBA course on YouTube. It covers product research, branding, sourcing, listing creation, and launch in full detail. Most companies would sell that curriculum for $1,000 or more.
It is on the channel instead, at no cost, because success stories matter more than course sales. So if you go through it and launch a product, send an email. Plenty of past viewers who did exactly that have ended up featured on the channel themselves.
The Guided Path
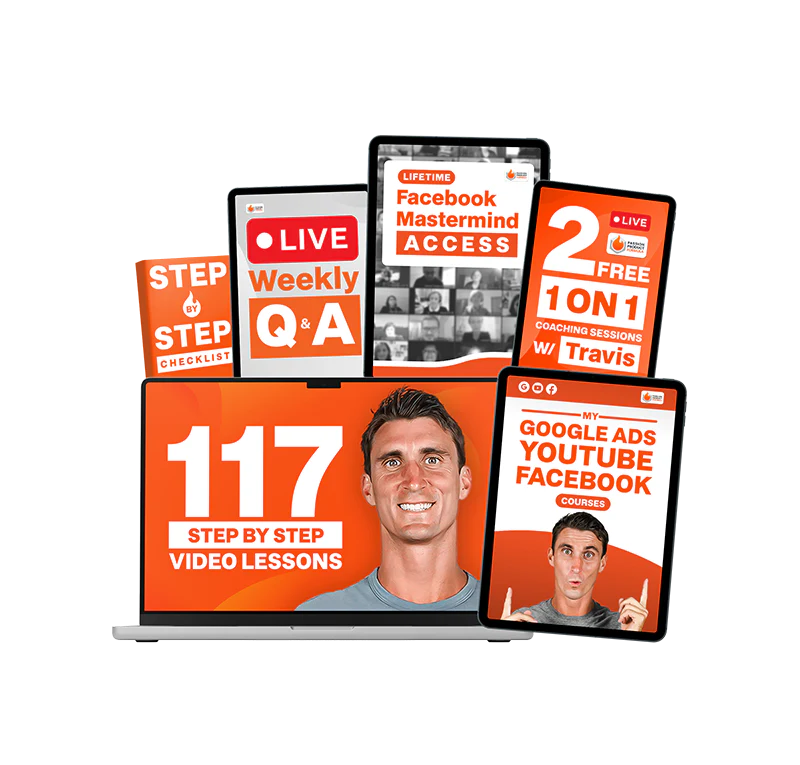
The Passion Product Accelerator is the coaching version of everything above. More than 4,000 students have gone through it across six-plus years of refinement, and AJ was one of the original beta testers before the program had a name.
The measure that matters is not enrollment count. It is how many students actually launch and succeed, which is why the program stays selective. Applications go through a free strategy call with a coach, and not everyone who applies qualifies.
Your $0 Amazon Business Starts This Week
Here is what the next 90 days can look like. During days 1 through 14, you choose your niche and lock in a product idea using niche branding. Then, from days 15 through 30, you generate branding and packaging with AI while emailing suppliers for quotes.
From days 31 through 60, you build your pre-launch audience and run your crowdfunding campaign. Finally, days 61 through 90 cover production, seller account setup, and getting your listing live. That timeline is not theoretical. It is the same sequence AJ followed with zero dollars in the bank.
Ultimately, the only real requirement is starting. Every step above has a free version, so the question was never whether you can afford it. The question is whether you begin this week or next year.
If you want a plan built around your specific idea, book a free strategy call with one of our coaches. On that call, you get a complete 90-day roadmap and the full details of the Accelerator program. There is no pressure either way, and the call delivers value whether or not you join. In the meantime, start the free 12-hour course and watch a few student success stories, because seeing someone ordinary do this makes it much easier to believe you can too.
Frequently Asked Questions
Can you really start an Amazon FBA business with no money? Yes, though it requires more time and creativity than a funded launch. Product research, AI branding, and supplier outreach are all free, and crowdfunding covers your first production run. However, expect the process to take longer than it would with capital behind it.
How much does it actually cost to start Amazon FBA if I do want to spend something? Most first products land between $500 and $2,000, which covers samples, a small production run, and a month or two of tools. One niche dog brush business in this article launched for $750 and now does around $5,000 per month in sales.
Is Amazon FBA still worth starting in 2026? It is, provided you build a real brand rather than reselling a generic product. Competition punishes undifferentiated listings harder every year. Therefore, niche branding matters more now than it did five years ago.
Do I need an LLC before I start selling on Amazon FBA? No. You can register as an individual and form a business entity later. That said, an LLC offers liability protection and simplifies taxes, so most sellers set one up once revenue becomes consistent.
How long does crowdfunding take from start to finish? Plan on roughly three to four months total. Give yourself 60 days of audience building beforehand, 30 days for the campaign itself, and 30 to 60 days for production after funding clears.
What if my crowdfunding campaign fails? You learn what the market thinks before spending money on inventory, which is genuinely valuable. Additionally, you can adjust the offer, the audience, or the product and relaunch. A failed campaign costs you time, whereas a failed inventory order costs you thousands.
Should I choose the Individual or Professional Amazon seller plan? Choose Professional if you expect to sell more than 40 units a month, since the $39.99 fee becomes cheaper than the $0.99 per-item charge at that point. Start with Individual if cash is extremely tight, then upgrade quickly.
Can AI-generated branding really compete with professional design? For a crowdfunding campaign or an early launch, yes. AI logos and packaging concepts are strong enough to validate demand and secure backers. Nevertheless, professional design converts better long-term, so reinvest there as soon as you have revenue.